data-animation-override>
“You’ll always hear horror stories about people importing an ‘immaculate’ car from overseas, only to find out that it’s a rust bucket held together with electrical tape and a prayer. We find out what happens after that verdict”

Inspection
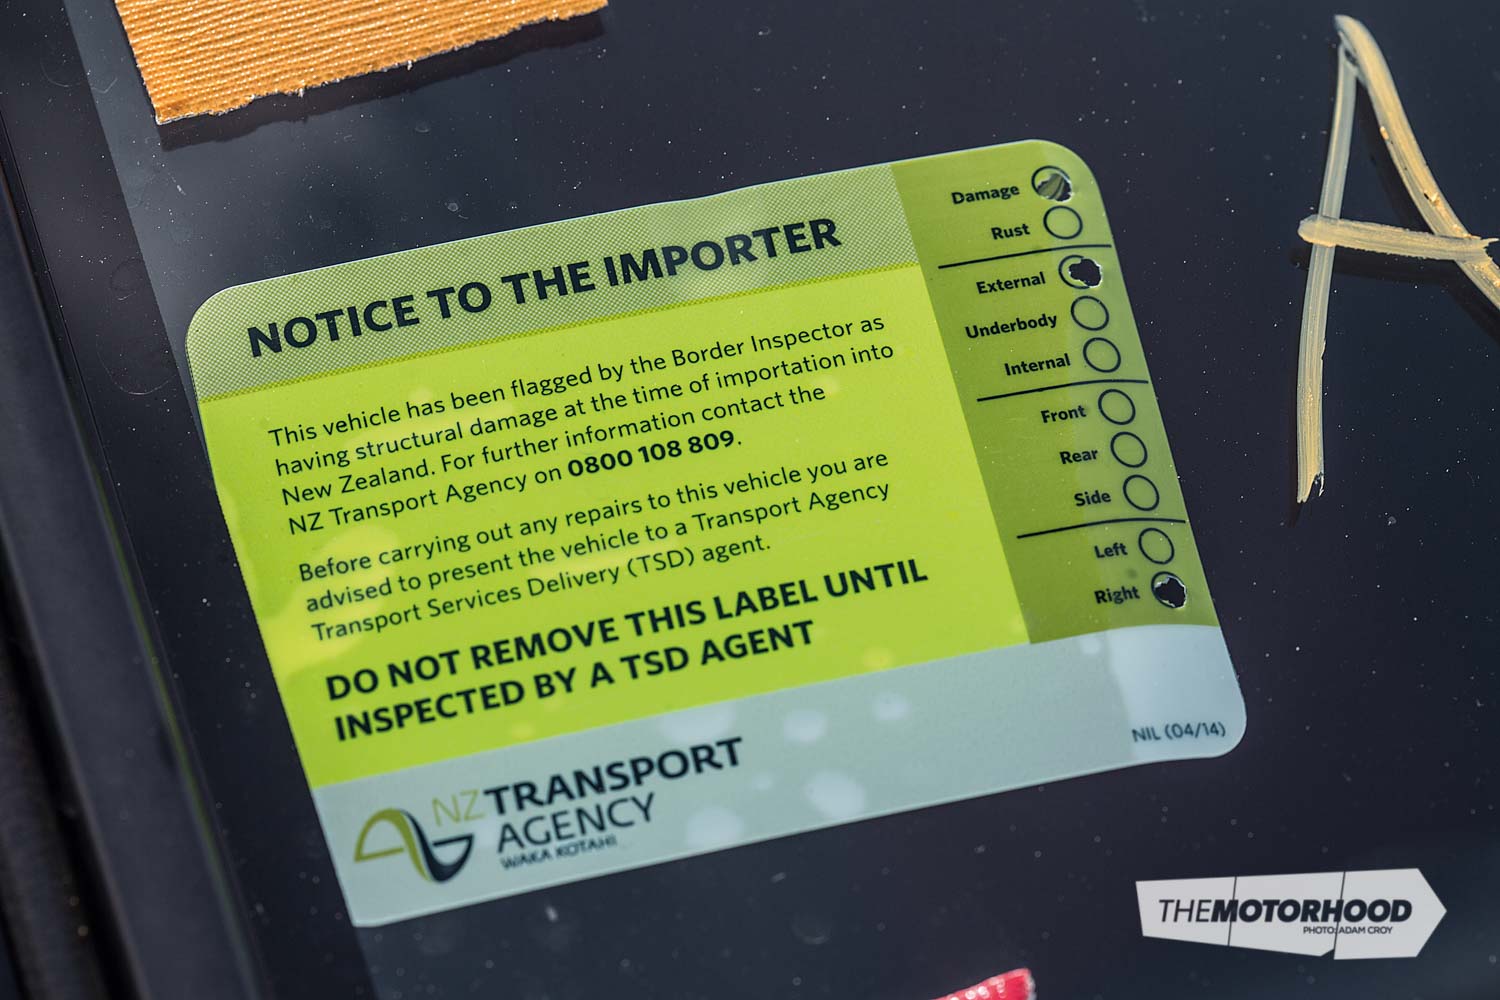
All used vehicles imported into the country are examined, internally and externally, by the Ministry of Primary Industries (MPI) for the presence of quarantine materials before they’re able to leave the shipper’s yard. If the vehicle is to be registered for road use, a further inspection (VINing) is carried out on behalf of the New Zealand Transport Agency (NZTA) to record the odometer reading, confirm the identity number against documentation provided by the importer, and to identify any structural damage present in the vehicle. Should a vehicle be identified by an MPI entry certifier as having been damaged or repaired prior to arrival, a specialist repair certifier may be required to inspect the vehicle. You’ll often see cars leaving shipping companies with a bright green sticker that outlines the area of concern.
A full list of areas requiring repair-certifier inspection can be found on the NZTA website, but the main points are:
- evidence of rust in a structural part of the vehicle
- damage affecting the integrity of any factory-bonded or welded seams or joints
- damage or distortion to chassis rails
- sill and pillar damage
- bumper or impact absorber damage
- modification, damage, or repair to steering and suspension componentry
- modification, damage, or repair to braking system
- evidence of water damage

We popped down to the North Shore Compliance Centre to get a first-hand look at how the repair-certification process works.
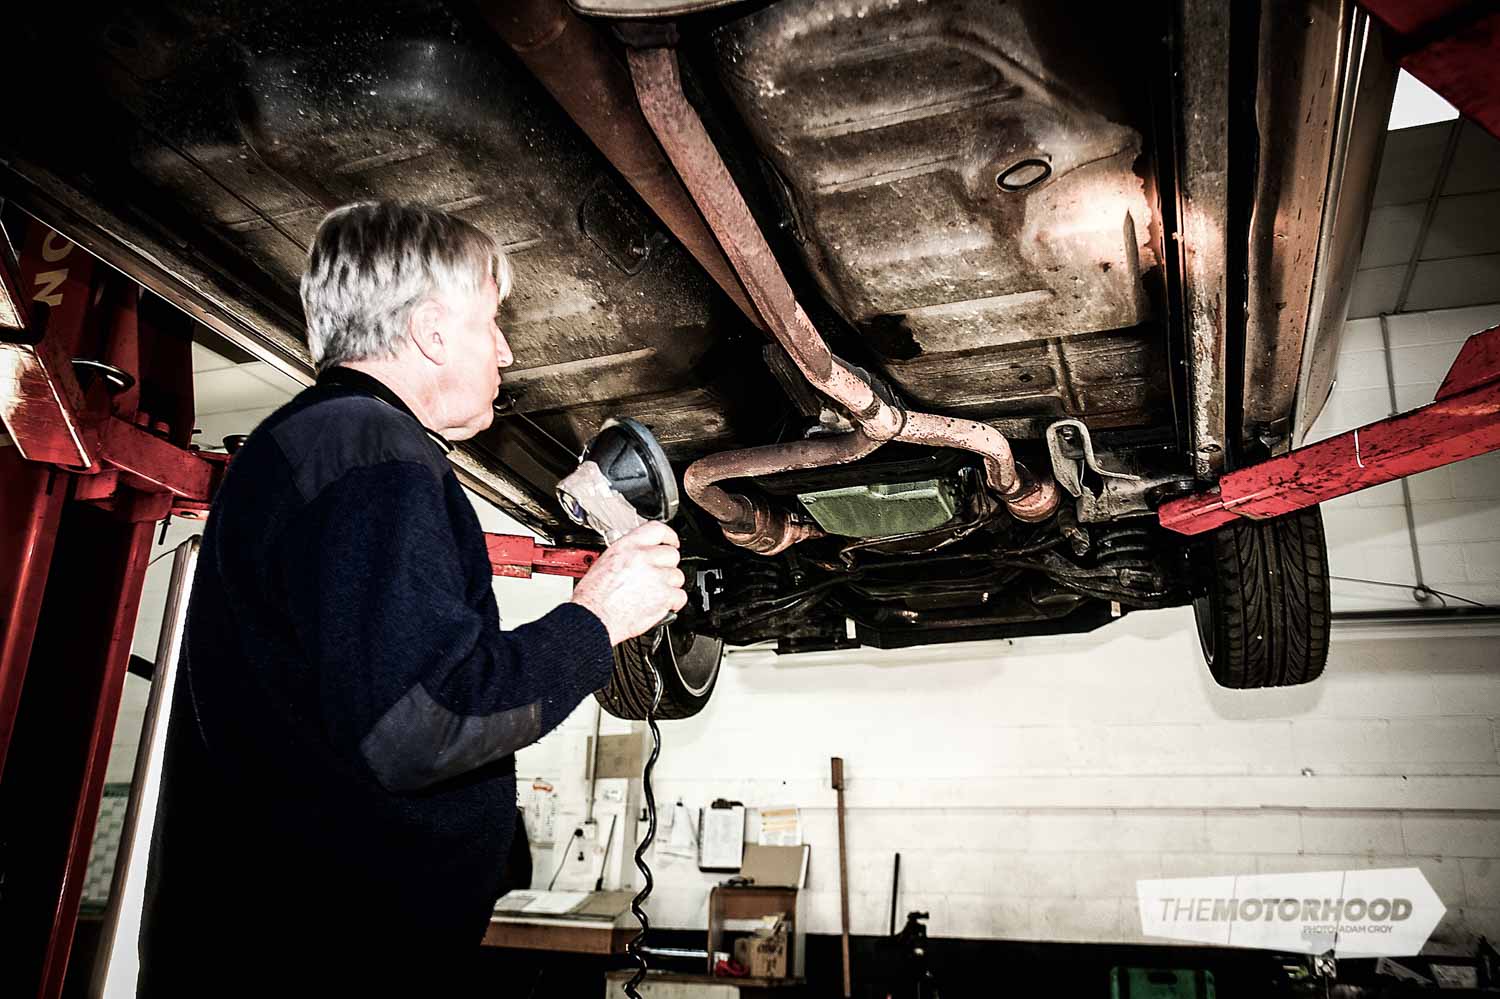
An American vehicle of 1964 manufacture was sitting on the hoist in the workshop at the time of our visit. This vehicle had been flagged by MPI inspectors at the border for underbody damage, as per the sticker on its window. These green stickers shouldn’t be confused with a police-issued green sticker; instead, they detail the nature of the impairment and mean that the car will most likely require repair certification to become road legal.
The final decision as to whether a car requires repair certification is at the discretion of the repair certifier. Repair certifiers are approved by NZTA and generally work on a mobile basis, spending their days popping into various workshops and compliance centres in their designated area, much in the way a low-volume (LVVTA) certifier would. It may so happen that the damage flagged at the border is not deemed sufficient to affect the car’s roadworthiness in the eyes of the repair certifier, meaning the flag can be removed. It usually goes the other way, though, with the damage noted requiring repair before the car can be VINed and legally obtain a WOF.

Paul from North Shore Compliance Centre highly recommends that vehicle owners bring the vehicle to them or their local VIN centre before attempting any repairs. If a repair is done before the compliance centre sees it, you eliminate the possibility that the flag will be removed, as they can’t know what the damage was like prior to repair.
As Paul puts it, it’s best to “Hurry up and be patient”. Many people scurry to repair their cars, cutting out the initial inspection, only to end up down the track spending more time fixing things that weren’t picked up by MPI inspectors or redoing repairs that weren’t performed to a standard required for repair certification. In addition, many repairs are finely detailed and finished, only for the repair certifier to require the paint and underseal to be stripped back so that the seams, welds, and overall condition of the area can be properly inspected by the certifier — not a nice thing to be told you need to do. Therefore, to avoid the potential hassle, stress, and running around in circles, it is always advisable to have the car checked by the repair certifier before undertaking any repairs.

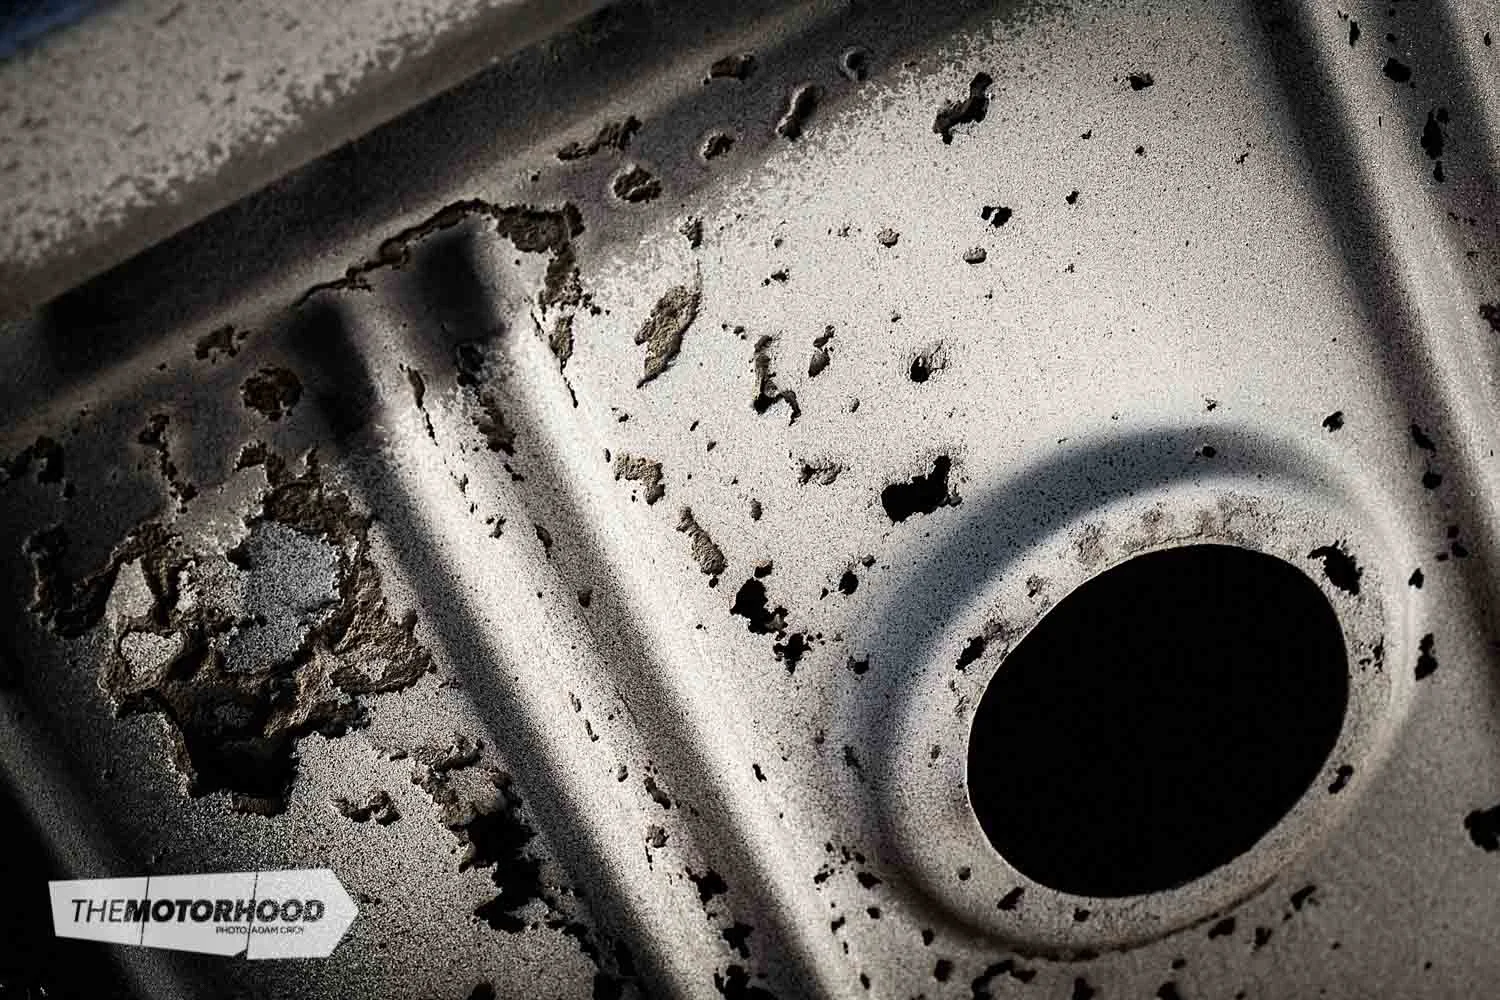
The vehicle shown here failed its initial inspection on account of underbody rust. The underside of the boot floor had been completely undersealed and painted, which set off alarm bells — why would an old car have such a specific area of its underbody undersealed? The car was sent to a panel shop for sandblasting, which uncovered more rust. All the areas that were deemed OK were treated with a rust inhibitor and coated with two-pack paint. The problem areas were left bare to help identify those requiring repair.

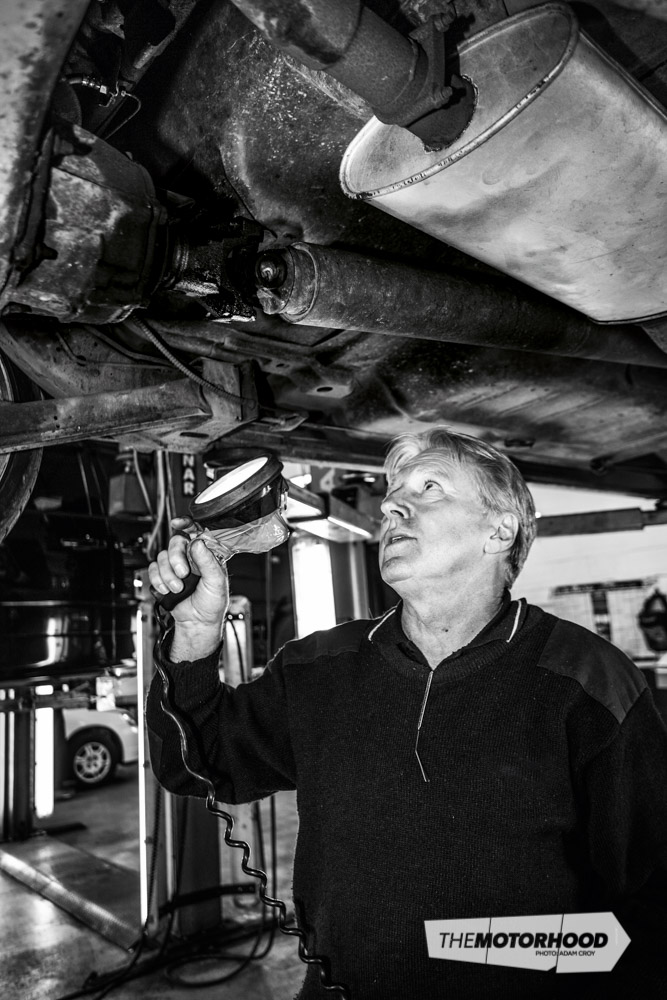
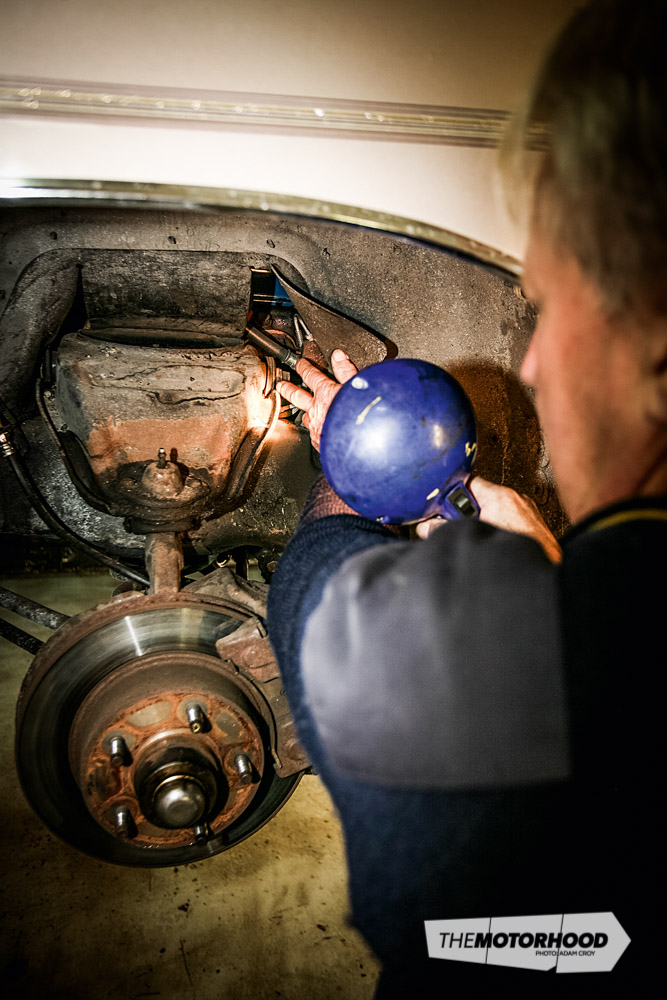
Looking beneath the vehicle, Paul pointed out to us the rust-riddled boot floor, as well as some very poorly installed floor patches. The most common cause for a vehicle to require a repair certification is rust in its floorpan, which is usually the result of moisture accumulating in floor carpets. Because vehicle standards of roadworthiness are so lax in the USA (compared with New Zealand), poor structural repairs in imported vehicles are an all-too-common sight. In the case of the car here, the floor was cut out around the affected area, and the patch panel was placed on top, with only a few tack welds to hold it in place (“kiddie welds” as Paul called them). Rust areas aside, the rest of the car has actually aged well, but it is areas like this that it pays to be very careful with when importing a car from overseas. This one did not have much in the way of body rust, but Paul advises caution here as well. Even small rust patches that you don’t think to be structural may require repair for certification.
The car was raised on the hoist so that the highlighted problem areas could be easily identified. With the vehicle’s owner and their panel beater coming to view the car, having it in the air made it easy to see exactly what areas need attention to get the car to a certifiable standard. What will be done to the vehicle is now in the hands of the owner, as they have a full list of what it needs to pass certification.
Repair

The focus of this section is primarily on cars that have suffered impact damage, such that their overall structure may be out of alignment or weakened. Rust repairs and panel damage are not normally as cost or labour intensive as repair work required to remedy chassis or structural damage are. Repairs required for repair certification must be performed by a certified structural repairer, otherwise they will not be passed by the repair certifier. This means that you will not be granted repair certification if you have done the repair at home or your mate who works for a panel beater has done it for a box of beers! Make sure the repair work is undertaken by an approved repairer. We popped in to Boss Panelbeaters in Onehunga, Auckland, to have a chat with Patrick about the repair process for impact-damaged vehicles.
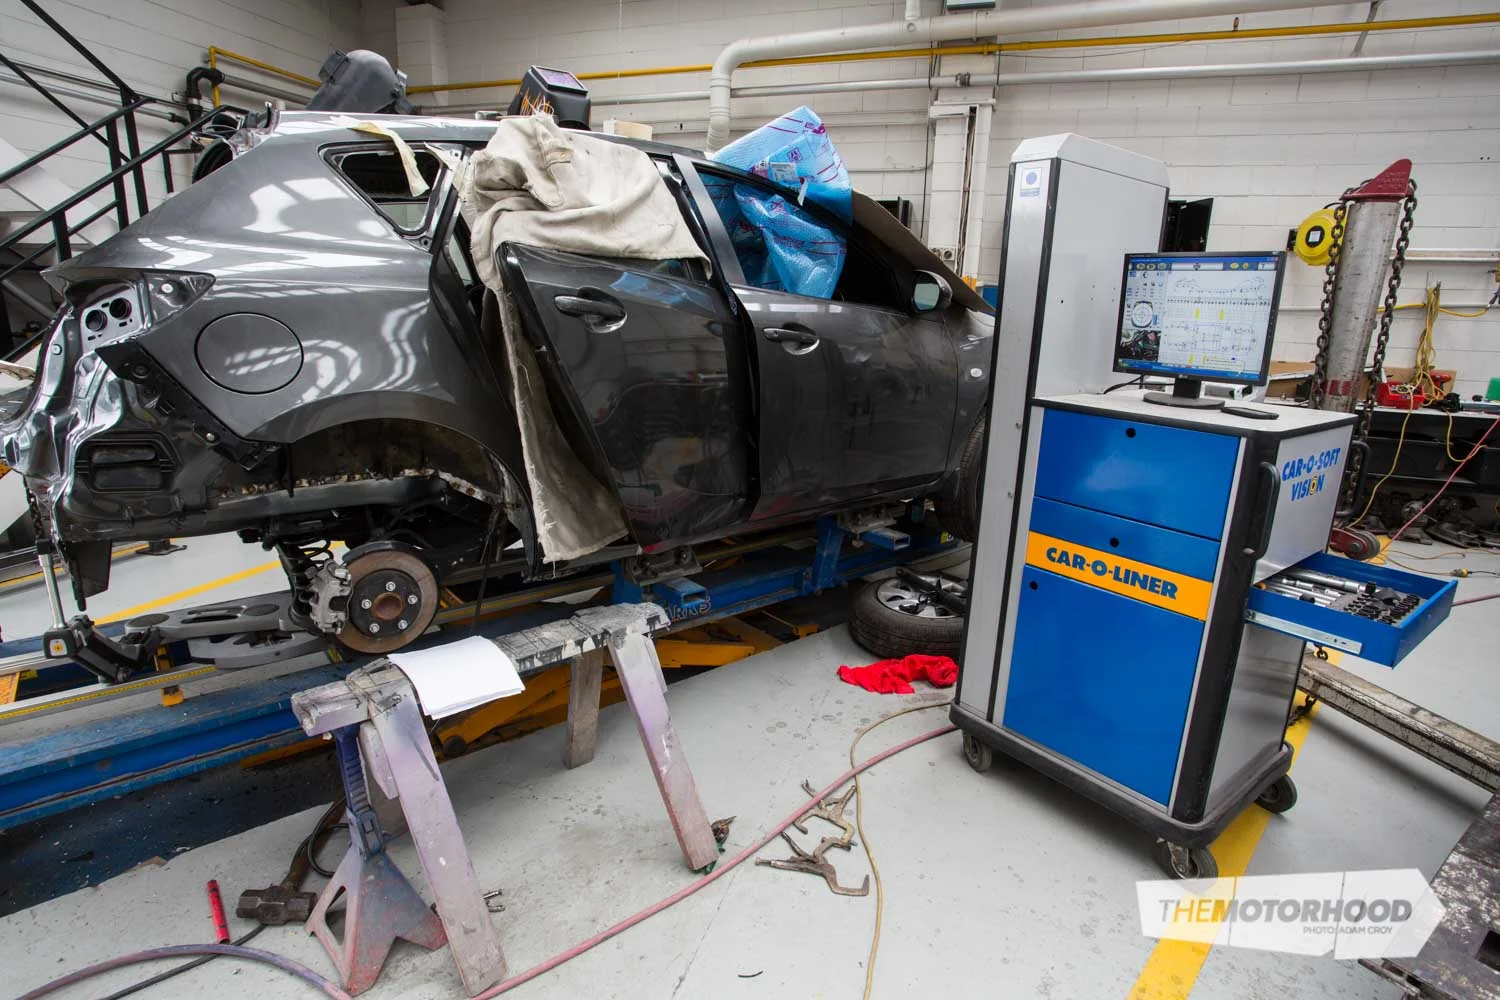
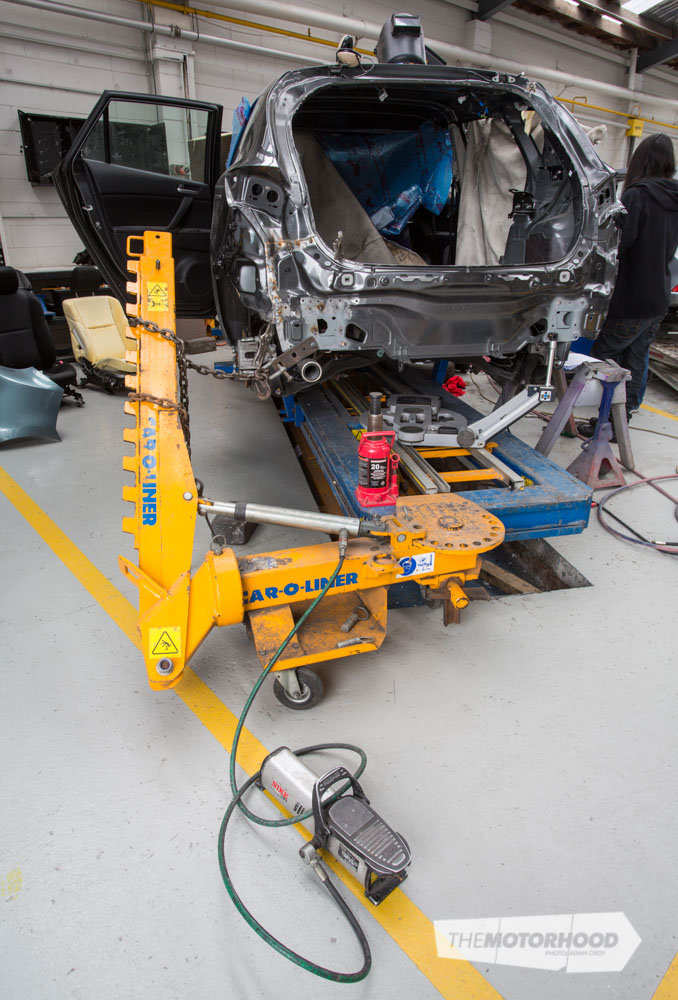
On the first hoist on Boss Panelbeaters’ floor sat a car undergoing repairs for certification. Having been involved in a massive rear-end collision, the car required extensive measuring to ensure everything was aligned within manufacturer-specified tolerances. In the days of ladder-rail chassis technology, the car would be measured corner-to-corner to ensure everything was square, but the technology that certified structural repairers are required to have on hand means that much more accurate measurements can be obtained.

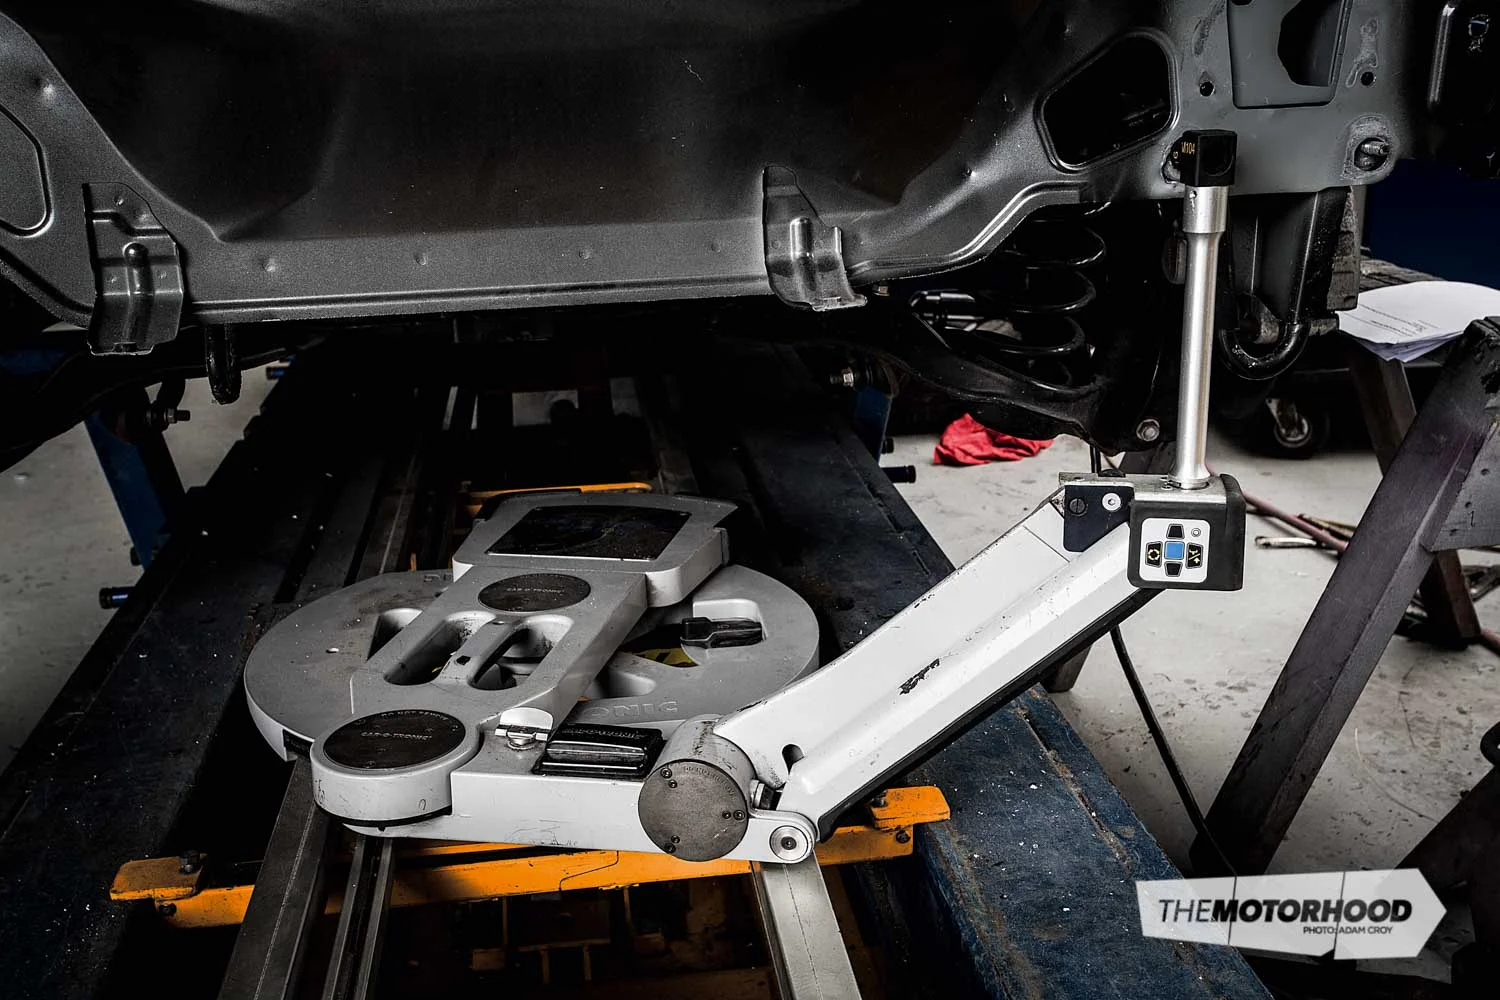
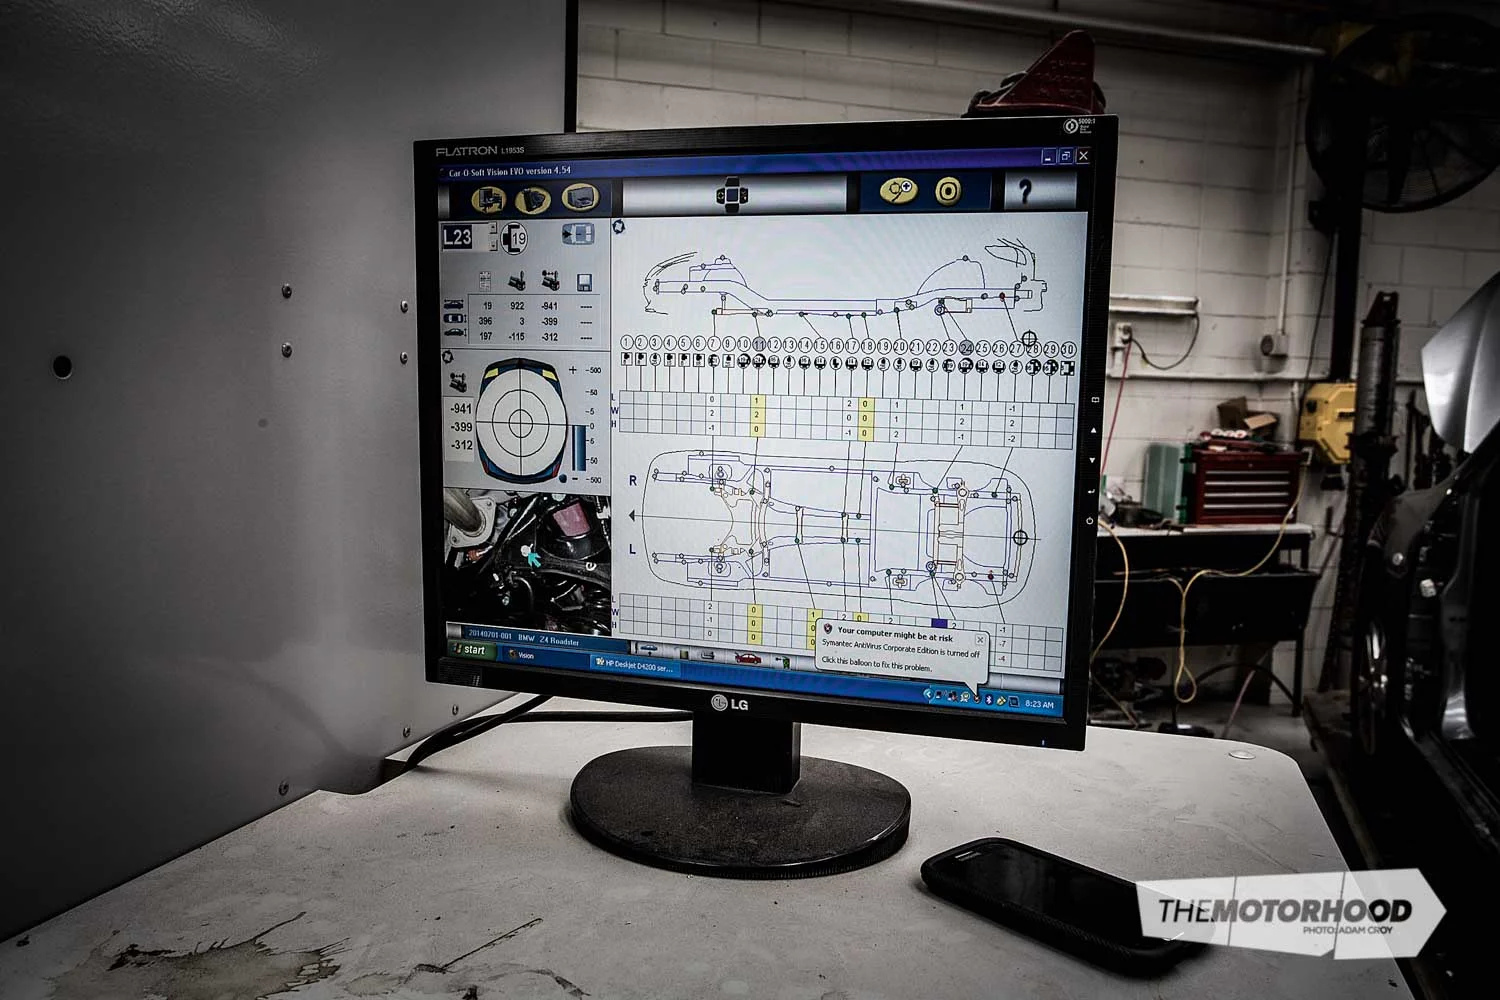
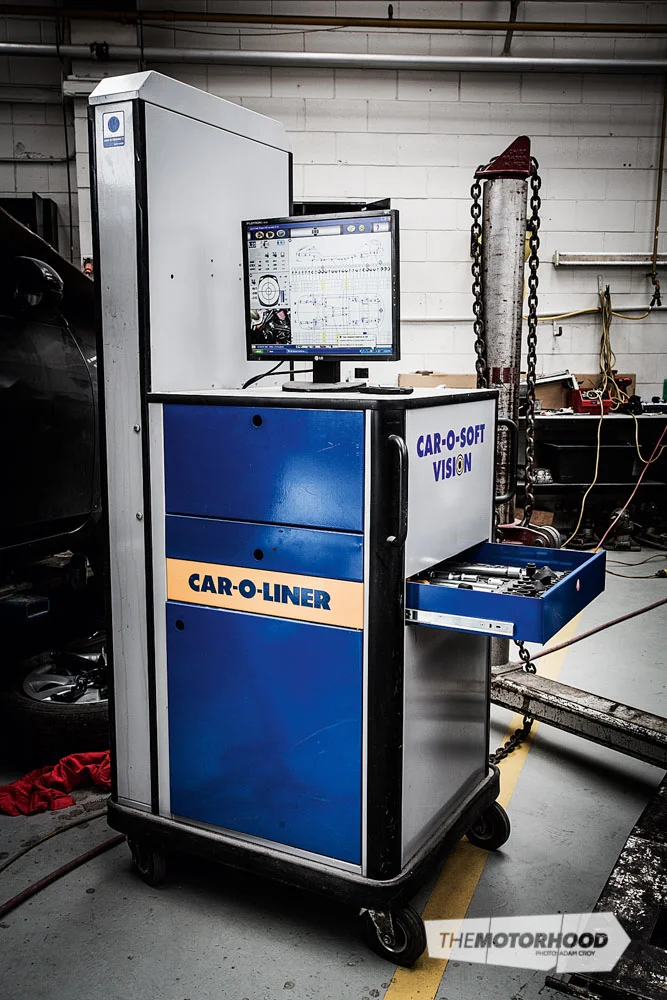
The Car-O-Liner machine that Boss Panelbeaters uses comprises a pivoting arm that sits on a slider mechanism. This arm can be affixed to any measuring point on the car’s undercarriage, with an inbuilt computer providing a measurement as to whether that point is aligned within manufacturer tolerances. This is accompanied by a printout on which measurements and variances can be identified. The tolerance is around 3mm for most cars, but may be relaxed to up to around 5mm for some vehicles. Normally, at least eight different measurements must be obtained for repair-certification purposes. The measurements begin around four points that make up what’s known as the centre section of the car. If these are no good, the vehicle is normally deemed to be beyond repair and is classed as a write-off. When all the measurements have been made, the repairer will be able to determine what needs to be done.
In the case of this vehicle, the impact damage required the entire rear end of the car to be cut off, and a replacement rear end to be grafted on. This has been done almost millimetre-perfectly, thanks to the alignment machine, possession of which is a requirement for a repairer to be allowed to perform repairs for certification. Other intensive criteria include having relevant welding and workshop equipment (Boss Panelbeaters mentioned its highly specialized inverter welder), as well as training, certificates, and qualifications.

The repair certifier generally makes three visits during the course of the repair work — at the start, around midway through, and at the end — to ensure that the repair work is done to a standard that meets certification requirements.
Factoring in the use of the alignment machines for before-and-after measurements, as well as the precision and skill required in fixing structural damage, and you’ll no doubt grasp why the final bill for such repairs can easily wind up well into the thousands. It therefore always pays to be extra diligent to be as sure as possible that any car you’re looking at importing has not suffered any impact damage.
Once completed to a standard that the repair certifier is satisfied with, the vehicle is signed off and can be taken for a VIN, and you’ll be able to hit the road … legally.
Thanks to Paul at North Shore Compliance Centre and Patrick at Boss Panelbeaters for their help with this article. The MPI and NZTA websites are also excellent sources if you require further information. Further information about the MPI’s involvement in vehicle importing can be found here and a full list of criteria requiring repair-certifier inspection can be found on the NZTA website.
