
This month, we delve deep into the innards of the internal-combustion engine and look at the intricacies of rebuilding and reconditioning it
Even in today’s world of modern technology, and with an automotive production process that’s rich in electronics, not a lot has changed when it comes to the nitty-gritty of rebuilding the internal-combustion engine. Whether it’s a classic or a modern car, fresh off the dealer’s lot, once you get all the external mumbo jumbo off the engine, it’s the same basic process that it has been for 100 years. There’s a block and crank, pistons driving a camshaft or camshafts, valves that open and close, and an oiling system. Simple, right? So it’s understandable that many people might attempt to complete a full rebuild in their garage — but some things are best left up to the professionals, who have the correct equipment.
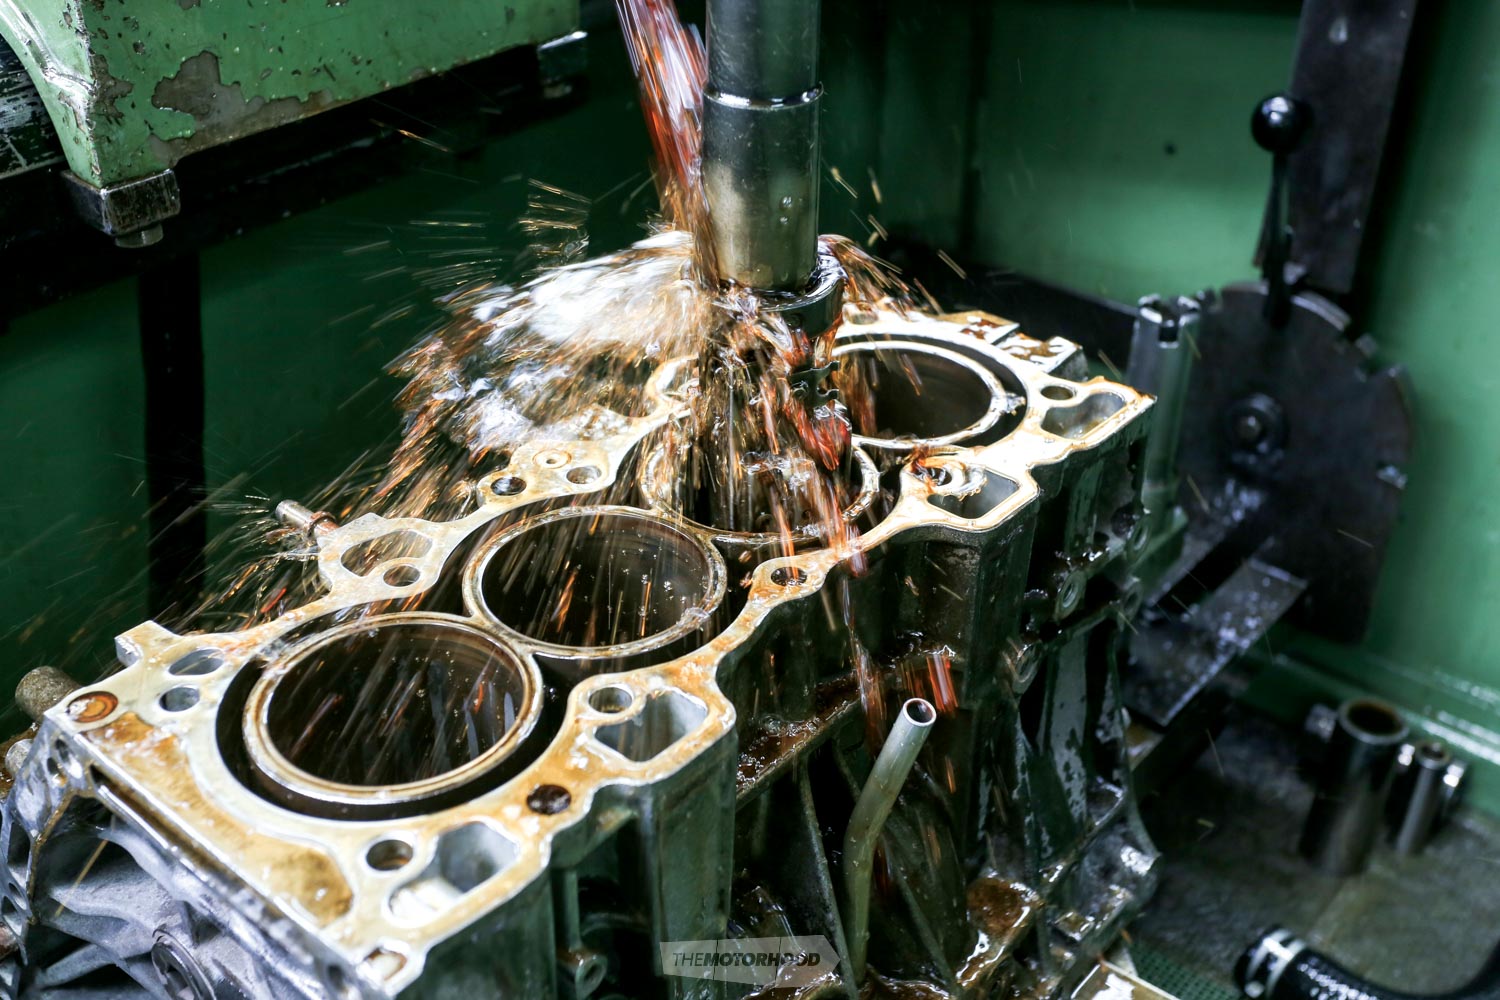
Cleaning
No one wants to work with dirty, grubby parts that will leave marks on your favourite slacks. The professionals jump into a pair of good overalls, steel-capped boots, and rubber gloves before giving the block (and any other parts) a good water-blasting and scrub-down in preparation for an acid wash. This isn’t the type of process to undertake at home, as it is bad for the environment and local waterways. Most professionals have specially designed drainage systems that remove dirty water and gunk into holding tanks to be drained later. This process is followed by one of two things: a cold tank wash for the parts that clean up nicely or a hot wash for those that don’t look in the best of shape.
Cold washing involves an acid-holding tank that is used to strip parts clean, even if they’re covered in gunge, oil, or mud, which is why the first phase of cleaning is so important. The acid uses a three-layer system, with the bottom being where the work gets done, while the middle and top house the solvent base to stop it from evaporating — needless to say, none of this stuff is friendly to the touch. While most people think of a bubbling cauldron when it comes to acid, this is a calm mixture that slowly dissolves parts back to a clean state, removing paint, varnish, and other rubbish that can build up with age. However, it is not a rust-removal solution, and all sensors, plastic, and other non-metal pieces need to be removed beforehand, otherwise they will no longer exist when the part is tanked. As for time frame, if the part cleans up well in phase one, it will only take a few hours, but the worse-off items may be left in over a weekend. This won’t hurt the parts: once they are clean they are done, and the acid doesn’t act any further.
Hot wash is used primarily for older parts with caked-on gunk or blocked-up oil galleries that weren’t cleaned in the first phase. The tank is heated over a few days to maintain the correct temperature, and multiple items are usually done at once. The heat and caustic acid eat away all the hard-to-reach gunge — imagine pork bones in a boil-up. It must be noted that this process is never be used for aluminium parts, as they melt.

Media blasting is a process that uses pressurized air to shoot pieces of an abrasive material (known as the ‘blasting media’) out of a nozzle to strip paint, rust, and other contaminants from a component. More traditional forms make use of sand and glass in a dry application; however, hydro-blasting is quickly becoming a favoured method. Paul Greenslade from S2S Vapour Blast explains: “Vapour blasting specifically is a means of cleaning primarily non-ferrous parts — such as aluminium, brass, bronze, copper, and mild and stainless steel — componentry such as blocks, heads, crankcases, bellhousings, etc. It can also be used on plastics and carbon-fibre components, too. A high-volume, lower pressure slurry of glass-bead media, mixed with some secret herbs and spices, is accelerated and atomized by pressurized gas and a stream of water onto the component. The effect is a clean surface free of dirt, contamination, and corrosive substances, with the advantage over traditional blasting media of being gentler and less abrasive, ensuring that the surface is not marked up or damaged.”
“Because it is less aggressive, you don’t have to worry about already-machined surfaces. All your bearings still fit in the housings, and the head and block mating surfaces are unaffected. In short, it won’t alter your critical dimensions’
“And, unlike traditional media blasting, it cleans and peens the surface, sealing it to stay cleaner for longer. It won’t mark when you pick it up with your hands and creates an almost polished finish.”
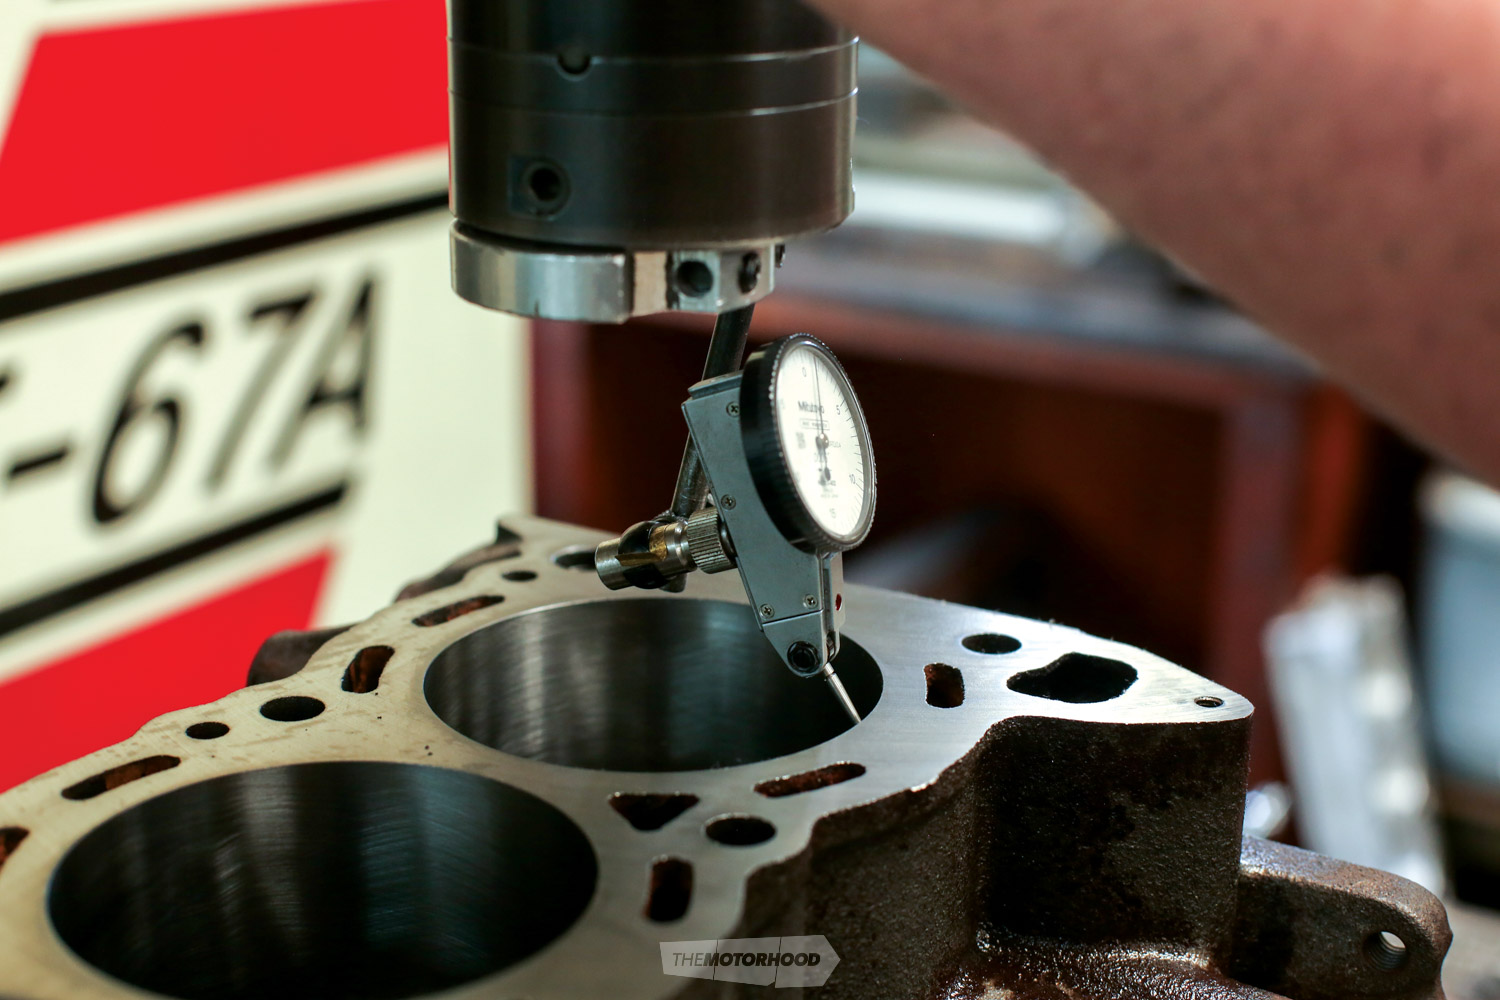
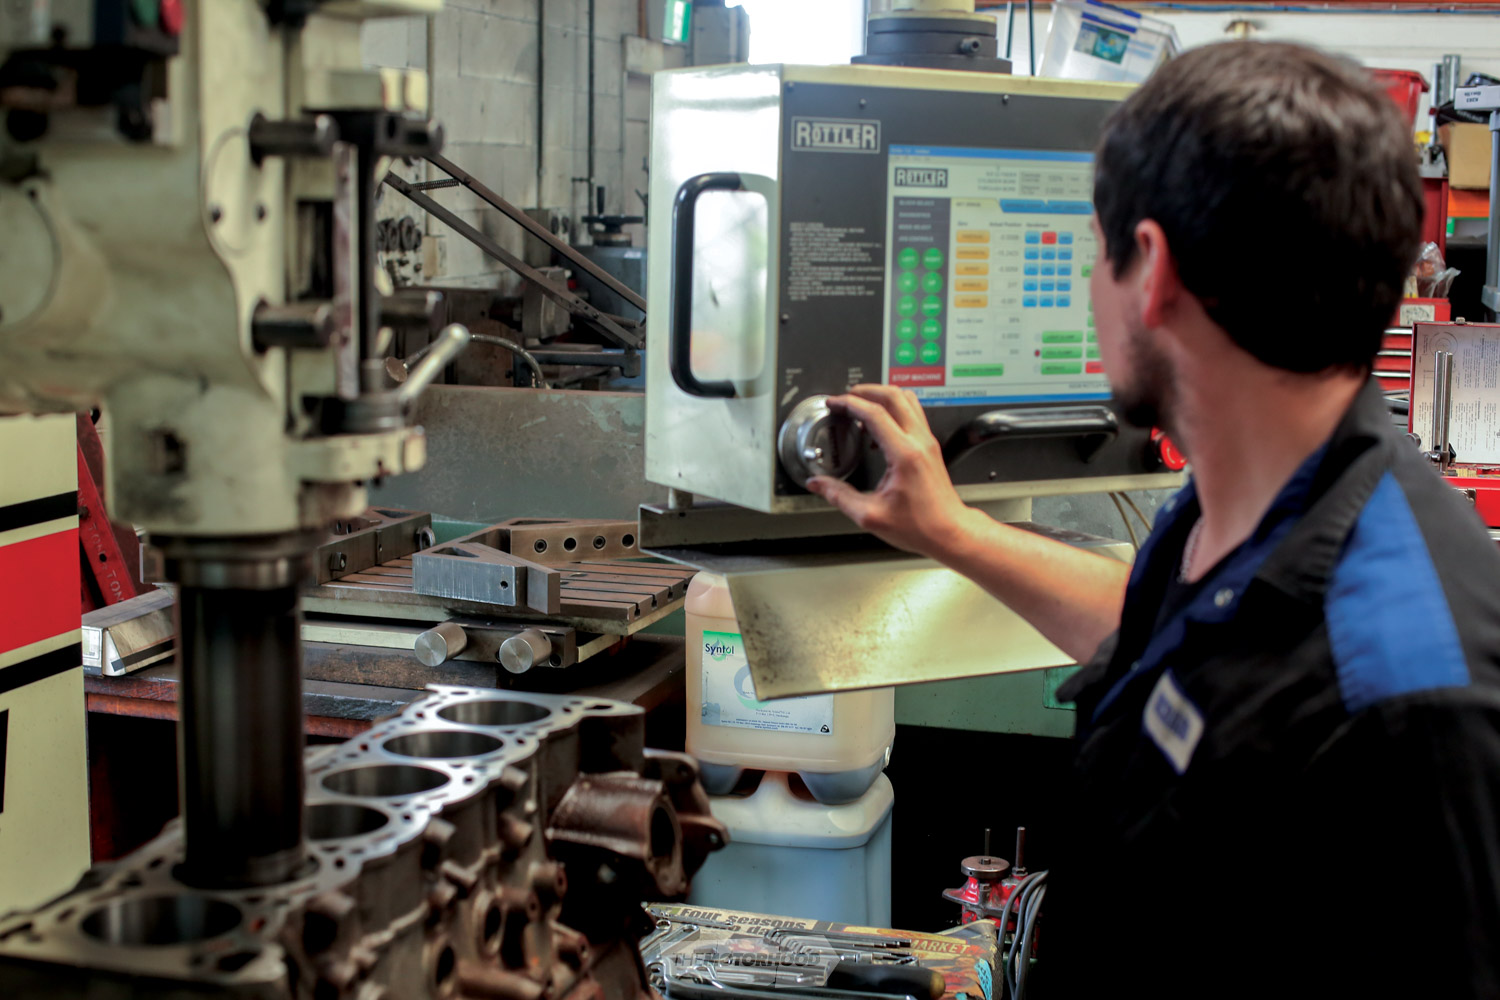
Measuring
The old saying, ‘measure twice, cut once’, rings rather true in these situations, as, unlike with a bit of two-by-four timber, you can’t always just grab another crank or block off the shelf if you get it wrong. This is arguably the most important stage of an engine build, as it will determine all the machining to follow. Measuring the crankshaft will tell you what size you’re dealing with, and whether or not it has been ground previously, which will affect what bearings you can use. Grinding a crankshaft is a process of removing material from the journals in an effort to refurbish and reuse an expensive-yet-vital component of an engine. If you grind a crankshaft to a specific size, such as 10-thou under, and the bearing size isn’t available, you will lose money and time.
Luckily, this process is second nature to any good automotive machinist, who will happily check an array of sizes, including the crankshaft, con rods, and bore size, and check for head/deck warping.
While a lot of the machinery used in the process measures in imperial scales, the emergence of ‘new’ classic cars, including Japanese and British, that use the metric system mean that a good machinist must find a happy middle ground between both systems — imperial is still the norm in most cases, but, when you think of it, as one thou equals 2.5 hundredths of a millimetre, and measurements can reach as far down as a hundredth of a millimetre, that happy middle ground may simply be more accurate.
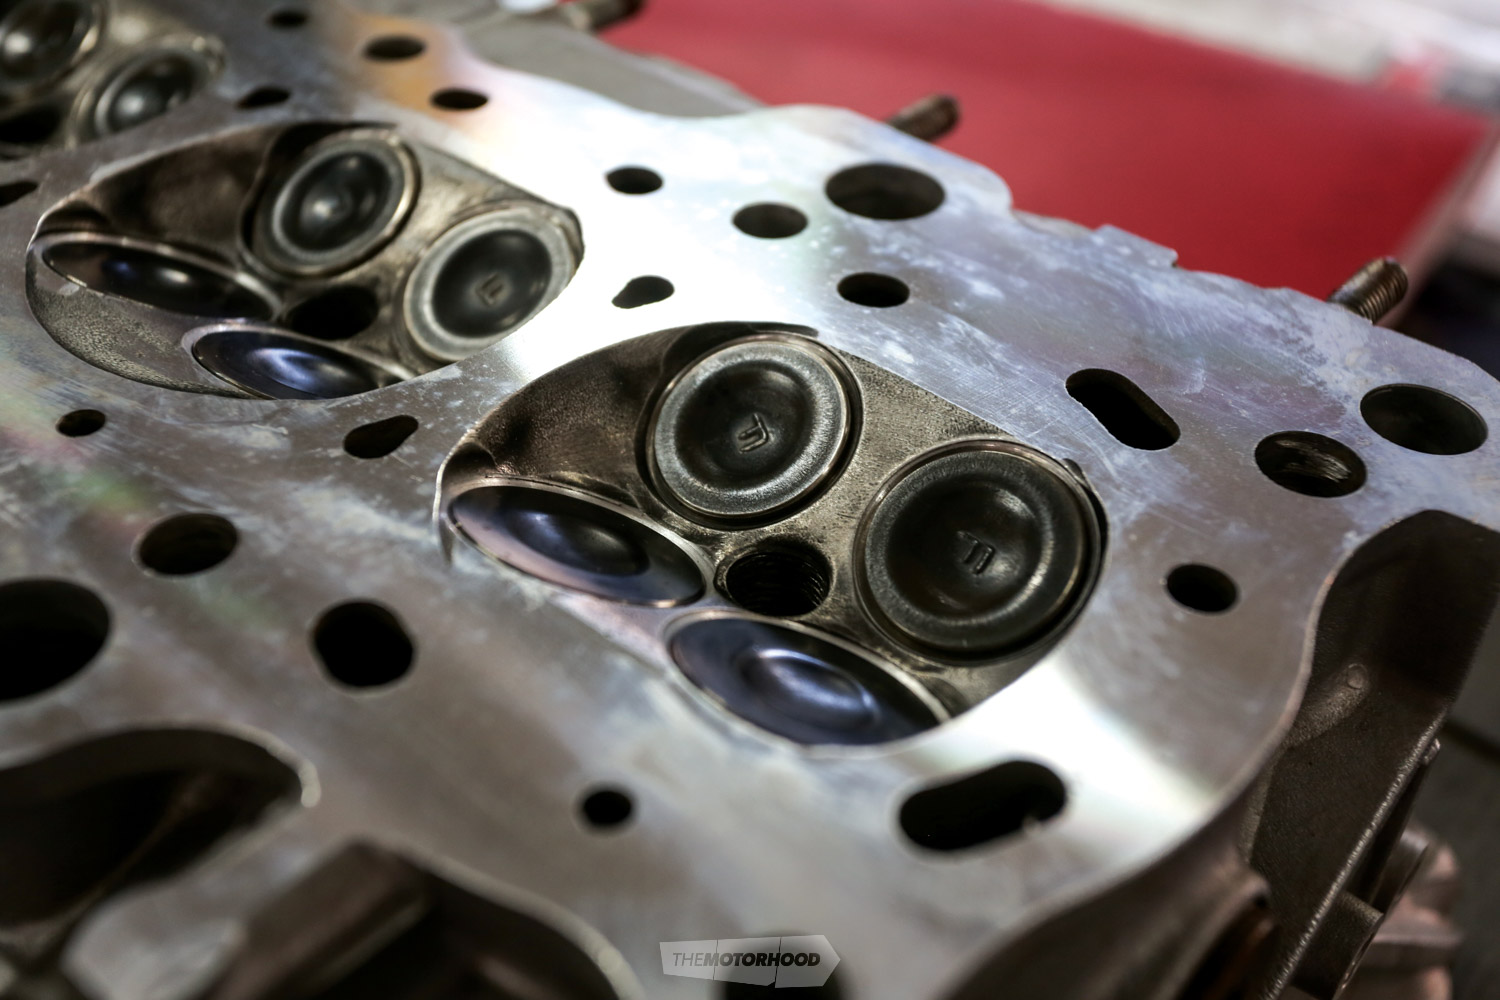
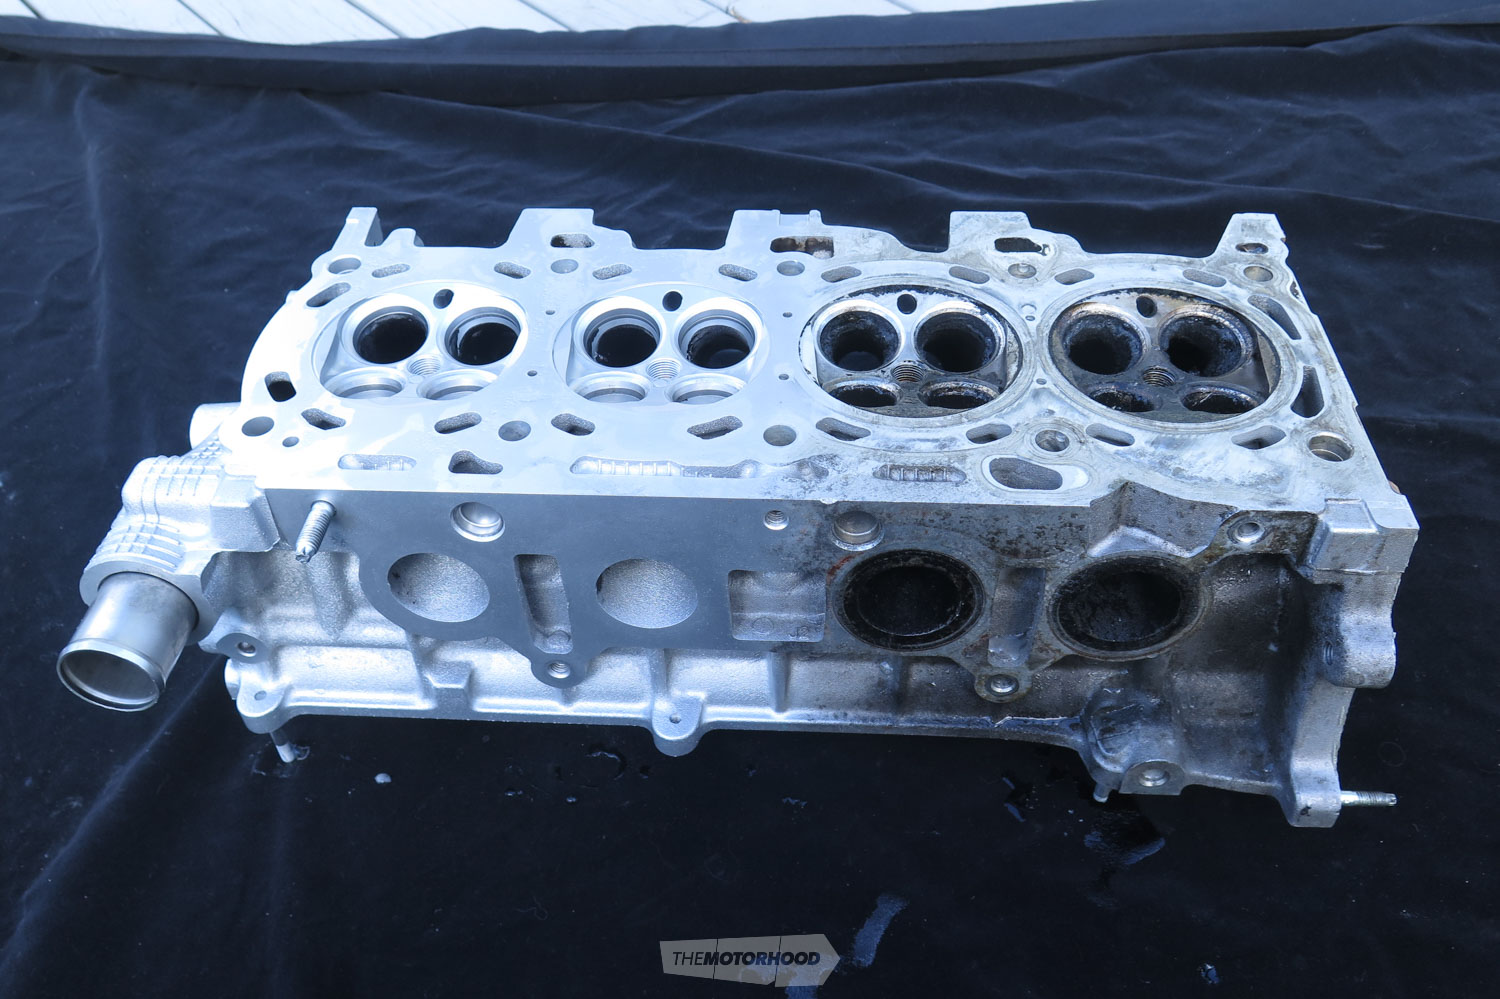
Cylinder heads
Cylinder heads don’t have to be a mystery. Simple in theory, there’s actually a wealth of science behind cylinder-head efficiency. Cylinder heads need to be robust, as they withstand massive pressure and very high temperatures, while retaining their shape and form to seal the cylinder block. They’re key to controlling air flow in and out of the cylinders and fuel deployment, thus determining the engine’s performance characteristics from idle all the way through to redline, not just in terms of outright power but in allowing the nature of power delivery that is sought.
If you think of the internal-combustion engine as an air pump, it doesn’t know or care about the brand or specifications of the cylinder heads it breathes through — they will either work efficiently or they won’t. The more efficiently air and fuel can be transferred into, and out of, the combustion chamber, the more torque and power potential there is to be unlocked. Note that efficiency is key, not overall size — whether in terms of port sizing, port flow, or valve sizing, bigger is not necessarily better.
When it comes to head work, Paul Greenslade from S2S Vapour Blast tells us, “When you’ve spent the time getting your heads to perform as desired, bolting them back on looking old and drab is going to take away from the overall package. By vapour blasting the head(s), you get a long-lasting, high-quality finish, and, unlike traditional media blasting methods, [vapour blasting] can actually be done after all the machine work has been completed by the engine reconditioner.
“It’s actually best that whoever has supplied the parts has cleaned as much dirt and grease off as possible, as if this isn’t done it actually ends up costing them more due to the time involved. And because it doesn’t affect critical dimensions, headwork, boring and honing, planing and decking, etc., can be carried out beforehand. This means, unlike with other methods, the final product is a completely cleaned component that is uncontaminated by oils and remnants from the machining process.”
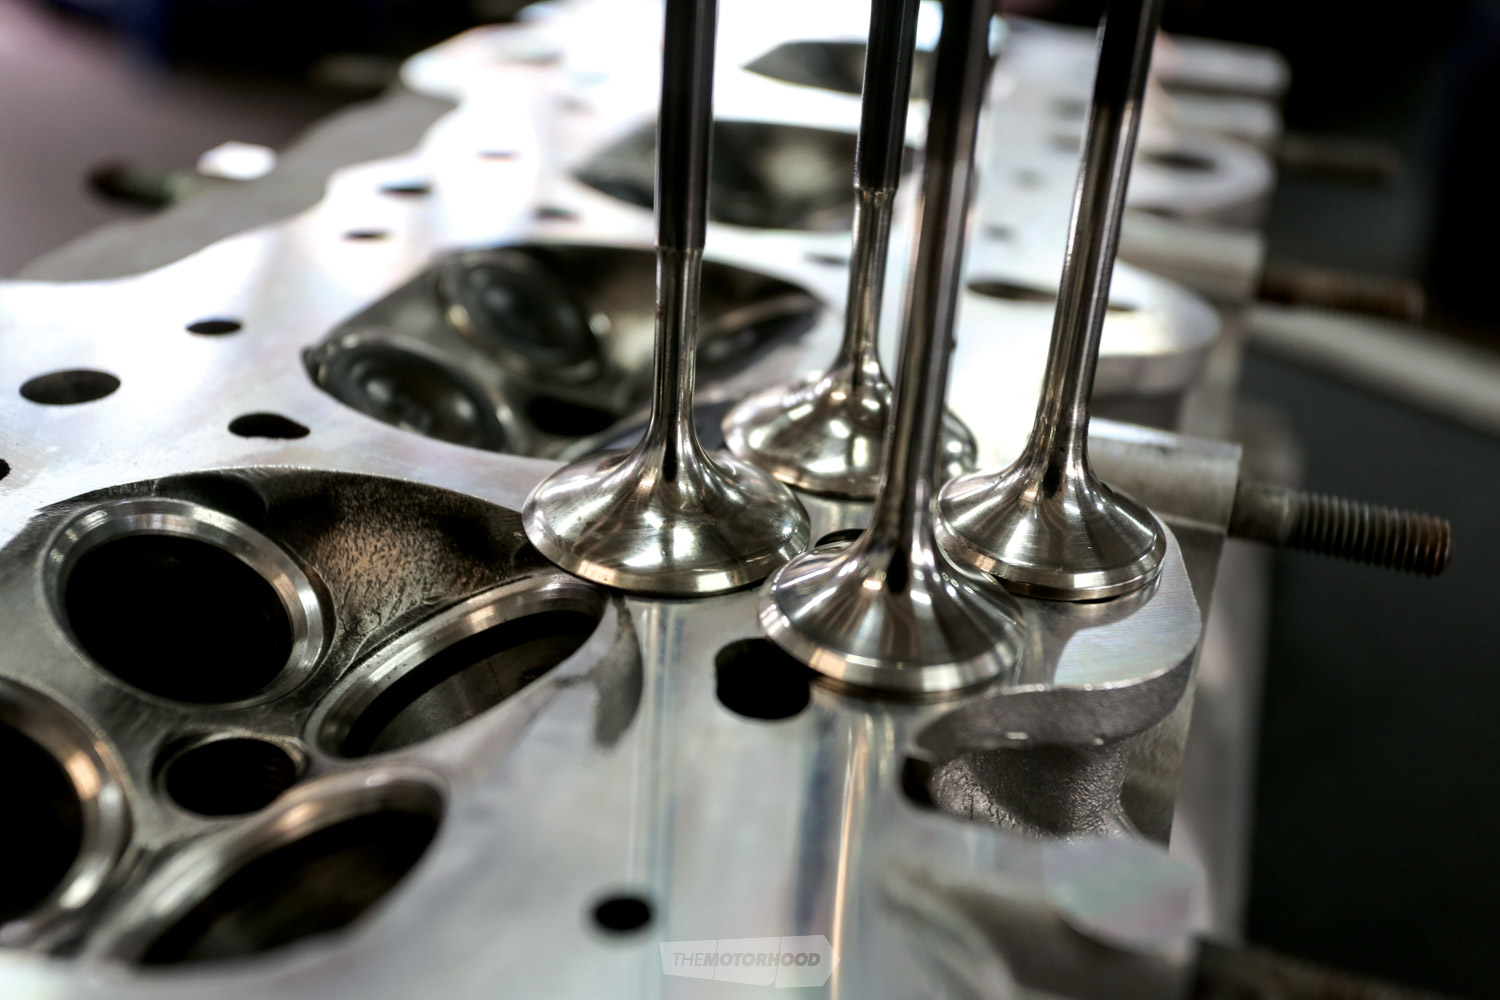
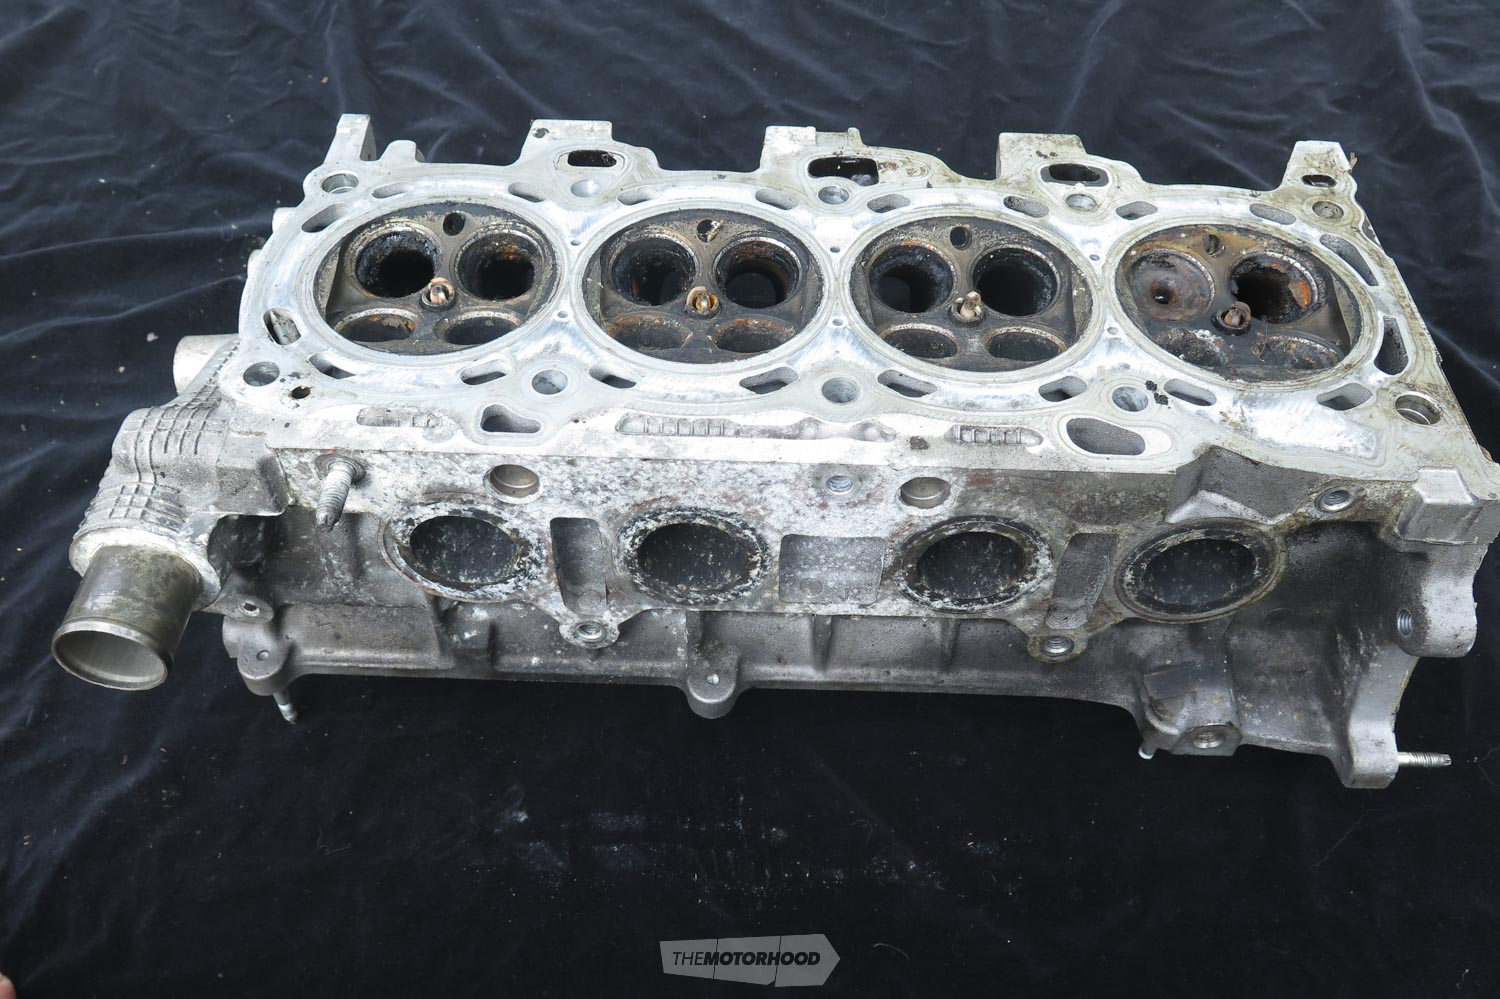
Valve cleaning
The regulatory component for what comes in and what goes out: having dirty carbon emissions flowing past the exhaust valves over many years of use can result in thick carbon build-up. Excessive carbon can reach the valve stems and create a restrictive lip where the stem meets the guide, resulting in a valve that no longer closes fully. Whipping the wire wheel out isn’t the solution either, as that will only polish the carbon and warp the surface of the valve. What’s needed is a sandblaster, or, in this case, a media blaster that fires small particles of glass at the surface and wears the carbon down to the metal valve. (It is important to note that this process is not suitable for other engine components, as the glass can make its way into small holes and galleries, leaving traces inside after assembly.) A valve grinder is used to oil and finish the valves, giving it a clean, even surface ready to be installed into the newly machined head.
Lapping the valves
Many of you will be familiar with the term ‘lapping the valves’, and some may have tried this themselves, but automotive machinists recommend professional intervention to carry out a three-angled seat cut instead. This is done on a headshot machine that inserts a pilot shaft into the valve guide and allows a tool bit to be slid over for an accurate cut. The tool features three cutters, set at 70, 45, and 30 degrees to create a three-surface seat on one cut. The process produces a consistent seat and removes the very real possibility of ending up with an uneven valve seat, which you might face if you lap them in yourself.
The purpose of a seat is not only to provide a clean sealing surface for the valve to hold exhaust gasses in and keep intake air out; it also acts as a heat-transfer method to keep the valves cool — therefore ensuring that they last longer. If the seat is uneven, thin on one side and larger on the other, heat will not transfer away evenly. If that’s the case, or you’re concerned about the prospect of hot valves, hardened inserts can be machined into the head and a fresh seating surface cut into the insert — although that may be a bit excessive if your classic only sees 1000km of driving per year.
Plane and deck
The staple of any automotive machinist’s business. There’s a good chance that if you’ve overheated the engine, blown the headgasket(s), the water pump is shot, or if the oil has run dry, the block-to-head mating surface has warped on one side, or both. As Rob Walters from Drury Engine Reconditioners explains: “If the surfaces of the block and the head are warped or marked, you will need to machine them. The most common issue is overheating caused by coolant running dry or not circulating as it should. When this happens, and the surfaces are no longer sealing, an overhead milling machine is used to remachine the block and head faces. This is done to ensure that both are true so that when reassembled with the head gasket in place it will seal correctly and not lose compression. Depending on how warped the surface is will determine how much machining is involved, but it’s typically machined back to within a thou of dead true.
“You don’t always have to plane and deck, but we always do because as the block and heads tend to age — like any metal — they will move and become warped, especially when subjected to higher than normal temperatures in the case of a blown head gasket or loss of coolant. It’s all part and parcel of rebuilding an engine.
“If you don’t, the reassembled engine is likely to present the same issue, or more, that caused you to take it apart in the first place.
In performance situations, you may wish to shave more off the head to raise compression, but in everyday cars, especially classics, the aim is to take the minimum required to get the desired effect.
These measurements can be as fine as a thou off, and while the tool head can change, many choose to use a milling head over a grinding head as it can produce a finer finish. Looking at the process, and the fact you may have to cover such large areas — often up to 127mm (five inches) and more wide — you can see why the DA sander or file at home won’t cut the mustard.
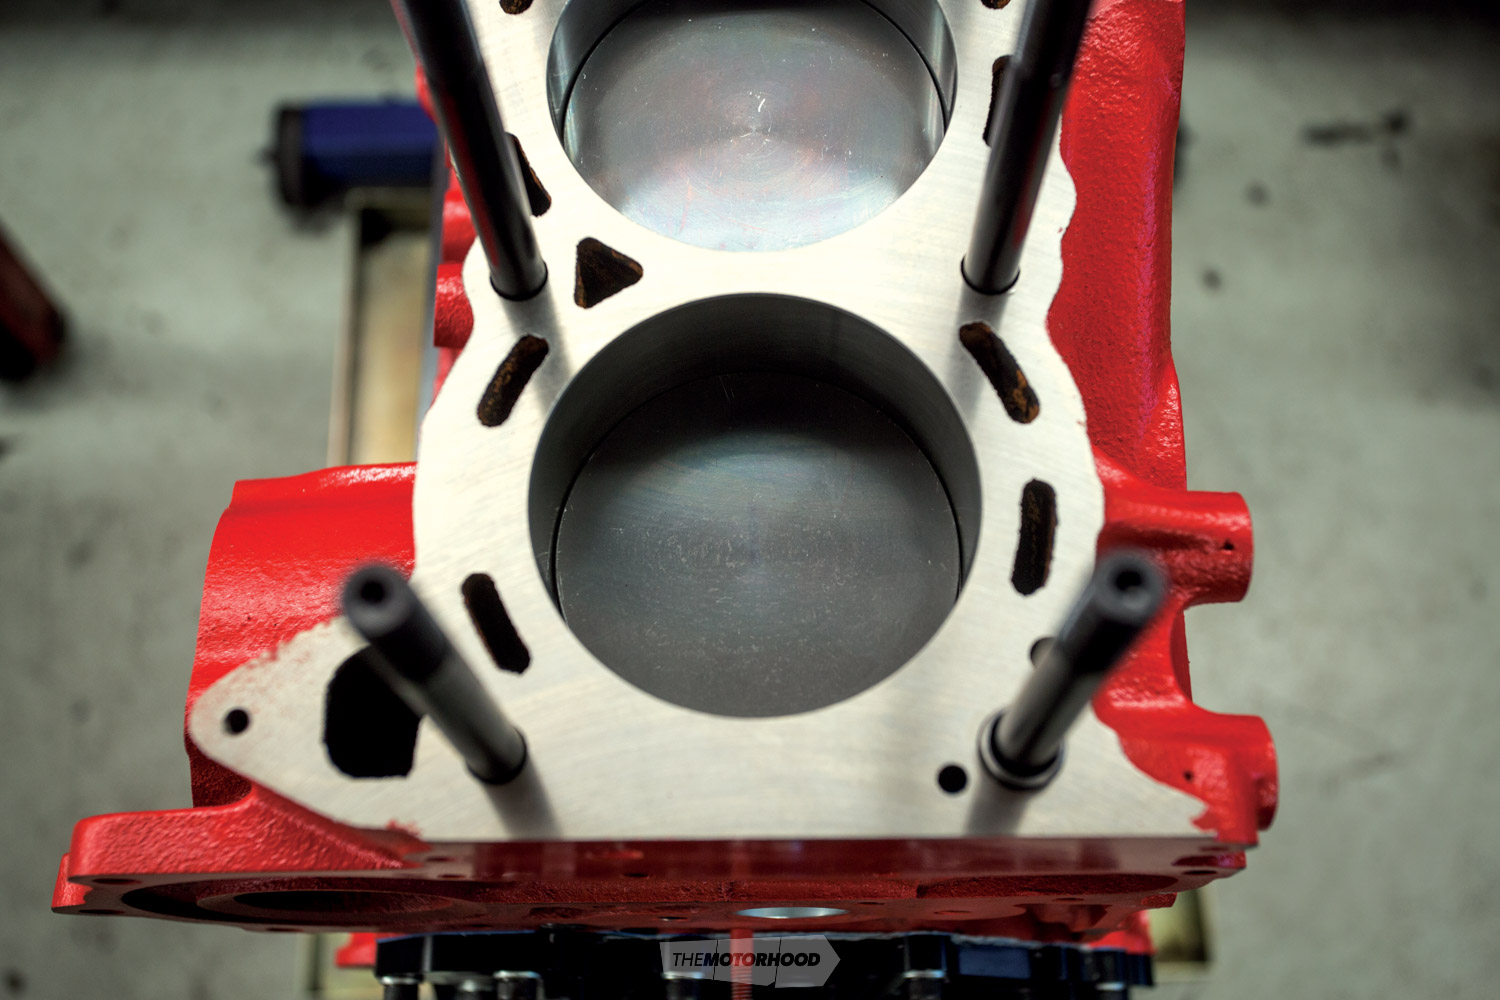
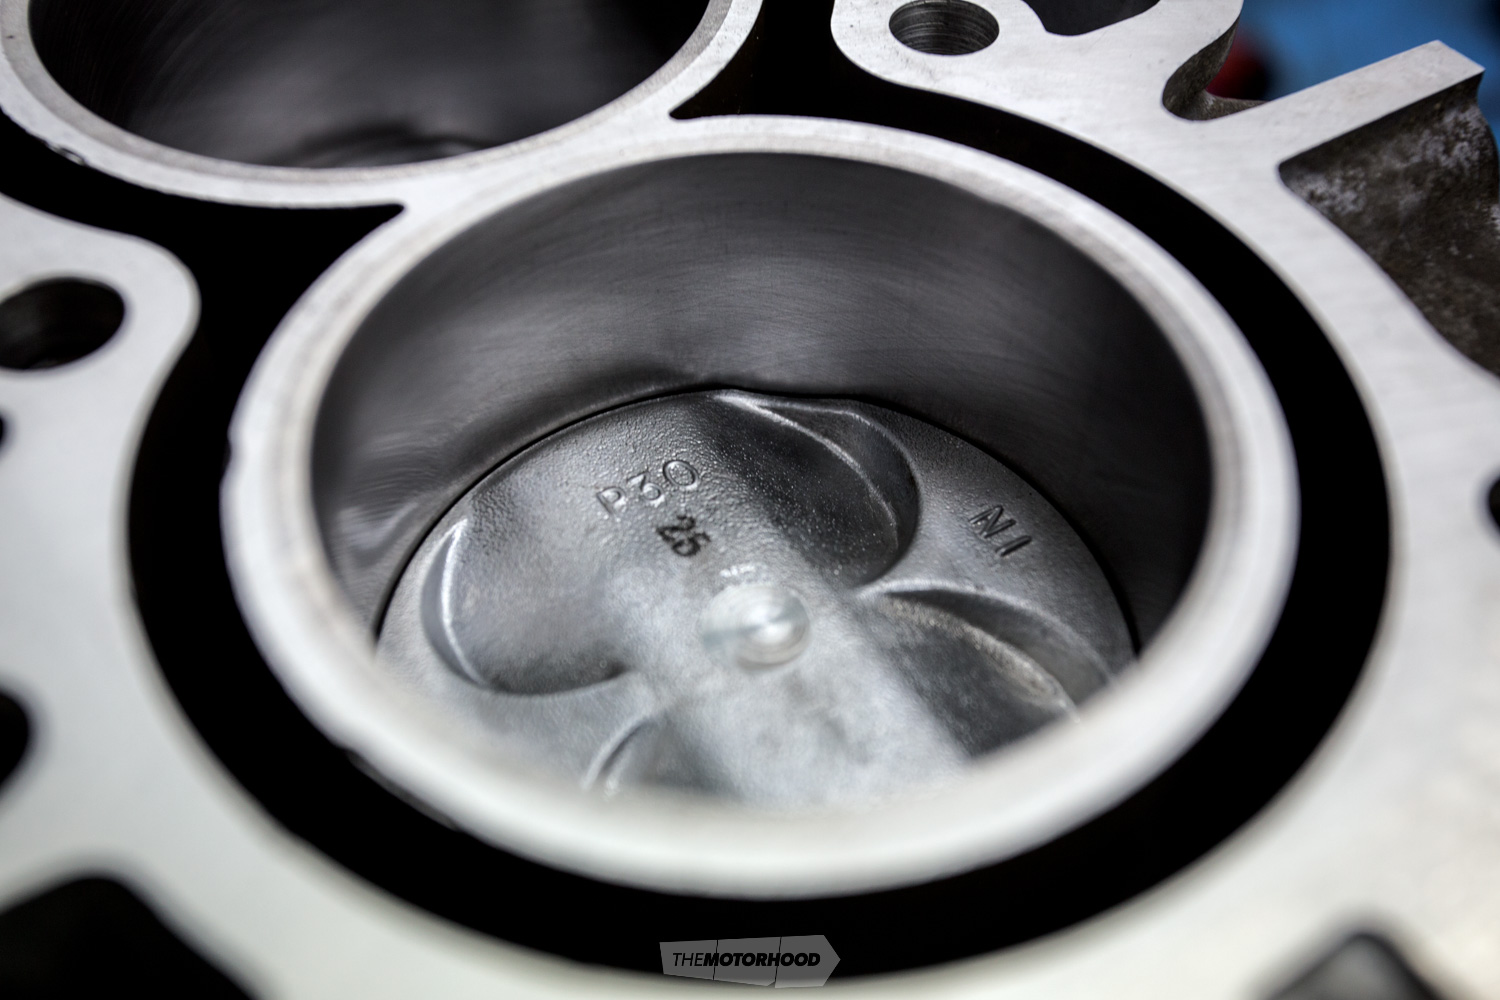
Hone and bore
Any piece of metal rubbing against another has the chance to fail, especially when it runs dry of oil or the lubricant is simply not right for the application. This becomes fairly evident in the case of pistons when the exhaust begins blowing out that tell-tale lovely blue smoke. When a ring, or four, has let go, things can get rather messy inside the cylinder bore. Rob Walters from Drury Engine Reconditioners tells us that when this occurs and the original pistons or bores have become worn — which naturally occurs as the engine gets older — boring out to the next oversize will make it like new again.
“Boring and honing go hand in hand. You will always bore the block first when wear has occurred, which steps up in typical increments of 20 thou, 40 thou, and 60 thou,” he explains. “This gives the engine three rebuilds throughout its life; however, measures can be taken to extend the life of the original block, reusing it by inserting a sleeve into the bore to start again. A two-thou tolerance is left in the bore for honing, which is done to finish the block bores with a cross-hatch pattern, which assists the rings in sealing when the engine is started for the first time.”
“There are instances where a block will have very little bore wear, and you can undertake a process called ‘deglazing’ — where the bore surface is roughened, much like a hone, to achieve the same cross-hatch pattern. However, any wear will need to be taken care of through a bore and hone process”
Neither process is as simple as using a piece of 180-grit sandpaper and having a she’ll-be-right attitude. The work requires very precise action in order to form a millimetre-accurate finish, as it would have arrived from factory.
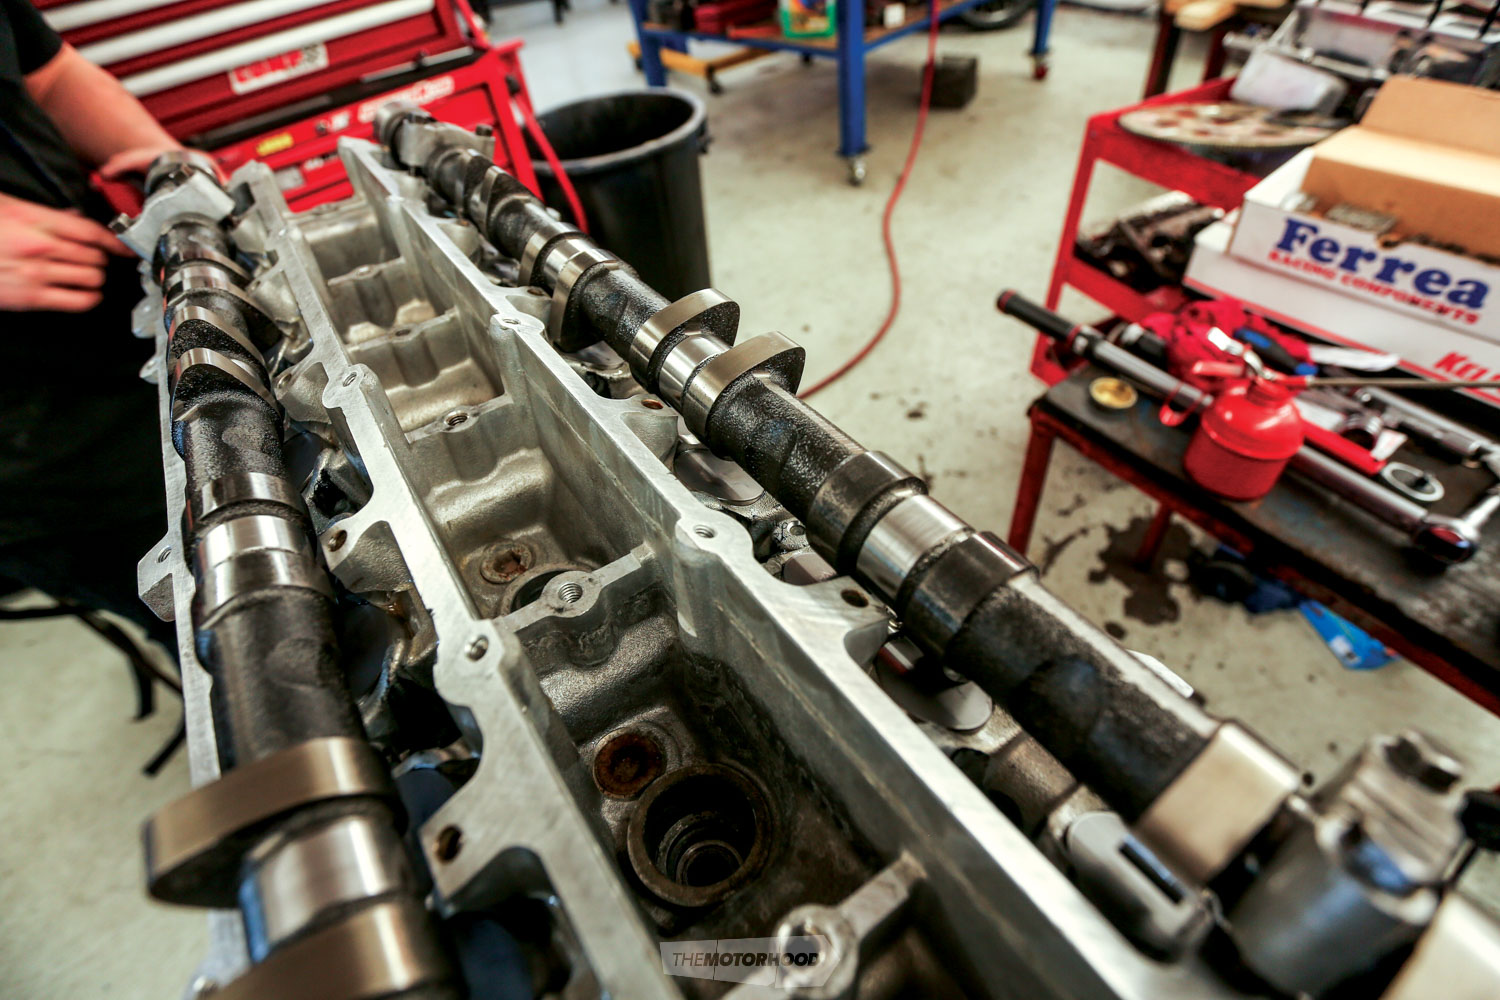
Camshaft
Before computer-controlled engines, the ‘brain’ of the engine was the camshaft.
The ‘camshaft’ is a lobed shaft that is driven by crankshaft rotation and controls the valve events, allowing air and fuel into the combustion chamber and waste gas out. Replacing the camshaft on any engine requires methodical disassembly, inspection, and careful reassembly of parts.
The camshaft has one lobe for each inlet and exhaust valve in the cylinder head(s), and the cam action of these lobes opens and closes the respective valves relative to each of the engine’s four power cycles — inlet, compression, combustion, and exhaust.
Most factory camshaft profiles need to juggle a whole range of requirements, and, for most vehicle manufacturers, maximum power simply isn’t realistic — not when such real-world factors as emissions; vehicle weight; fuel economy; driveability; reliability; and noise, vibration, and harshness must be considered. A result of all of these concessions is that the camshaft profile is sedate in terms of performance, so simply changing to a camshaft with a different profile can extract all kinds of performance from a once-standard motor.
There are a few important considerations when choosing a camshaft. Lift, duration, lobe-separation angle, whether it’s a flat-tappet or roller camshaft, and whether solid or hydraulic lifters are used are the key considerations. Most important, the specification of the camshaft must work in conjunction with the rest of the engine build, and the entire package needs to suit the use of the vehicle — for example, whether the engine is being built to original specifications or for applications such as towing or performance.
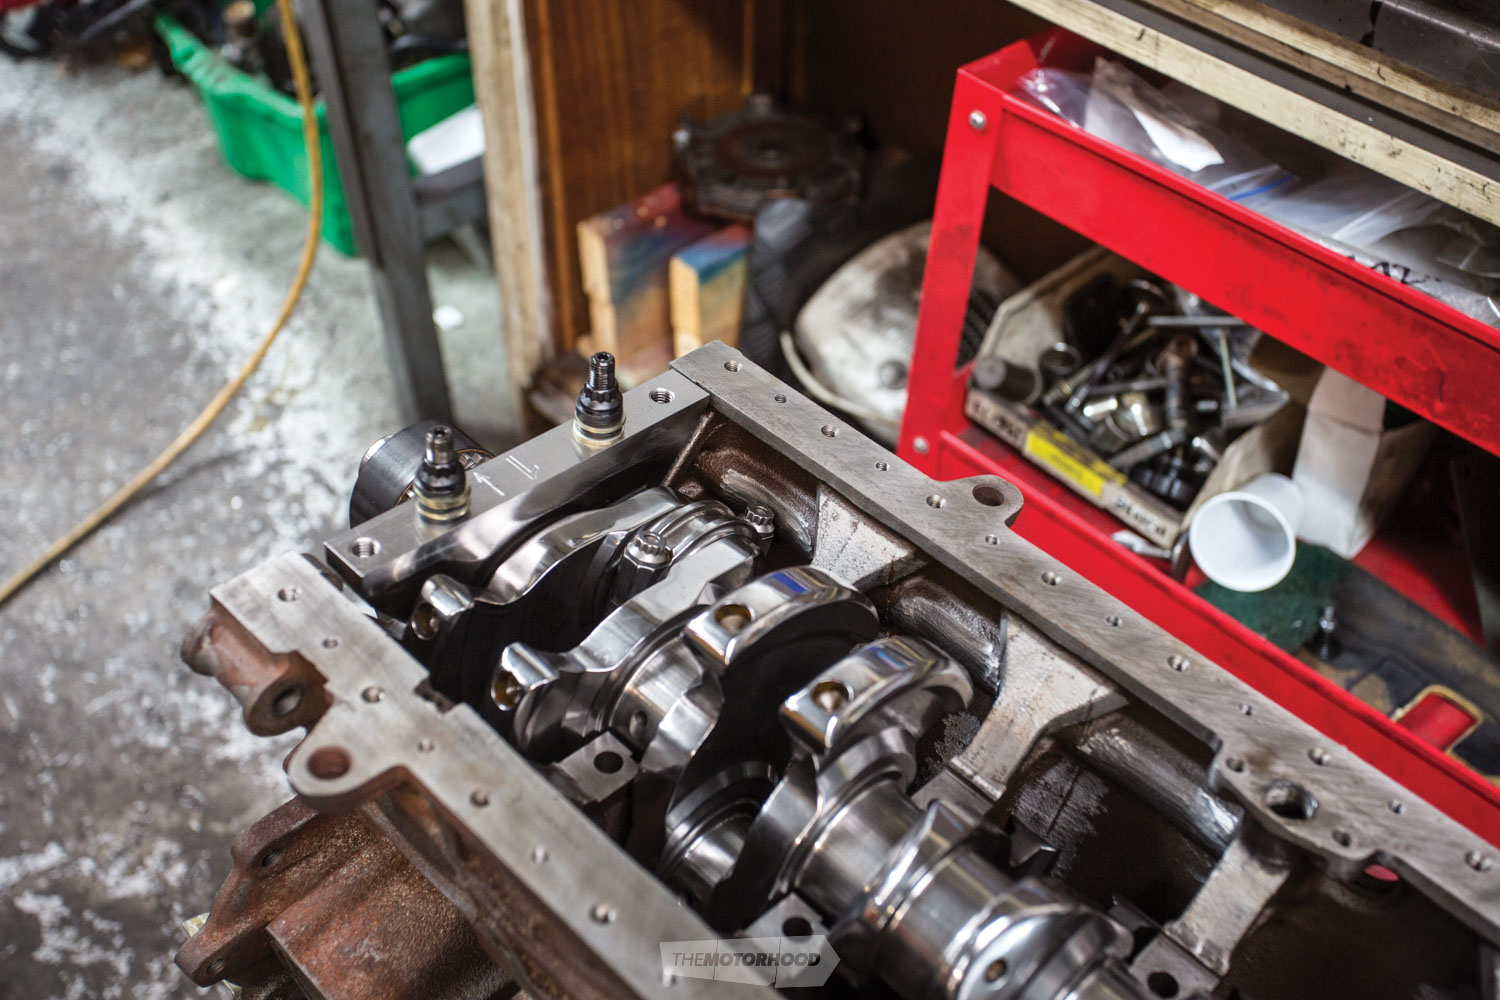
Engine balancing
If you’re rebuilding your engine using factory components, then balancing is not absolutely essential unless you want it to be the best it can be. Engine balancing can best be described in two ways. The first is ‘weight matching’. This process is achieved by weighing the pistons on an accurate balancing scale. Once the lightest piston is identified, it’s a matter of removing miniscule amounts of metal from the others (in a place that won’t weaken the part) until they all weigh the same. This procedure is then done to the connecting rods. Once they are all done, the rod is weighed on a balancing fulcrum, which determines how heavy the rod is at either end.
If one rod is fractionally heavier on the big end (where the bearing goes) than another, a little weight is removed from the heavier one to balance them out. The next step is ‘dynamic balancing’. This is when the rotating assembly (crank, rods, pistons) are put on a machine (sort of like a tyre spin balancer) and the counterweights of the crankshaft are weighed against the piston/rod combo. Generally speaking, street engines do not necessarily need balancing, although, from a technical view, every engine can benefit from balancing. Almost no factory engine ever comes fully balanced; even most performance engines aren’t balanced. Balancing helps an engine run smoother with less vibration, which creates less havoc with main bearings and helps things last longer.
Cost
One thing to keep in mind is that when it comes to spending money on a vehicle, especially an appreciating classic or performance-based one, restricting your budget for engine work is the last thing you want to do, as this will only cause more headaches down the line. Many of us are willing to spend all kinds of money to make the aesthetics immaculate, and then proceed to neglect the engine or spend as little on it as we can manage.
First things first: different engines will vary on price, which is heavily dependent on what needs to be done and what you’re working with. The cost of a V8 will almost be equivalent to completing two four-cylinder engines: double the heads, valves, and cylinders, minus the crank, of course. Second, as helpful as friends can be, taking it to a friend of a friend is not always the best option to save a few pennies. There are lots of reputable machinists who have been operating for many years and are experts in their field. The cost may be higher, but you’re paying for what you will get, and that’s a worthwhile price when it comes to protecting the future of your classic.
New Zealand Classic Car would like to thank Rob Walters from Drury Engine Reconditioners and Paul Greenslade from S2S Vapour Blast for their vital input into this article