New Zealand Classic Car talks to the experts on how to repaint once and do it right
A car’s paint and metal work tells its story, with the details of past owners signed in to every layer of old paint colours, rust, and the patina that has built up over the years.
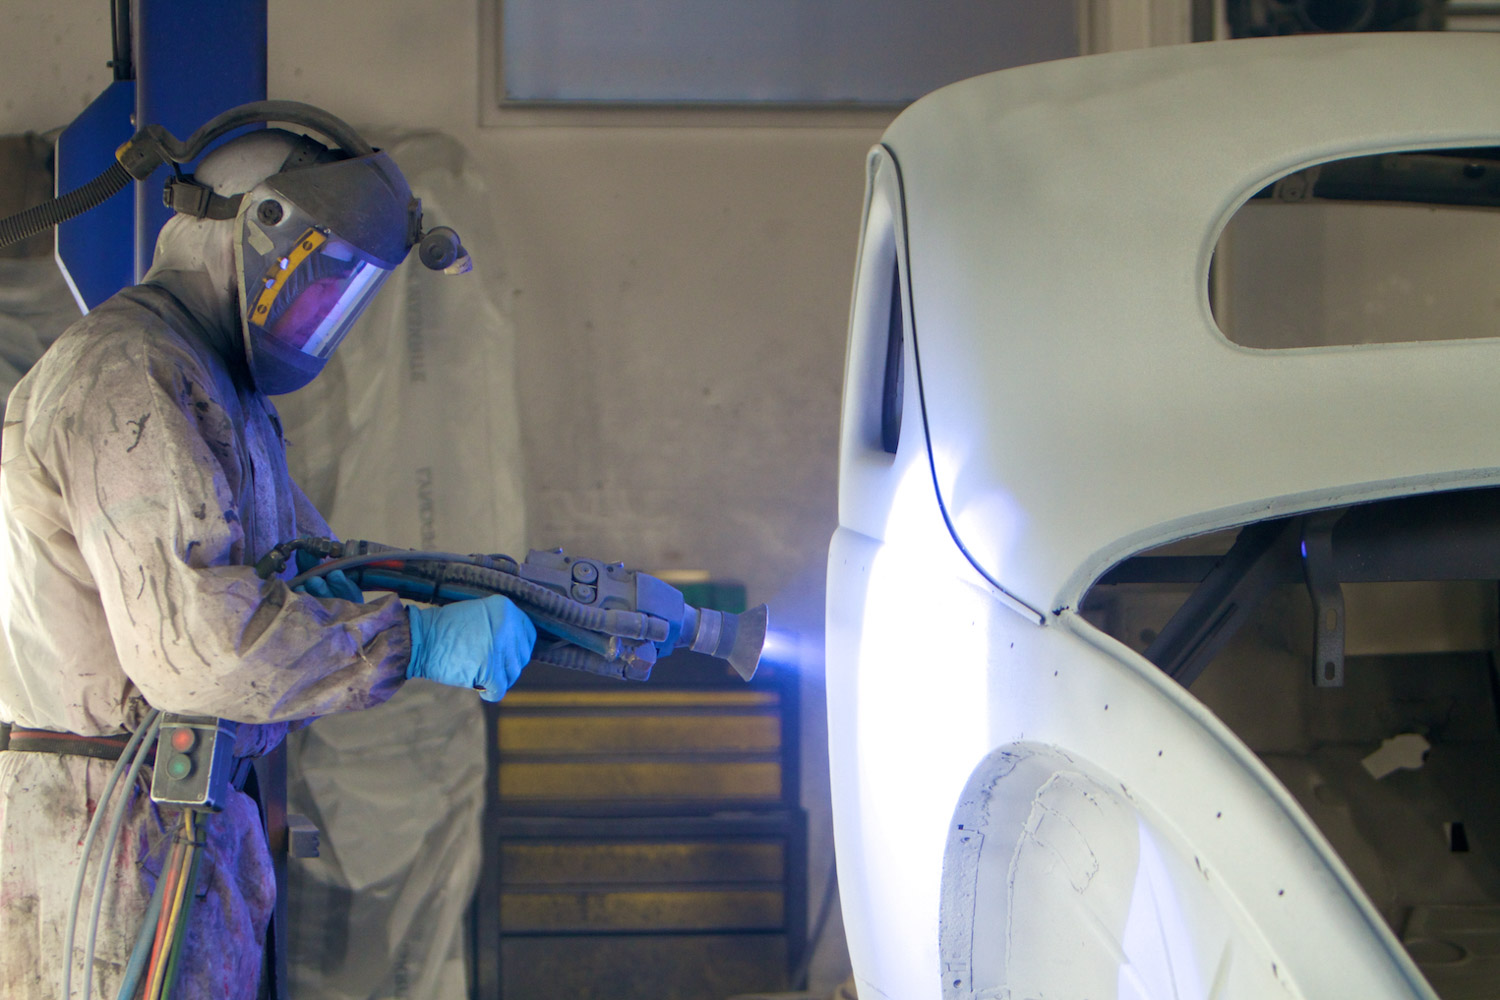
Painting is not the easiest aspect of a restoration for people to take on themselves. Small touch-ups can lead to full resprays; rust is often the tip of a destructive iceberg, and you can look forward to years of care to preserve thousands of dollars worth of work. So, what needs to happen to ensure that a car’s new look starts off right and will stay pristine for decades to come?
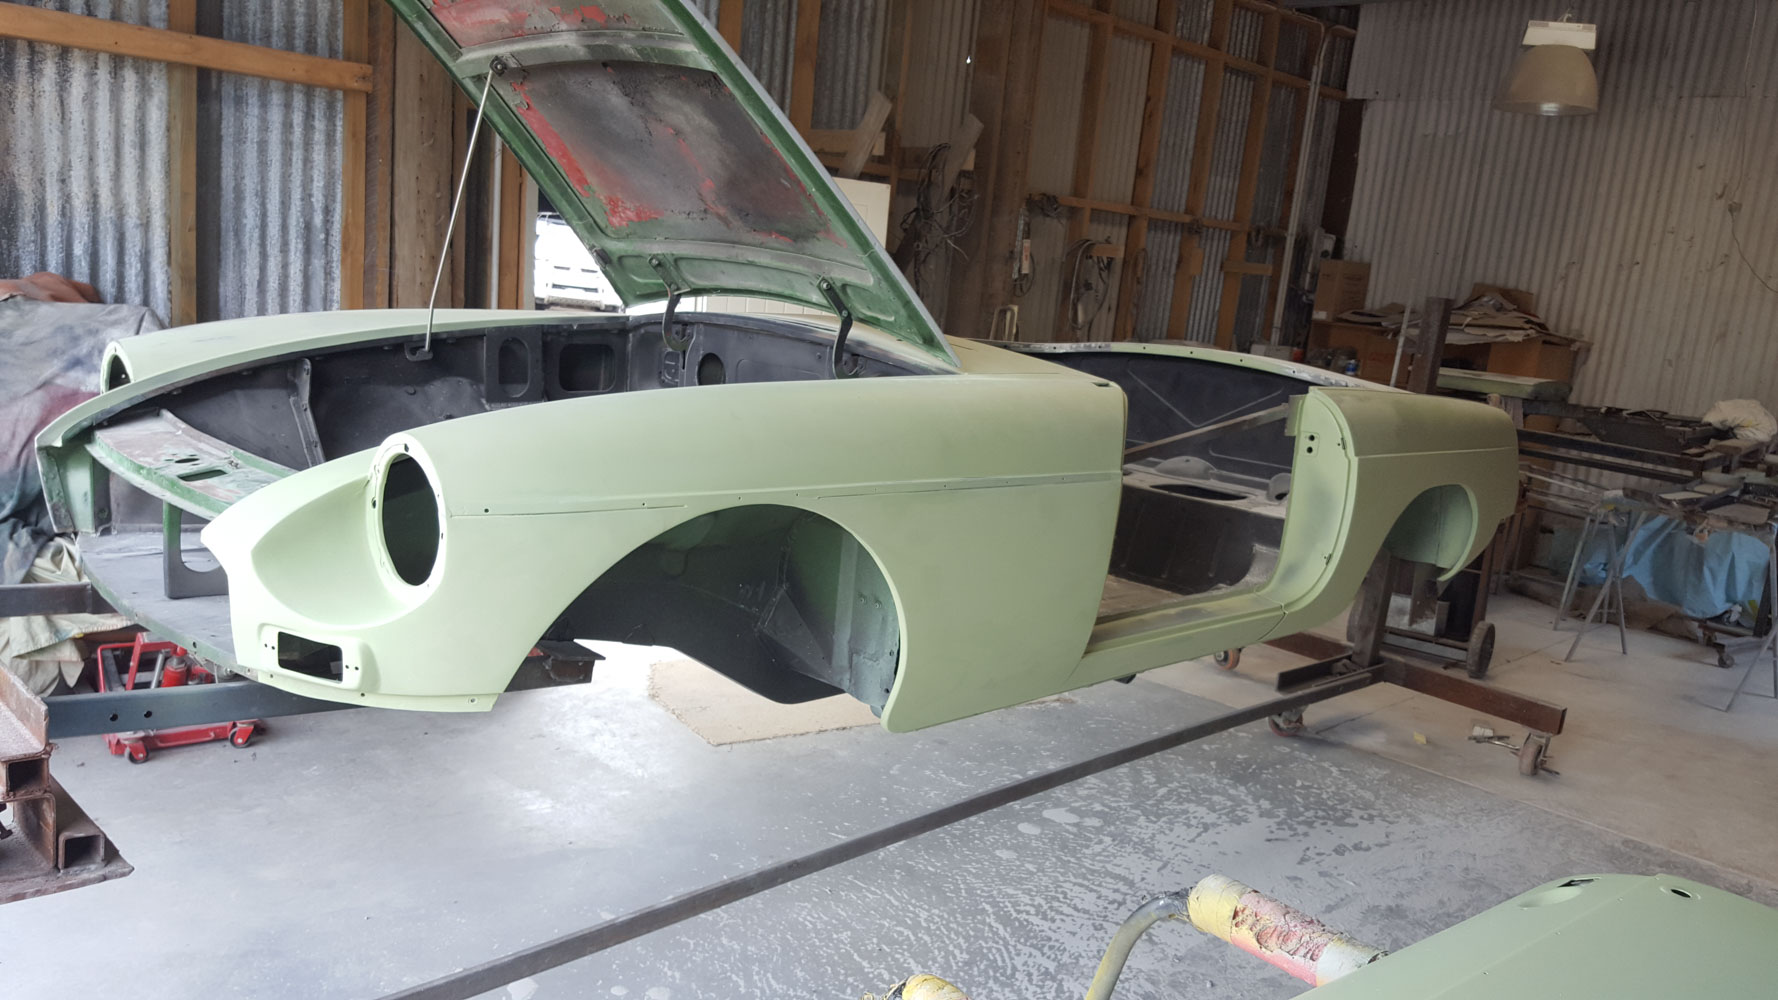
Stripping paint reveals a classic’s history
Murray Strutton from Moose Auto Restoration in Katikati highlights the importance of preparing each substrate properly when considering the major difference between paint prep in modern and classic cars.
“With modern cars, you pretty much know what each manufacturer uses, or you can find out easily,” he says. “Older cars, however, could have been painted with almost any type of paint over the years.”
It is therefore important for people to be aware of what they’re dealing with from the start, so that they’re not introducing incompatible materials and ultimately compromising the look and performance of the final product. In cases where people are unsure, it’s often better to let a professional handle the entire job from start to finish, simply for the sake of peace of mind. While some professionals, such as Bruce Haye from Ace Panel & Paint in Whitianga, don’t mind taking on a project that’s already been stripped and primed, it can add a layer of uncertainty.
“We don’t mind doing projects, but if it has had primer on it and it hasn’t been done properly, rust can form between the body and the paint,” Bruce says. “This means there’s risk if we’re not getting the whole job; whereas I can give a guarantee if I take it back to bare steel and do all of the work myself.”
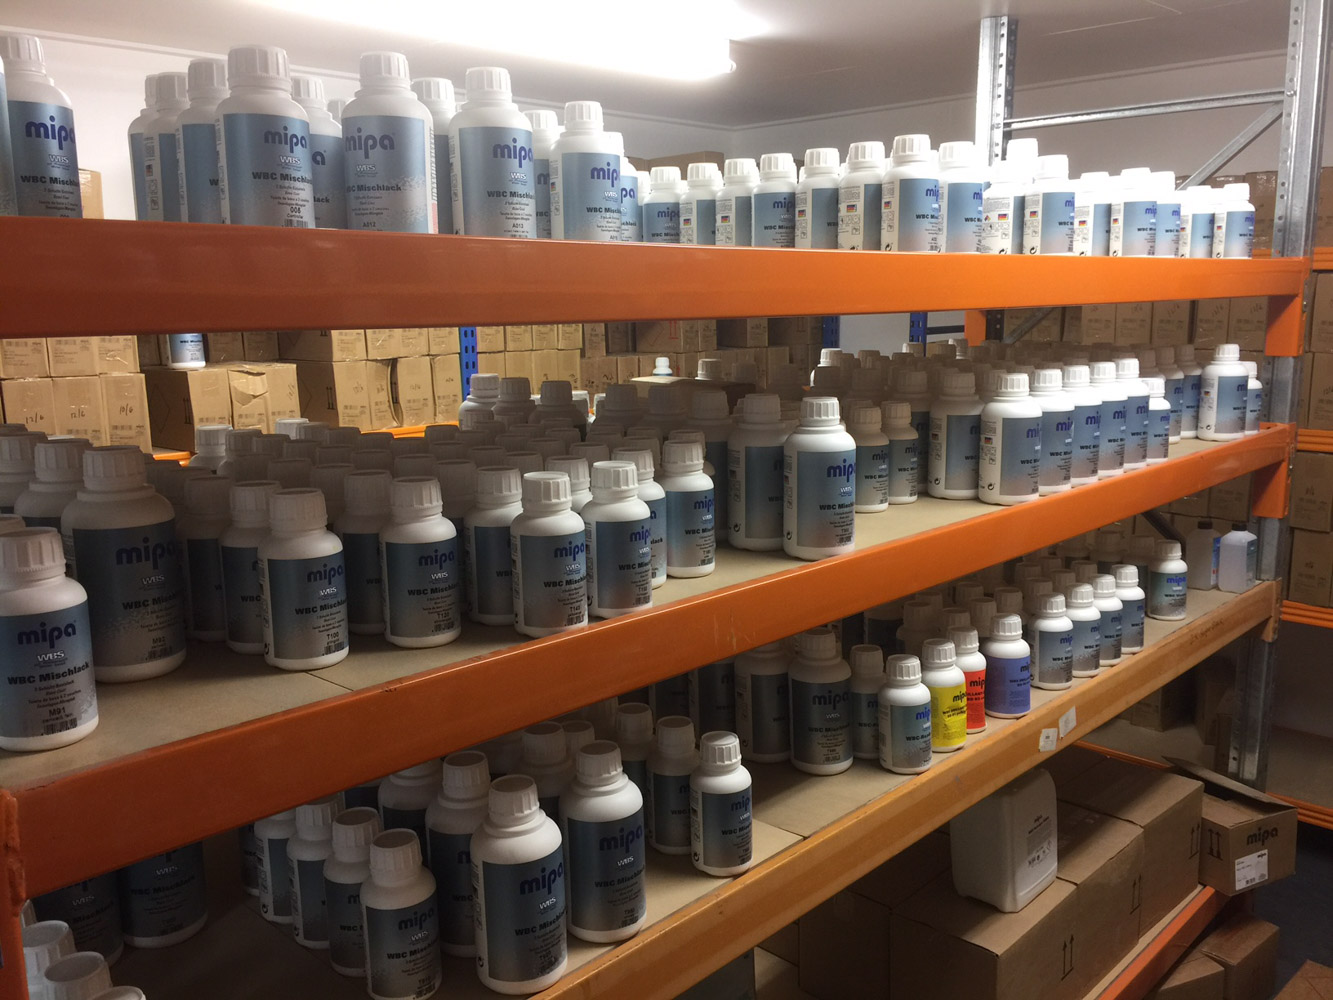
Effective preparation includes both the necessary products and techniques. Autopaint in west Auckland stocks more than 6000 products and sells through both its retail store and specialist shops. Jake Reid notes that they have the gear for everything from rust repair to touch-ups and full restorations.
“Painting itself is just 5 per cent of the job; the other 95 per cent is preparation,” Jake says. “People need to make sure they’re using the right abrasives. Quite often, they’re using sandpaper that’s too fine or too coarse for the job. It’s useful if they come and see us first, so that we know what they’re hoping to achieve and their skill level. Then we can give them what they need to know and guide them through it with the time we have.”
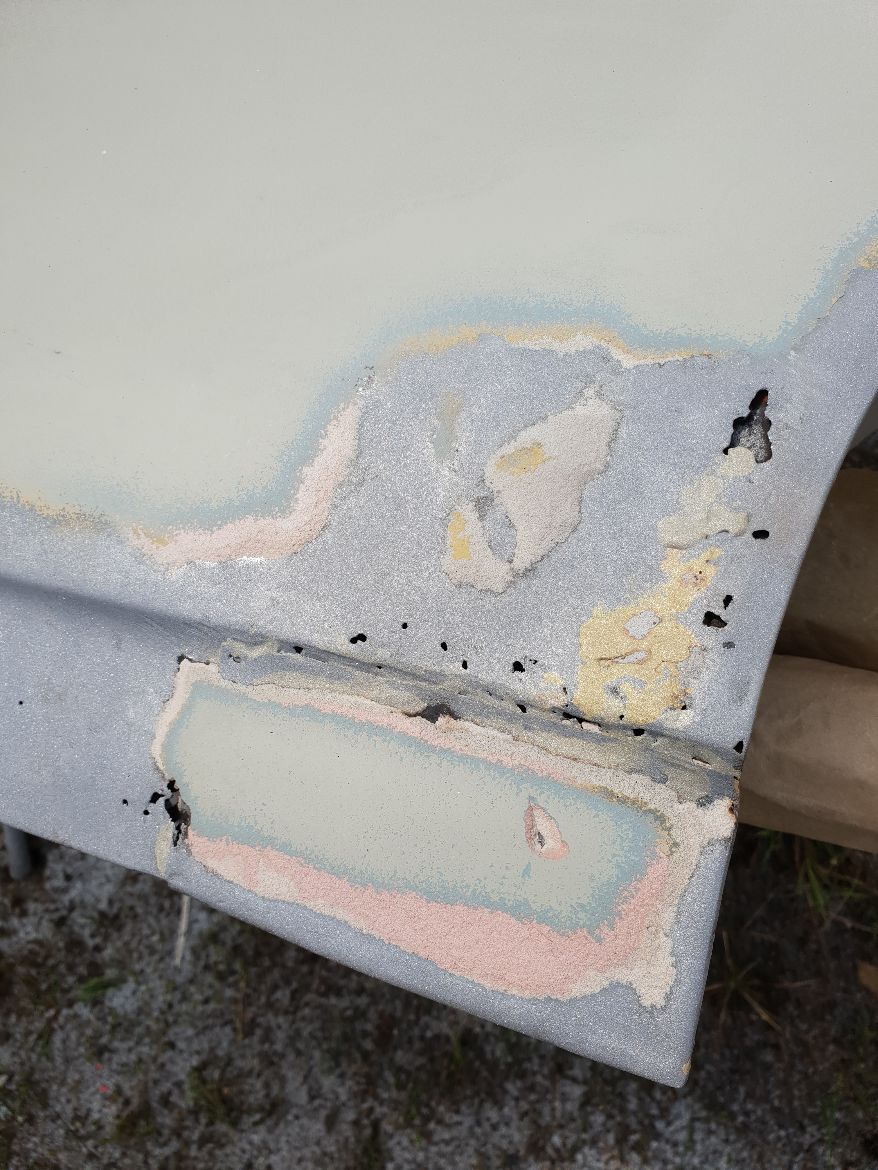
Rust often hides below the surface
David Kirkham from Autoblast in Auckland points out that it’s crucial to climb into rust as soon as you spot it.
“Paint doesn’t rust; metal does. If you can see it, it’s only the tip of the iceberg,” he explains.
David also remarked that “cars rust when they sit around”. For a car to sit in a shed and not rust, it needs to be in an environment with a stable temperature. If the air is warming up during the day and the car body is still cold from the night before, moisture can be sucked onto the vehicle and contribute to rust build-up.
David believes that people who do their homework could certainly do a good job of rust-proofing at home, especially as a lot of automotive paint shops sell the necessary aerosol products and applicators. However, he points out that a professional will already know the best products to use and will be familiar with all the places it needs to be applied.
“The key is just getting everywhere,” he explains. “I’ve seen cars torn apart in an accident, and you can see where the rust-proofing has gone and where it hasn’t. The job is only as good as the weakest link.”
Robert Duff, the technical and training manager at RJP Panel and Paint Supplies, also suggests consulting a professional, at least to get some sense of the true scale of the job.
“People might not know what they have and what they’re starting with, so they should ask a local paint shop for advice on where they’re starting from, he tells us. “It’s easier to take time to get some knowledge than simply rip in.”
How to prepare for paint application
No matter which stage of the painting process people are undertaking themselves, there are steps they can take to give themselves a better chance of success. A tip Robert Duff provided that works at any stage of the process is to either look for or ask for the technical data for specific products.
“It’s easy to assume that every product works the same, but each one has its own variables,” he says. “Try and use the same brand from start to finish, as not all products are compatible with each other.”
Each stage of the process significantly influences the rest, so how a car is stripped and primed has a significant effect on the way the paint looks and ages and how the metal is prepared to resist corrosion. As Murray Strutton has found, etch priming is one of the main things people overlook, and that has serious consequences for the life of a paint job.
“Any time any part of the car is taken back to bare metal, that part has to be treated with a suitable metal corrosion inhibitor, which then has to be washed off and have etch primer applied before any other process is carried out,” Murray says. “Failure to do this not only voids any warranty any paint company may provide, but also means that whatever material is applied, be it other types of primer or filler, will ultimately fail over time, without exception.”
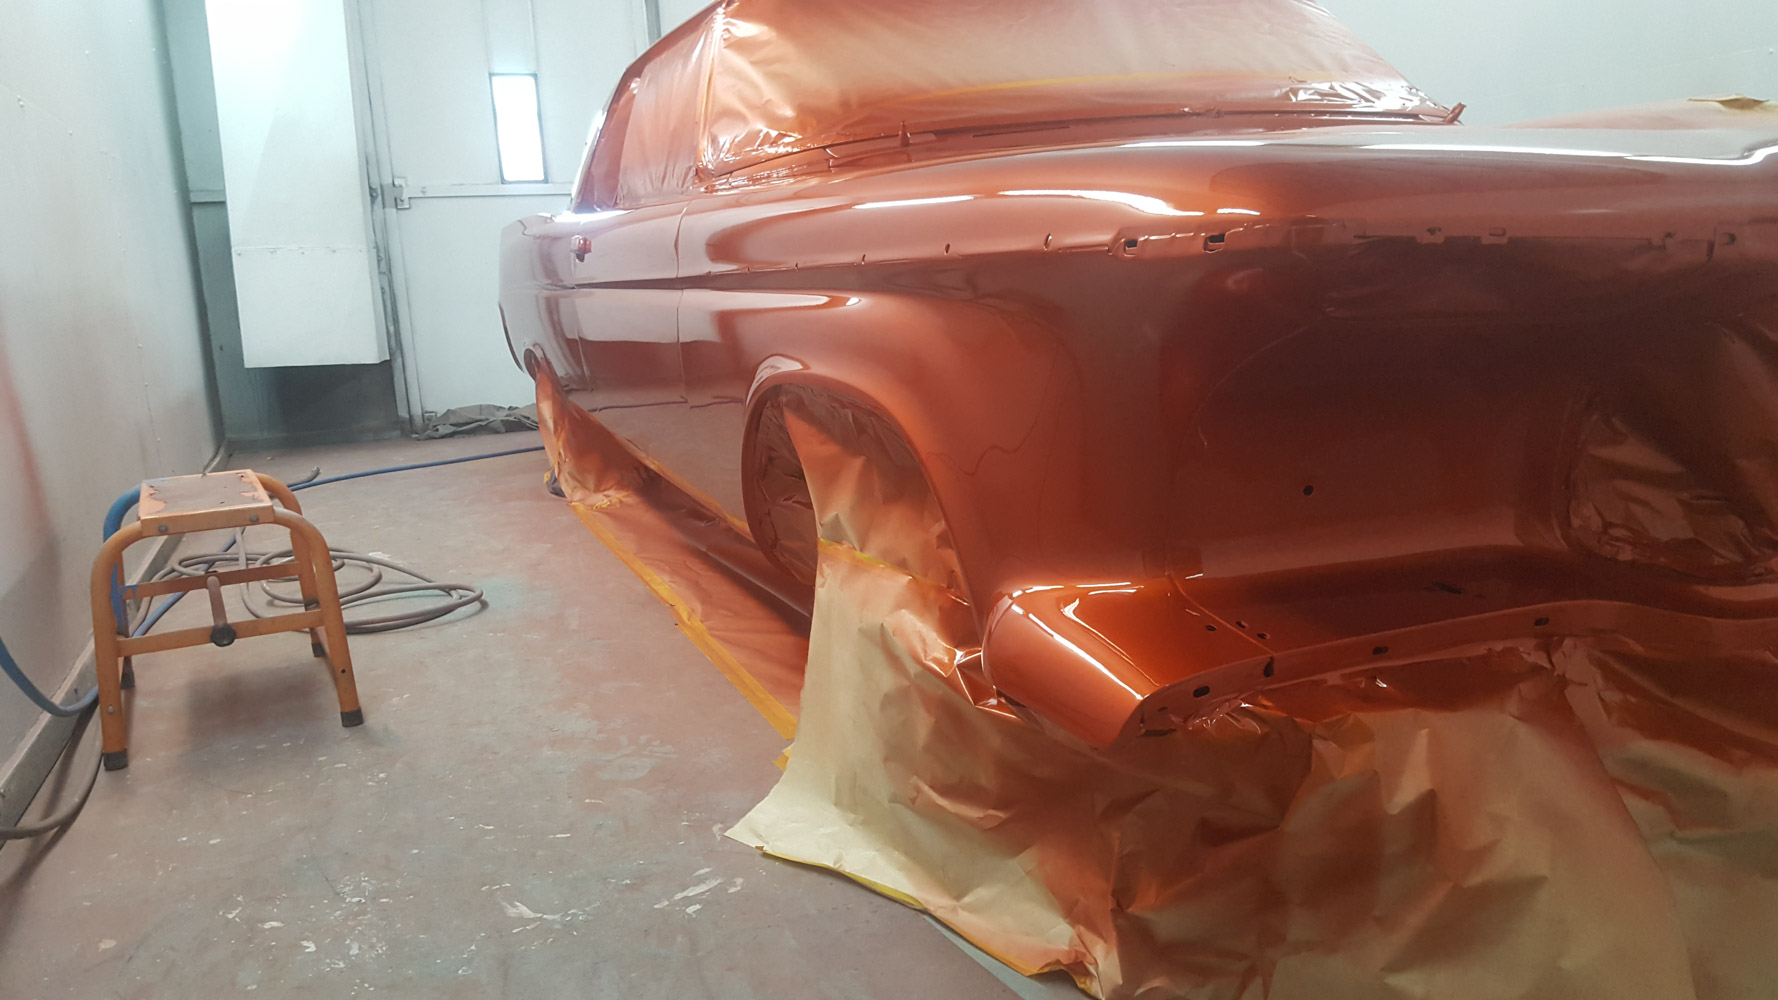
Ongoing care is essential
A paint job’s survival over time is heavily dependent on the quality of the preparation, but there are also steps people can take to ensure it lasts. As David explained above, the way a car is stored drastically affects its susceptibility to rust and the other imperfections that develop over time.
The main benefit to restoring a classic is in applying modern products and techniques that weren’t available when these vehicles were produced. This includes products such as Ceramic Pro, which connects to the paint on a molecular level and can only be removed by stripping everything back to bare metal. Aidan McDougall points out that as soon as the car has left the panel shop after restoration, the elements begin to take their toll. That’s where Ceramic Pro comes in.
“Ceramic Pro can be described as an additional clear coat with three times the hardness and self-cleaning properties of a normal substrate,” he says. “Once it’s applied, the car only needs a light wash from then on, retaining a showroom look for many years to come; you never need to wax your car again.”
While there is a DIY-friendly option in the form of Ceramic Pro Care as a maintenance product for Ceramic Pro 9H, the full treatment can only be administered by professionals who have undergone Ceramic Pro’s in-house training.
The key theme that comes from the professionals is to ask for help and do as much preparation beforehand as possible. Small mistakes early on can leave lingering imperfections. By stripping a car back to reveal its full history, comprehensively treating rust, and committing to ongoing care, it’s possible to give a classic car a showroom look that will last well into the future.