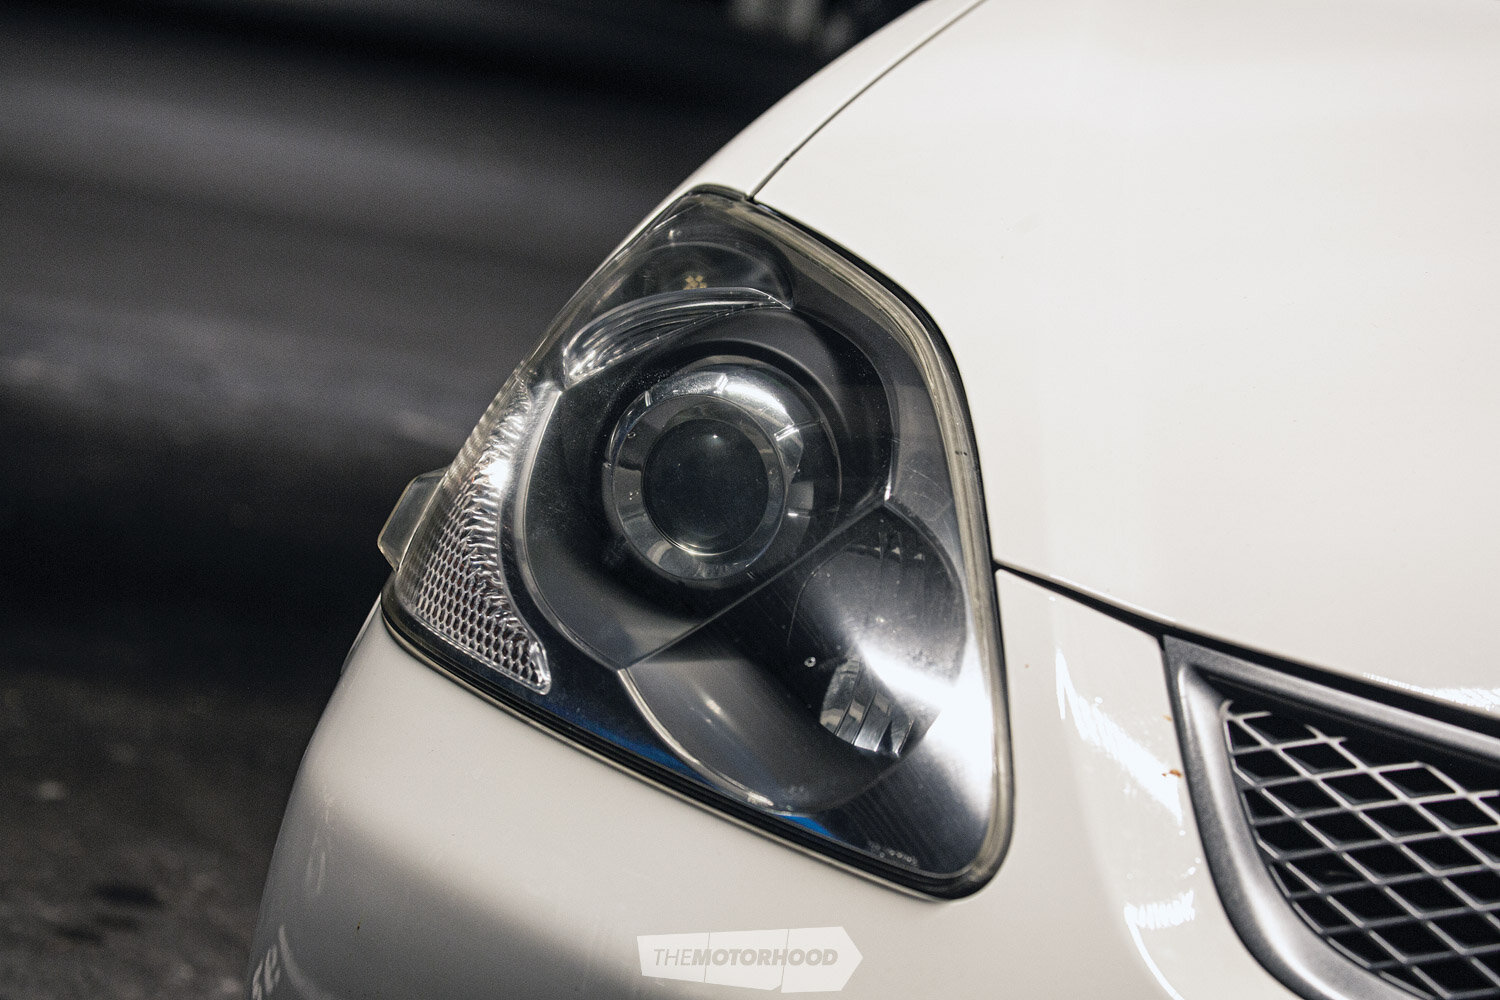
Mention the name Rain-X and you’ll instantly think water repellent, but the company actually offers a wide range of car care products, including its Headlight Restoration Kit, an easy all-in-one DIY kit that anyone can use at home, with no need for any extra tools. The sun’s UV rays have a lot to answer for when it comes to cars — they give our coatings a seriously hard time. When it comes to headlights, the sun breaks down the protective clear coating on the acrylic plastic, leaving it open to the elements, and over time this oxidizes, causing a foggy appearance.
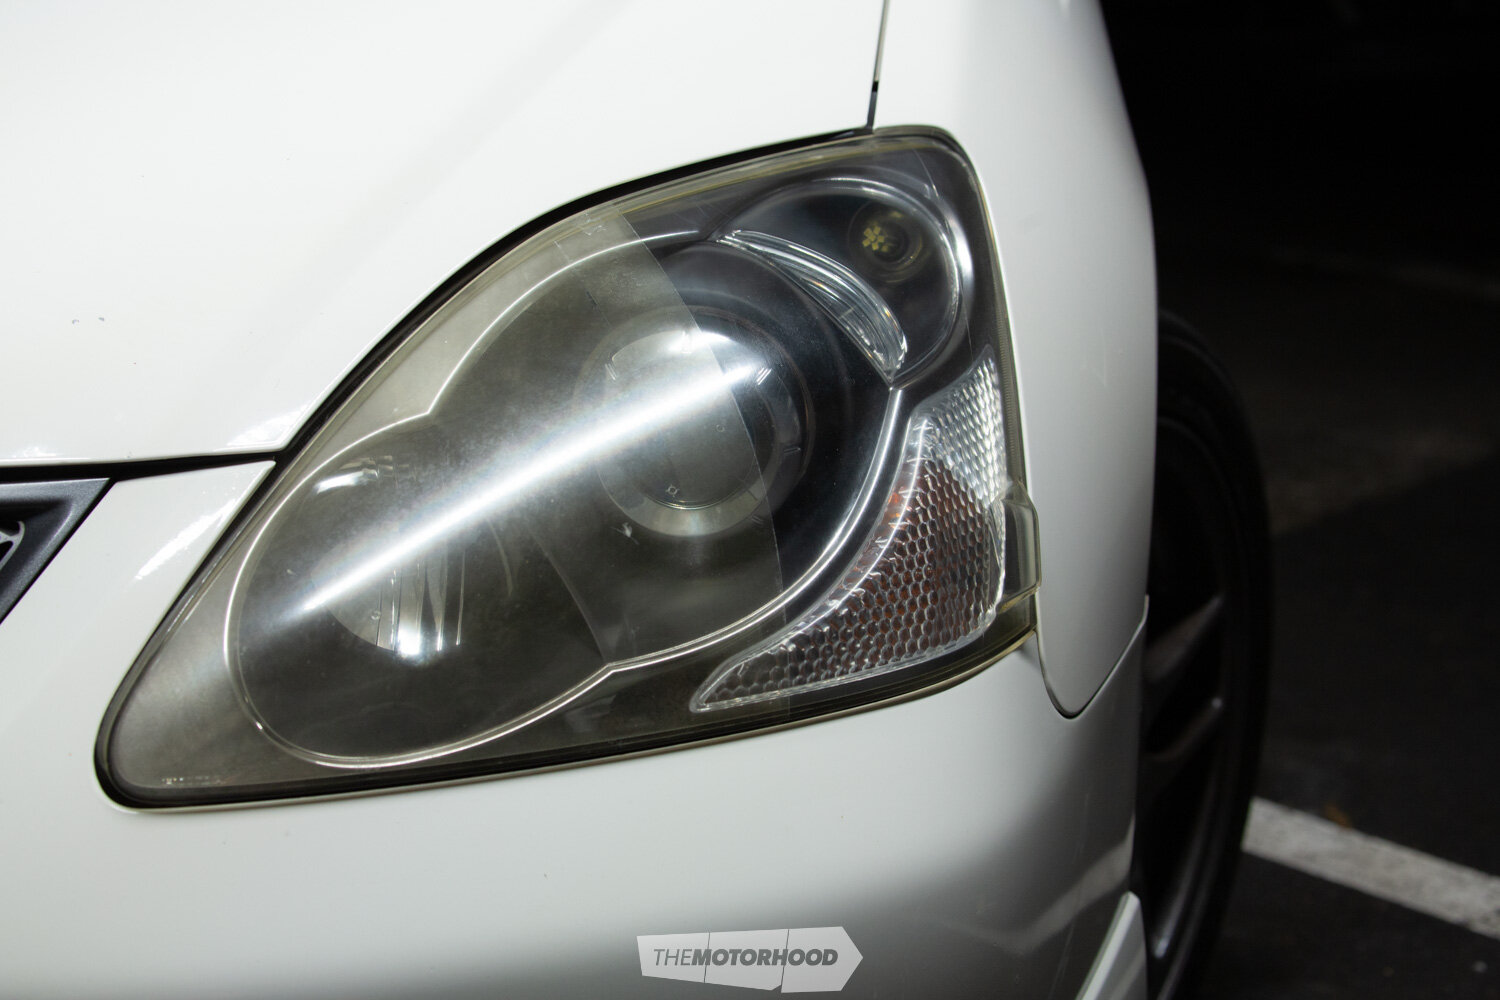
These unsightly headlights not only look absolutely rubbish with that fresh paint job or fresh restoration — if you let it get bad enough it can become a WOF and compliance issue, due to the reduced headlight performance. Replacements are costly and often impossible to find if you have a popular drift chassis. But all is not lost, as an easy DIY restoration using Rain-X Headlight Restoration Kit can yield long-lasting, crystal-clear results.
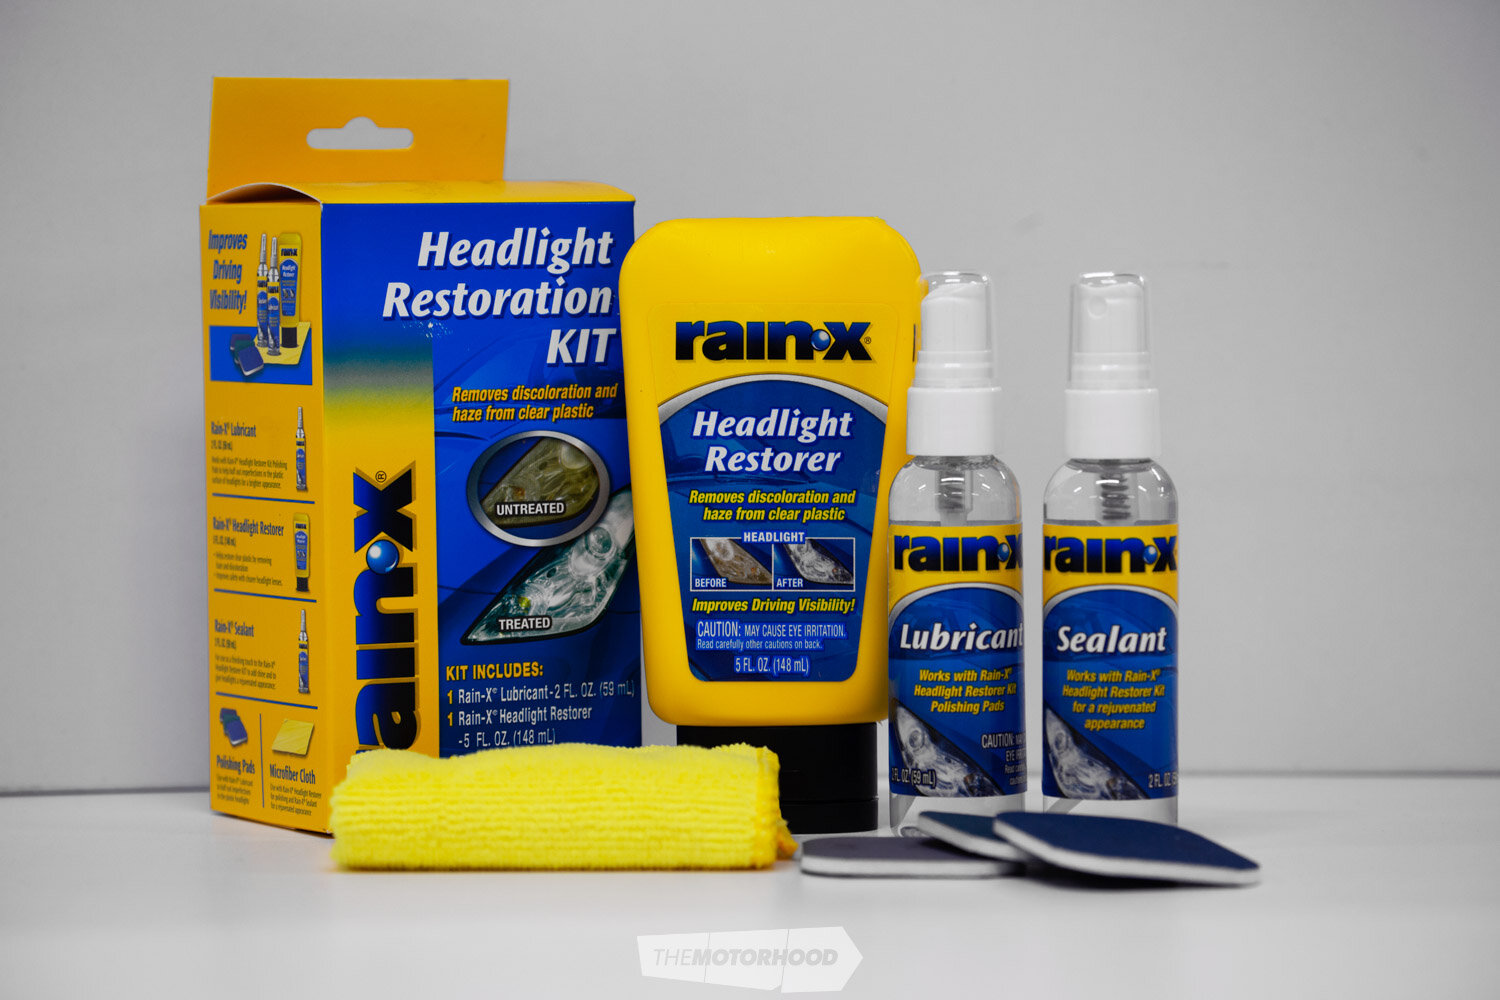
The Rain-X Headlight Restoration Kit comes complete with three polishing pads, 59ml Rain-X Lubricant, 148ml Rain-X Headlight Restorer, 59ml Sealant, and a microfibre cloth.
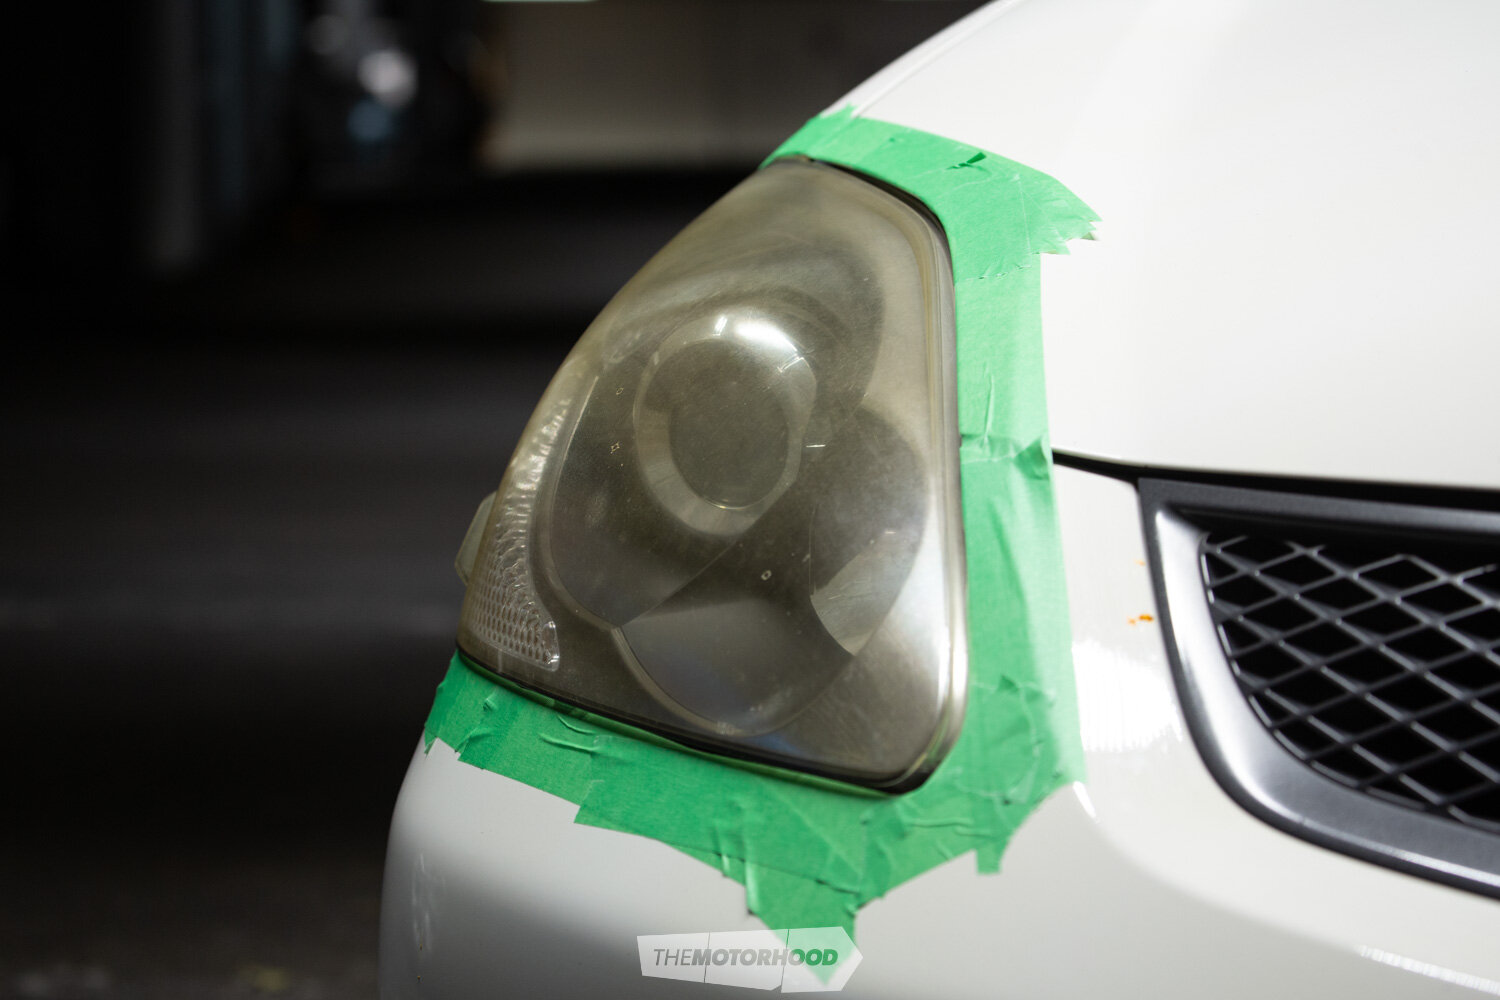
Step 1:
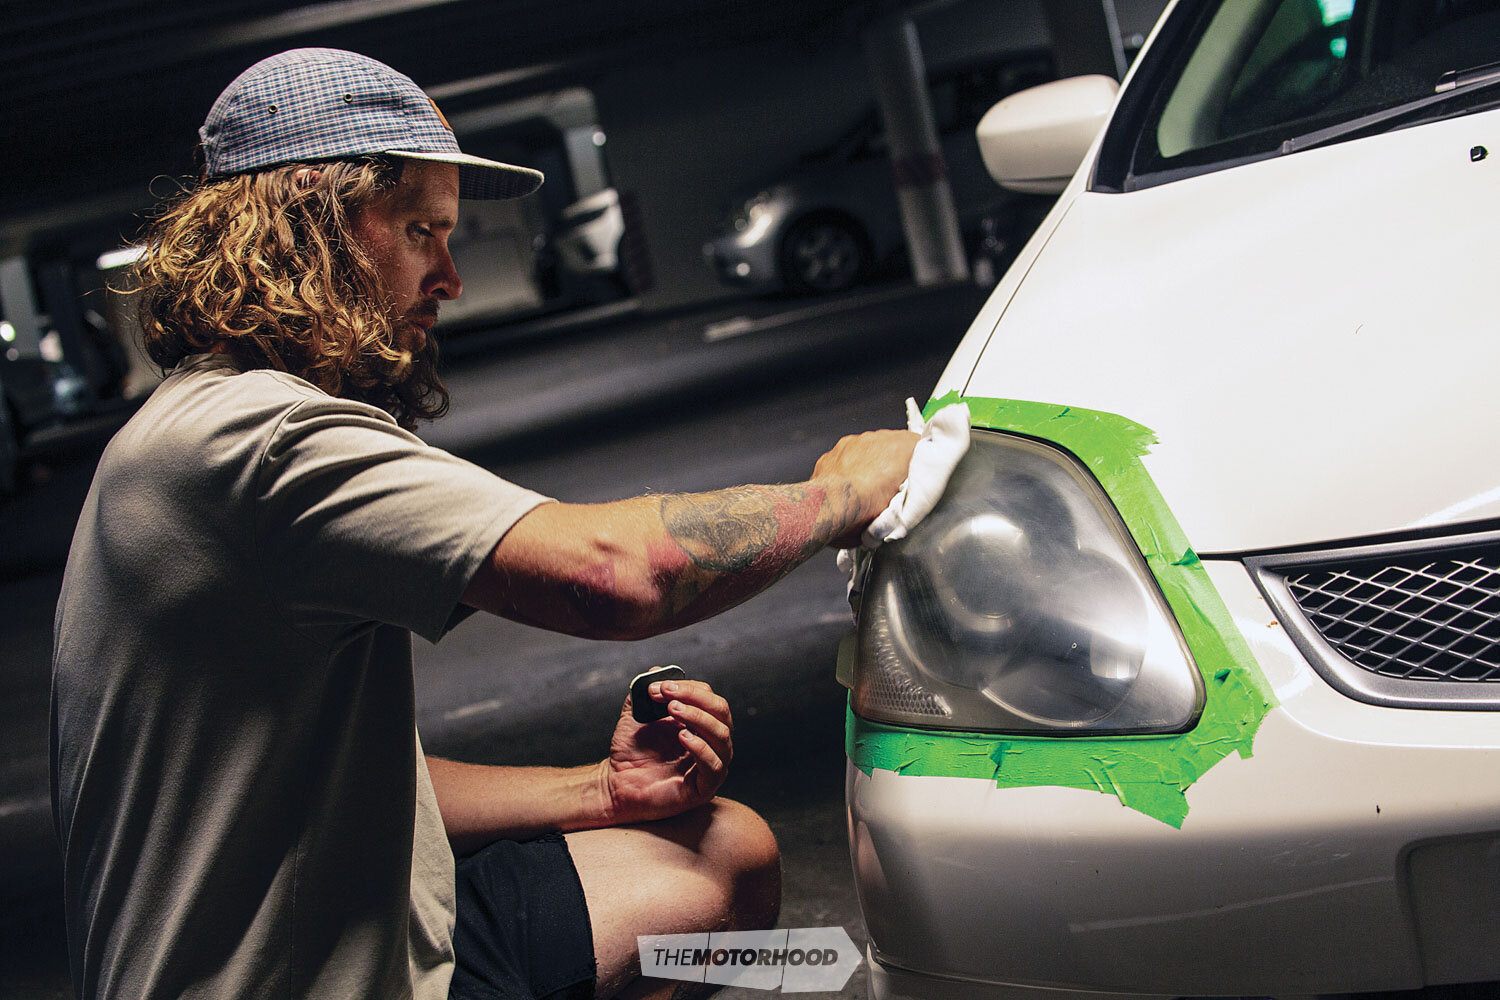
Ensure the headlight is clean and free of dirt and road grime before beginning the process. We also like to apply some masking tape around the headlight as a way of protecting the paint if you get a little loose with the sanding pads. But this is not necessary and more a precautionary measure.
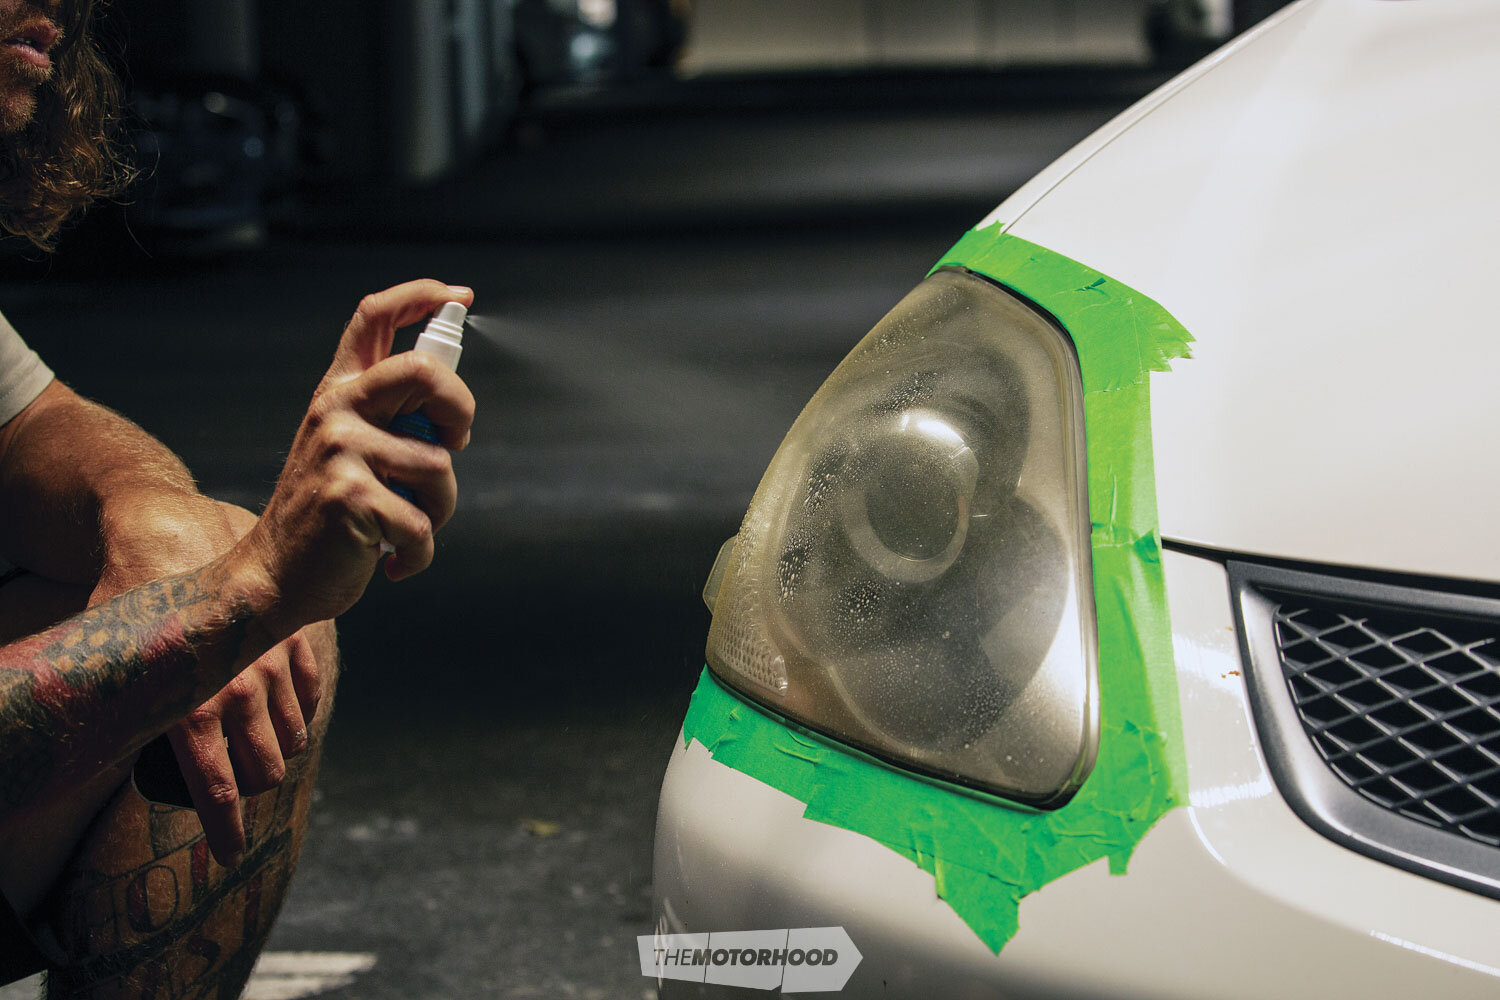
Step 2:
Spray the entire headlight and polishing pad #1 with Rain-X Lubricant. Sand the headlight surface in a uniform diagonal motion until you achieve an even finish. Work in one diagonal direction before switching and working in the opposite forming a cross hatch. At this stage you’ll want to remove all the yellowing from the plastic, creating a uniform surface. Once you’re happy, wipe dry with a clean cloth or paper towel.
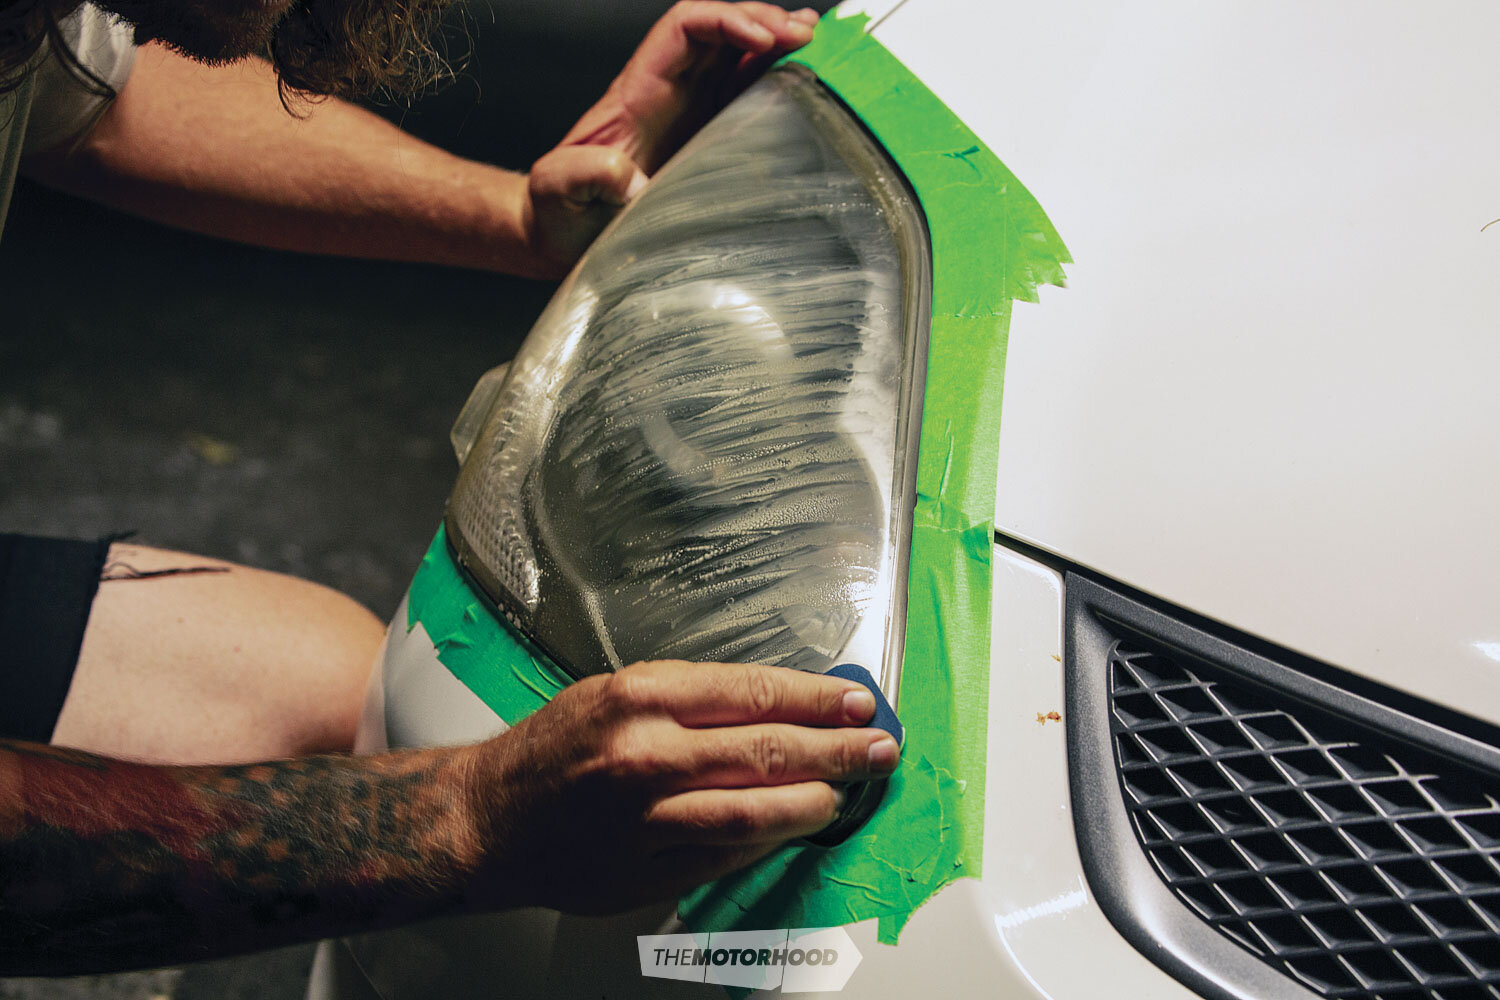
Step 3:
Apply another coat of Spray Rain-X Lubricant to the headlight and this time use medium grit Polishing Pad #2. Working in a linear (horizontal and vertical) motion, sand the headlight with a firm pressure, working the entire surface in one direction and then switching to the other. Rain-X recommend repeating this twice. Once you have achieved a uniform surface, wipe clean.
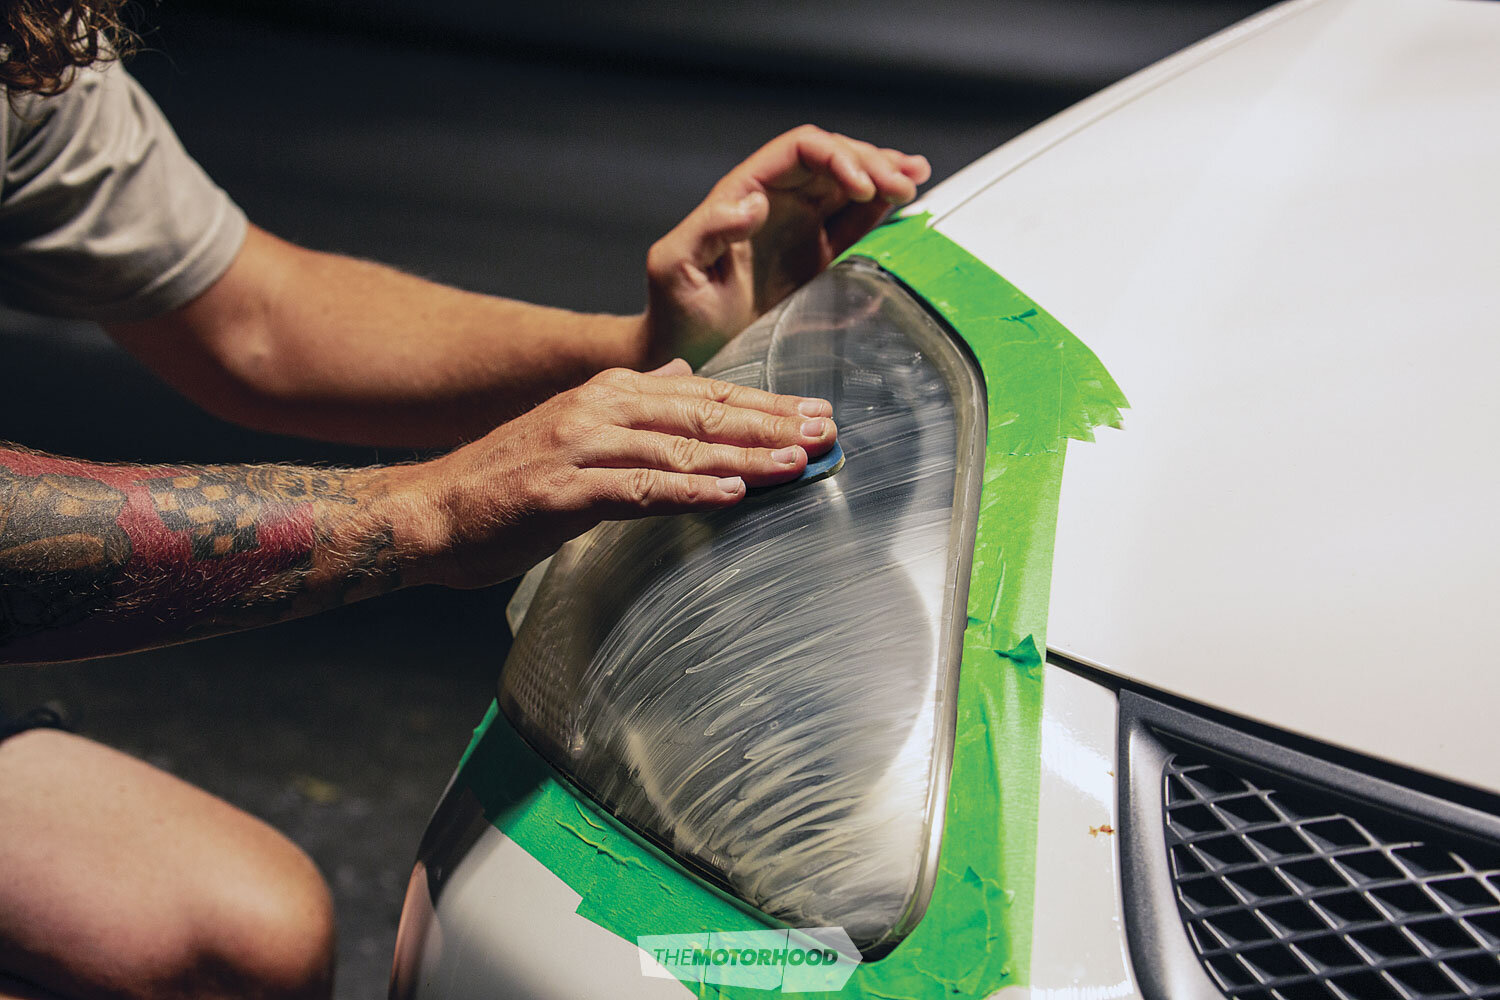
Step 4:
Apply a third coat of Spray Rain-X Lubricant to the headlight and this time, use the fine grit polishing pad #3. Return now to a diagonal sanding motion. By doing this it ensures you’re not left with any sanding marks. If you were to complete all three sanding steps in one direction, you would struggle to create a uniform surface free of scratches. Step four is complete once you have achieved a smooth-to-the-touch surface. Wipe clean and allow it to dry.
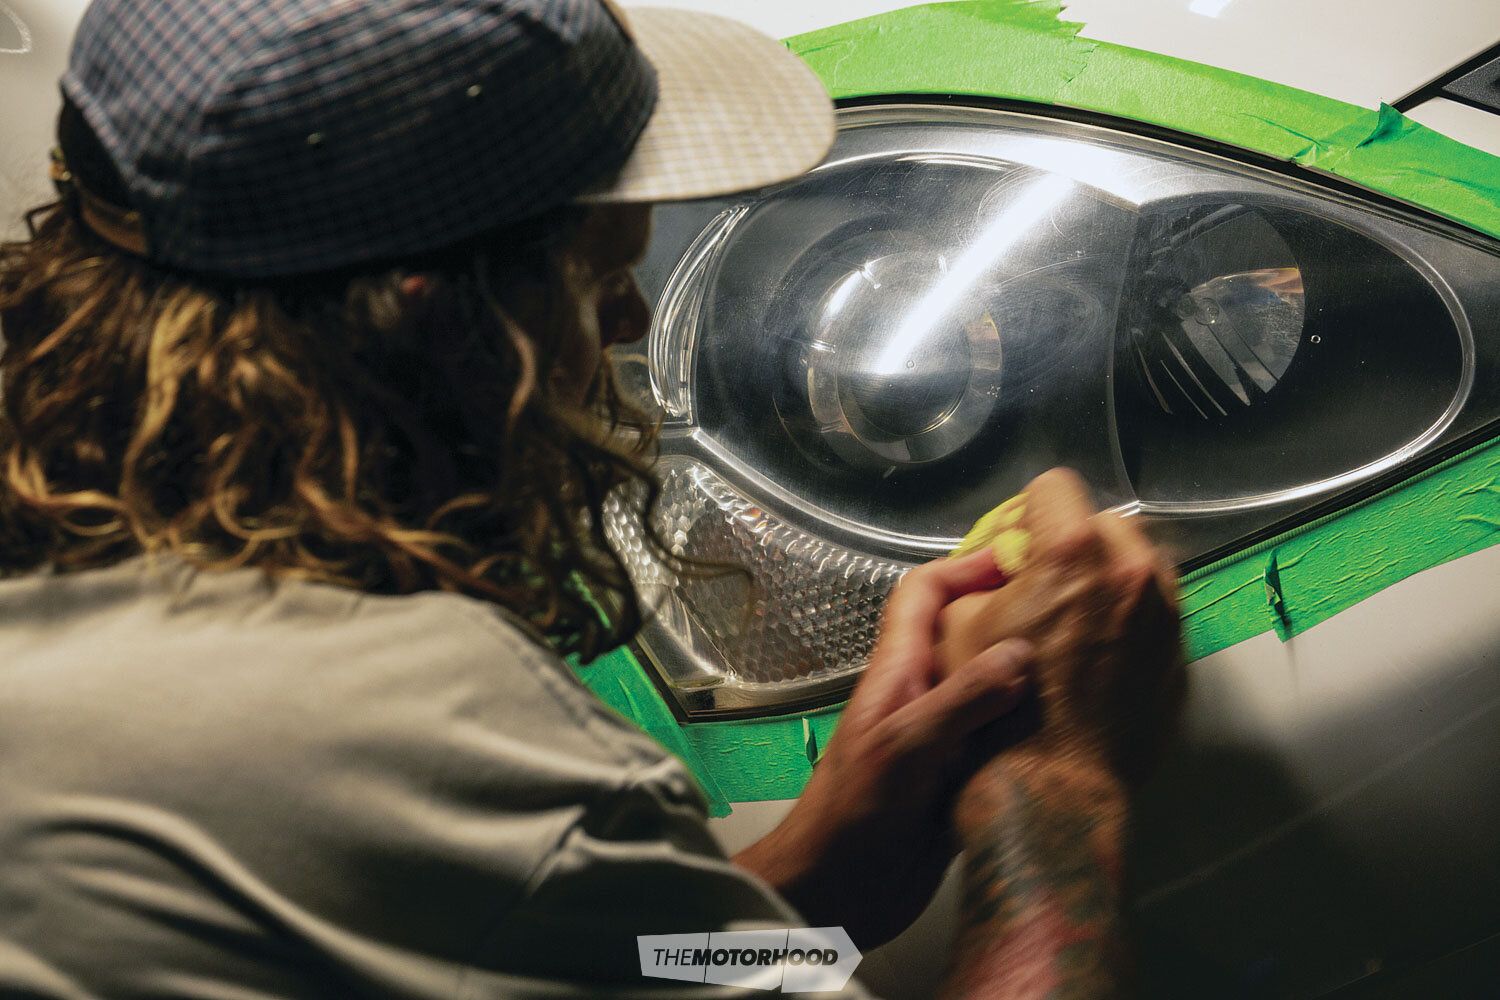
Step 5:
At this stage, the headlight will still have a haze. Now it’s time to polish. Apply a small amount of the Headlight Restorer to the provided microfibre, and, working in a circular motion, polish the plastic until all the haze has gone. You will likely have to apply more product as you go. Once the headlight is completely polished, ensure all the product has been removed from the headlight surface.
Step 6:
The last step is to seal the headlight using the Rain-X Sealant. Apply the sealer to a clean, dry cloth and apply an even film. Job done!