Polishing to perfection

26 February, 2026

Coaching from the bench
Deep new paint is just the starting point. You only get a world-class shine through wet and dry sanding and the right technique is critical
By Jim Richardson

Fill a bucket with water and add a couple of drops of liquid detergent to soften the sandpaper
Start with 1000 or 1500 grit, and finish with 2000 grit micro-fine sandpaper

The secret to a show-stopping finish is colour sanding, no matter which paint system you use. Even a good painter,  no matter how experienced or talented — like my mate Bruce Haye, CEO at Ace Panel and Paint in Whitianga — can’t jump straight to a perfect mirror finish. To get that level of perfection, you need to colour sand.
It used to be called ‘rubbing out’ or ‘cutting’, and it was done with pastes that came in cans. They worked — sort of — but the compounds really just rounded off imperfections instead of eliminating them, and they removed a lot of paint in the process. But now your new finish can be made flawless, thanks to microfine sandpapers that come in 1000, 1500, 2000, and even 2500 grit ranges, and Farecla G3 polish — available from automotive paint suppliers.
Once the car is painted and the paint has been allowed to cure for a week, you can begin. Even if your paintwork is so good that there is only a barely perceptible ripple to it, if you get down low and squint while looking into the highlights it will still appear uneven. To get out minor orange peel, you want to start with the 1500-grit microfine wet sandpaper and then progress to finer stuff.
And if the painter is an expert like Bruce, you can go directly to the 2000 grit, assuming the paintwork is expertly shot. Here’s the process: Put a drop or two of dishwashing liquid in a clean bucket and fill it with water. Next, place a few pieces of the micro-fine sandpaper in the bucket, too. Leave them in there for about 20 minutes to soften their edges.

Wash the entire car carefully, and then go over it with a tack rag before colour sanding
Fold the paper in thirds, then, on rounded surfaces, sand with your hand flat on the paper. Use a block on flat surfaces to avoid grooves
Keep the surface wet, and sand using short strokes in a cross-hatch pattern

Prepare to succeed
Work in a well-lit, clean area, and while you are waiting for the paper to soften, wash the car down to remove grit or dust. Dry it with clean terry-cloth towels, then get a tack rag and go over the car to make sure the paint is absolutely clean. A small particle of grit can make scratches. If you are working outdoors, wet down the area to control dust. 
Wrap a piece of the wet sandpaper around a thin rubber sanding block if you are going to be working broad, flat surfaces. Otherwise, you can just fold the sandpaper in thirds. Keep wetting the surface of the car while sanding and make sure to keep it wet. Place your hand flat on the paper and sand in short, criss-cross strokes. Don’t apply a lot of pressure, and never sand with just your fingertips — they can be too aggressive.
I found that moving the paper about 10cm back and forth yielded the best results. That way, if you do make a scratch, it will only be a short one and easier to buff out. Be patient. You can’t worry about time when you are colour sanding a classic
A clean rubber squeegee is the best tool for checking your progress. Swipe it across the sanded surface periodically to clear it of water. Only when you have the surface completely free of any suggestion of orange peel or imperfections are you ready to go to the next step. 
If you began with 1500 grit, proceed to 2000 grit and repeat until all the coarser scratches are eliminated. You can even finish with 2500 grit if necessary. Only when the paint has a consistent, smooth satin finish can you go to the buffing stage if you want perfect paintwork.

Use a clean rubber block or small squeegee to check your progress
You only need a little of the compound to do your polishing with a buffer
Buff the car using the 12 to 3 portion of the wheel, and never dry buff

Avoid the edges
For the next step, you’ll need a multi-speed buffer. If you take the time to practice a little on your old beater with a buffer, you can master the use of it pretty easily, and the buffing will go quickly. Here’s how to do it safely:
Which buffer you use is less important than how you use it. They are heavy-duty professional tools and require a little practice to get the hang of them. Set the buffer on low speed. Never buff sharp edges or crowns, because you can remove the colour coat there in a hurry if you aren’t careful. Paint builds up in valleys, but is already thin on ridges and edges.
Work in a well-lit area. Dark coloured cars can be a challenge because imperfections are more noticeable on them. And if you are building a show car, you will also want to inspect it under the kind of lighting in which it will be shown, whether it be outdoors or under fluorescent lighting, which will show every imperfection.
Use a soft cutting pad on the buffer. Apply only a small amount of TK polish, because this product goes a long way. When you begin to buff, use the 12 o’clock to 3 o’clock position on the pad. Slightly tilt the buffer toward the working surface and work a small area of about two feet by two feet. 

Don't press hard while buffing, and make sure you buff away from edges instead of onto them — it’s far too easy to go through the paint on them
Apply the wax with a soft sponge, and then remove it with a soft cotton rag

More dos and don’ts
Although you don’t need to moisten the pad, never dry buff, which is when there is no polish on the surface or pad. This condition will burn the finish, and that can be a very expensive mistake. Never flat buff either because you will lose control of the buffer if you do. And don’t linger in one area. With practice, the surface will come up to a sparkling shine in a very short time. 
As you work, look for scratches. At this point, if you find any you missed, go back to the 2000-grit sandpaper and take them out before going on. Just keep in mind that the more you sand or buff with the cutting pad, the more paint you will be taking off.
When done, you should be looking at a dazzling finish with just a faint residue on the surface. Next, apply a small amount of glaze or pure carnauba wax with no cleaner in it to a soft sponge. Apply a thin coat to the paint surface and then take it right off. The glaze will remove the buffing residue, leaving a perfect shine. 
Don’t continue to apply more wax. The heavier you apply the wax, the more pressure will be required to remove it, and excess pressure will cause scratches. The only reason wax would need to be applied heavily to a painted surface would be to mask imperfections, and that won’t be necessary if you’ve done the job right.

This is what you end up with. A molten, deep, dazzling finish that will wow the judges

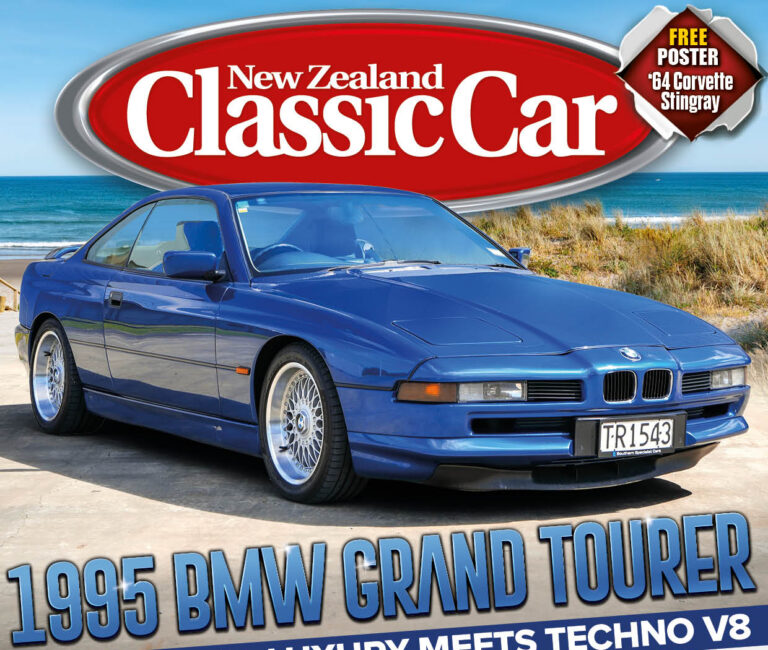
NZ Classic Car magazine, March/April 2026 issue 404, on sale now

BMW’s flagship techno showcase
The supermodel 1995 BMW 840Ci is simply elegant and perfectly engineered.
BMW’s 840 Ci flagship Coupe provides superb comfort and equipment packaged in a stylish body, with grand-touring performance and surprisingly competent handling for its size.
It’s the kind of machine that stands apart from the start. When BMW first unveiled its flagship Grand Tourer at the 1989 Frankfurt Motor Show, the automotive world blinked twice. Sleek, low, and impossibly modern for its era, it combined drama with a sort of purposeful understatement. This silhouette still looks striking today, long after its peers have faded into obscurity.
Initially offered with a range of engines, the model you’re reading about is the V8 iteration, featuring a 4.0-litre eight-cylinder heart under its long bonnet and a smooth five-speed automatic at the back. It wasn’t about blistering sprint times so much as effortless velocity. There was power on tap, sure, but the way it delivered thrust felt unhurried and measured – the automotive equivalent of a deep exhale on a long drive.
Poster 1964 Chevrolet Corvette Stingray, C2

Family pet

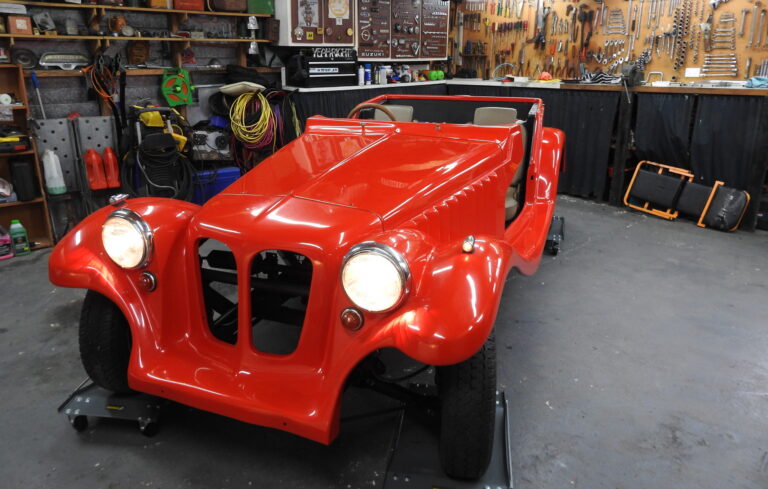
Diana and Fred Vermeulen from Manurewa, Auckland, have been involved with cars and car clubs for most of their married life. In the early days, it was all about Vauxhalls. At one stage they were president and secretary of the Vauxhall Owners Club. They have lost track of how many Vauxhalls have passed through their hands. Now, their garage contains a classic ’62 Oldsmobile and an ’80s Ford panel van, behind which is a kit car that few in this country will have heard of. It’s a Bulldog — the squat, flat-nosed dog with short legs beloved of the political cartoonists of last century as a symbol of the British spirit. For its automotive equivalent, most will think of the Austin Allegro.