

Coaching from the bench: Casting plastic knobs and rubber parts
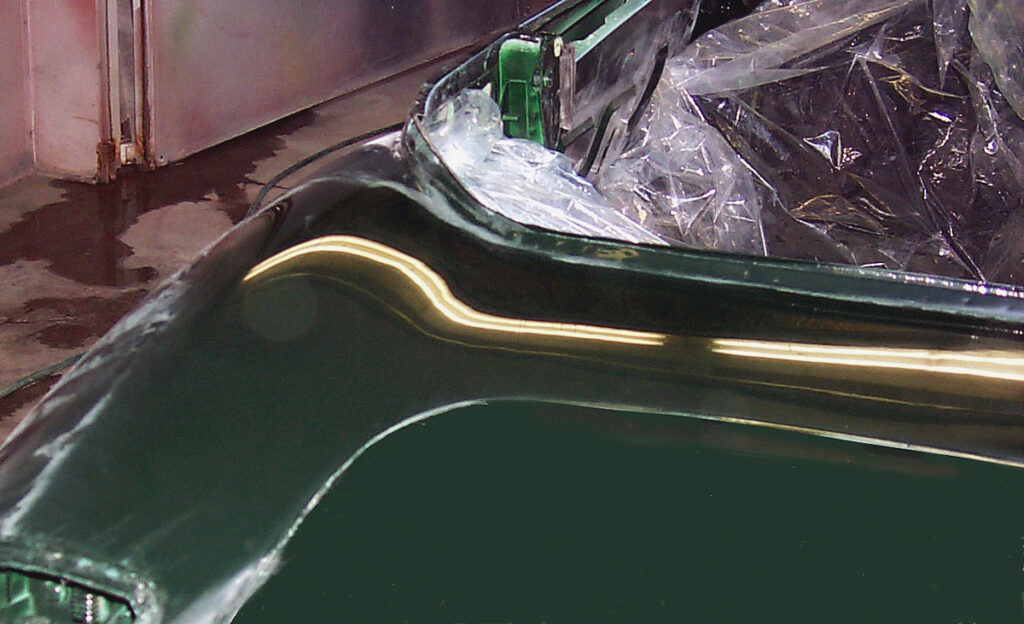
Casting rubber items is simple if you have a good original to work with. The item doesn’t have to be perfect. You can use plasticine to smooth out cracks, and you can even make whole prototypes out of low-fire modelling clay available from craft stores if you need to. Prototypes can also be made of wood or metal.
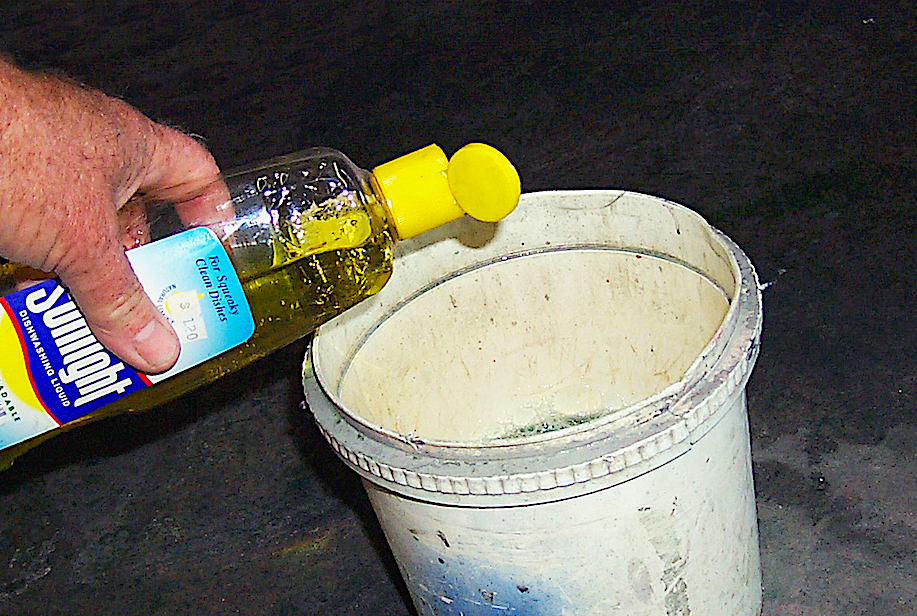
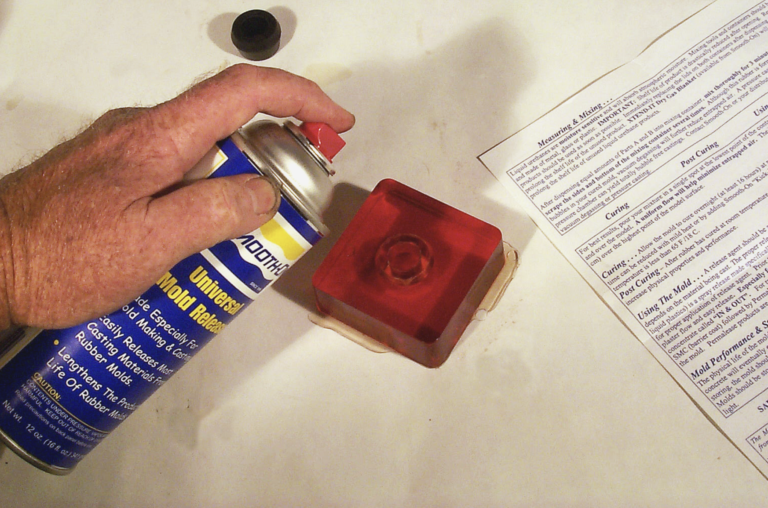
You will need mould dams to contain the liquid urethane moulding solution until it cures. You can build boxes out of strips of wood, but I have found that small plastic boxes and bowls such as those you would use for leftovers in your fridge work well if you spray them with a mould release agent.
Temperature is important to the chemical processes involved, so work in an area that can be maintained at around 20 degrees. You will also need adequate ventilation because the fumes can be dangerous to breathe. And you will want to wear latex gloves to protect your hands.
Fraser Cars – low flying into the fourth decade
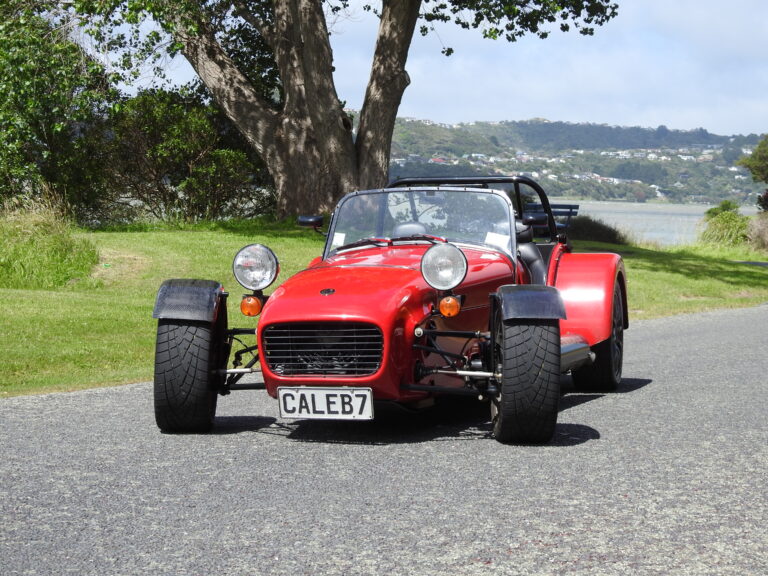
With almost three and a half decades under its belt, Fraser Cars is one of New Zealand’s longest-surviving car manufacturers. The company first opened its doors for business in 1988, during the boom time for kit manufacturers. During the ’80s, around 40 different companies were building kits and turnkey cars for this niche market. Of those, only Fraser and Almac Cars (established 1981) are still in business today.
Most of the new kit car companies were killed off in the cradle by the threat of new legislation that never eventuated and definitively by the sudden availability of high-performance Japanese cars when the floodgates to second-hand imports were opened. The now long-retired founder of the company, Neil Fraser, first came across Lotus Seven replicas while racing Lotus Cortinas in the early ’80s. He regularly found himself racing against a little Caterham, a Lotus Seven–styled car built in England. He was very impressed by its simplicity and handling. In 1986 Fraser built his own Lotus Seven–type car, using the knowledge he had gained from several close looks at the Caterham.