

Many restorers are stymied when they can’t find replacements for broken knobs or perished rubber seals, but Jim Richardson says casting plastic knobs and rubber parts is actually pretty simple
By Jim Richardson
The internet has simplified the job of tracking down rare parts, but when a diligent search still comes up empty, there’s no need to despair.
Both rubber items and small plastic items can be cast easily. You can buy the casting resin and colouring online, and rubber parts are even easier to cast than plastic pieces thanks to ‘room temperature vulcanising’ or RTV products.
THINGS YOU’LL NEED
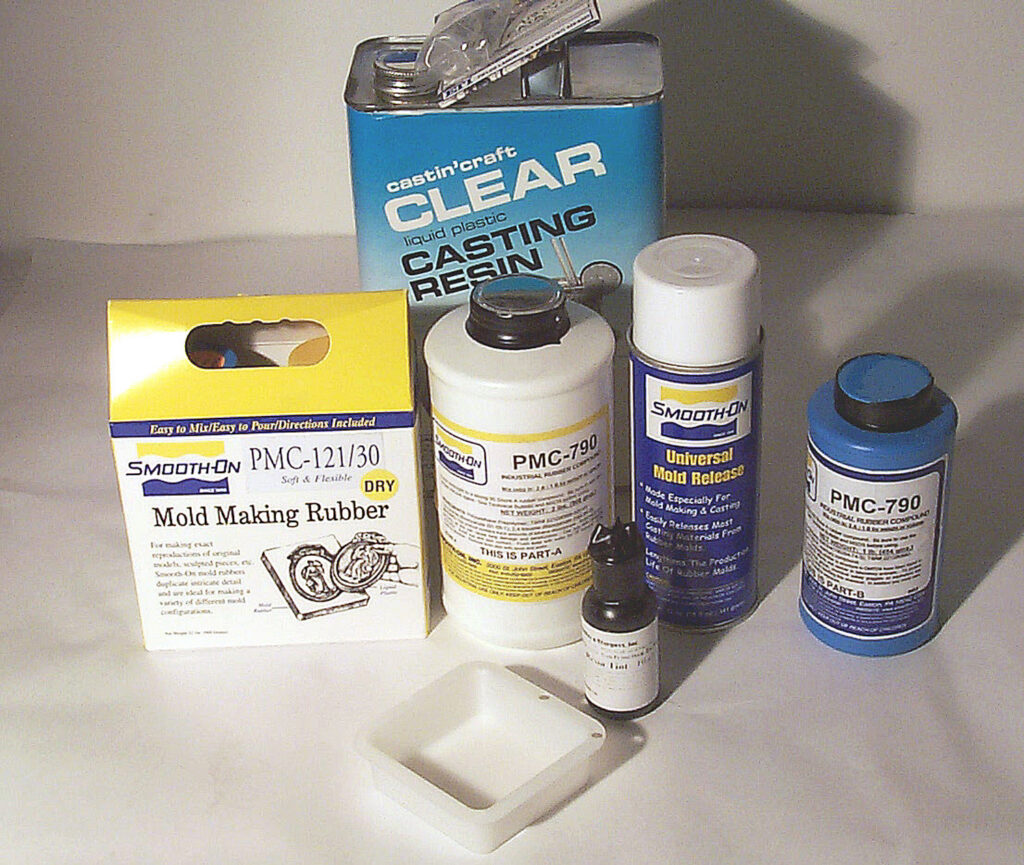
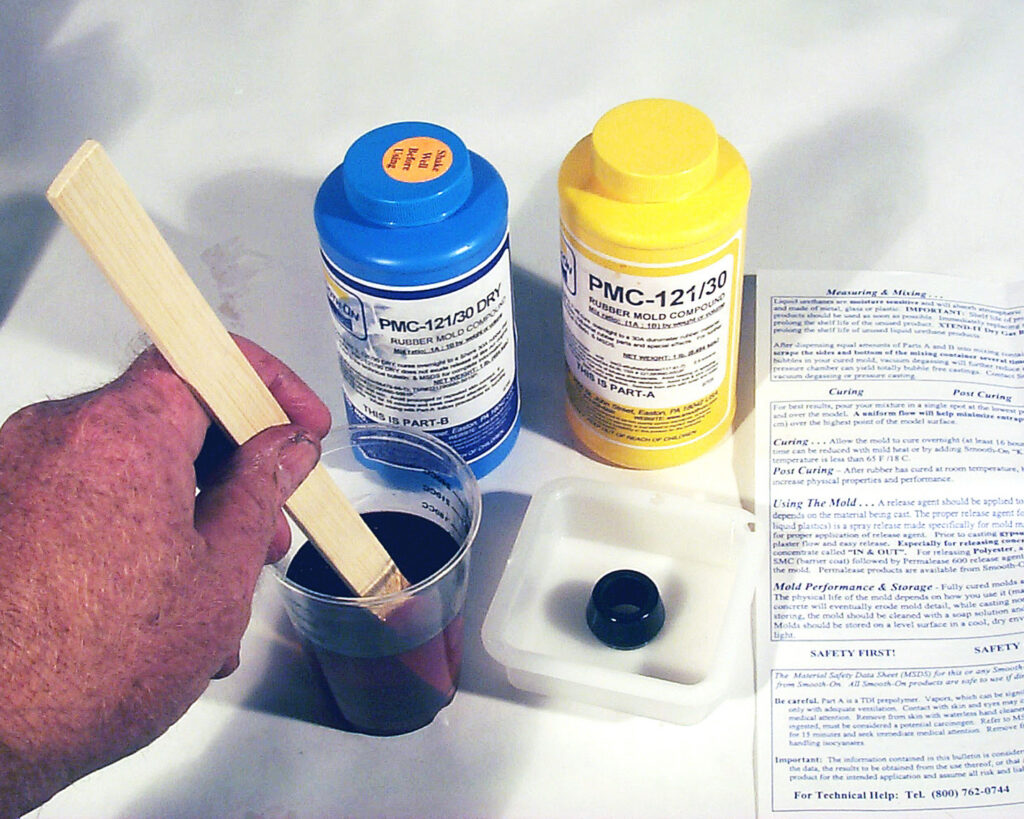
Smooth-On PMC-121/30 mould making rubber kit
Smooth-On PMC-790 (Parts A and B)
Smooth-On Universal Mould Release
Black pigment
Castin’Craft clear casting resin (for plastic parts)
Enamel in the colour of the original plastic item (for plastic parts)
Measuring cup
Mould containers
Rags
Lacquer thinner for cleanup
NOTE: There are several brands of the above casting items that all work the same way. Stick to one brand throughout to ensure compatibility.
Casting rubber
Casting rubber items is simple if you have a good original to work with. The item doesn’t have to be perfect. You can use plasticine to smooth out cracks, and you can even make whole prototypes out of low-fire modelling clay available from craft stores if you need to. Prototypes can also be made of wood or metal.
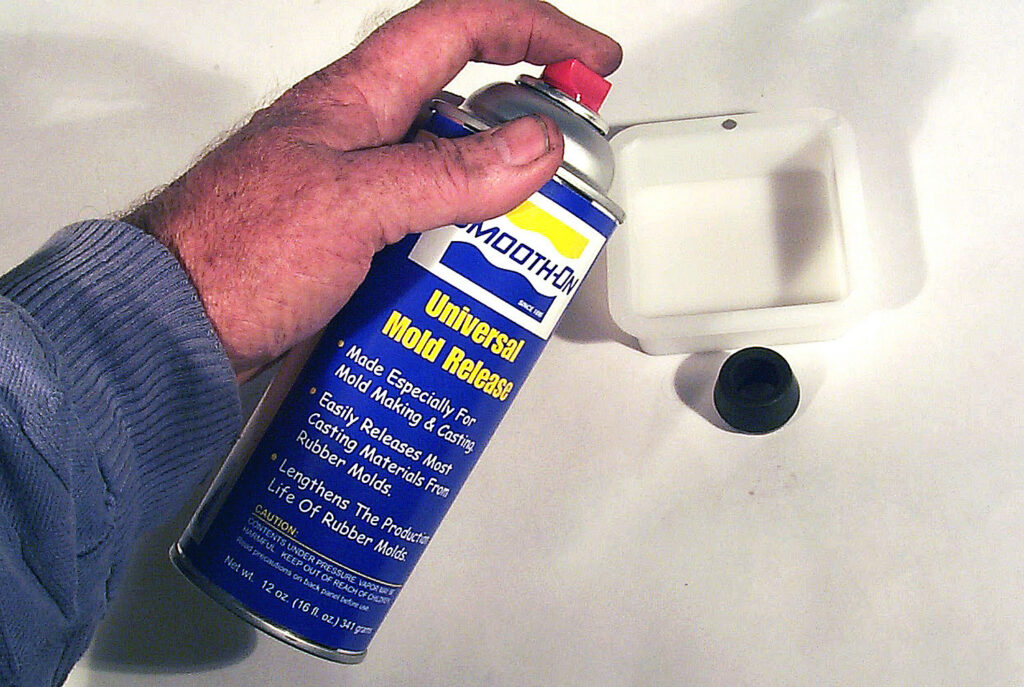
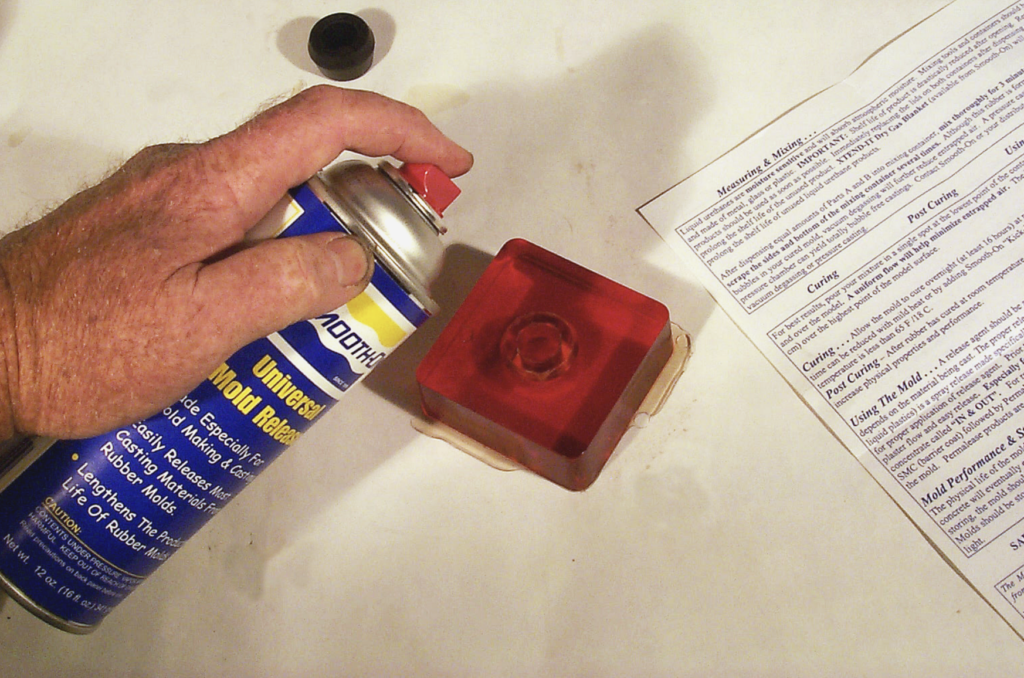
You will need mould dams to contain the liquid urethane moulding solution until it cures. You can build boxes out of strips of wood, but I have found that small plastic boxes and bowls such as those you would use for leftovers in your fridge work well if you spray them with a mould release agent.
Temperature is important to the chemical processes involved, so work in an area that can be maintained at around 20 degrees. You will also need adequate ventilation because the fumes can be dangerous to breathe. And you will want to wear latex gloves to protect your hands.
Making the mould
Spray a fine mist of mould release on the mould dam and the prototype you wish to replicate. It’s a good idea to spread this around with a fine brush, let it set, then shoot on another coat. Let the mould release dry for at least 15 minutes before proceeding.
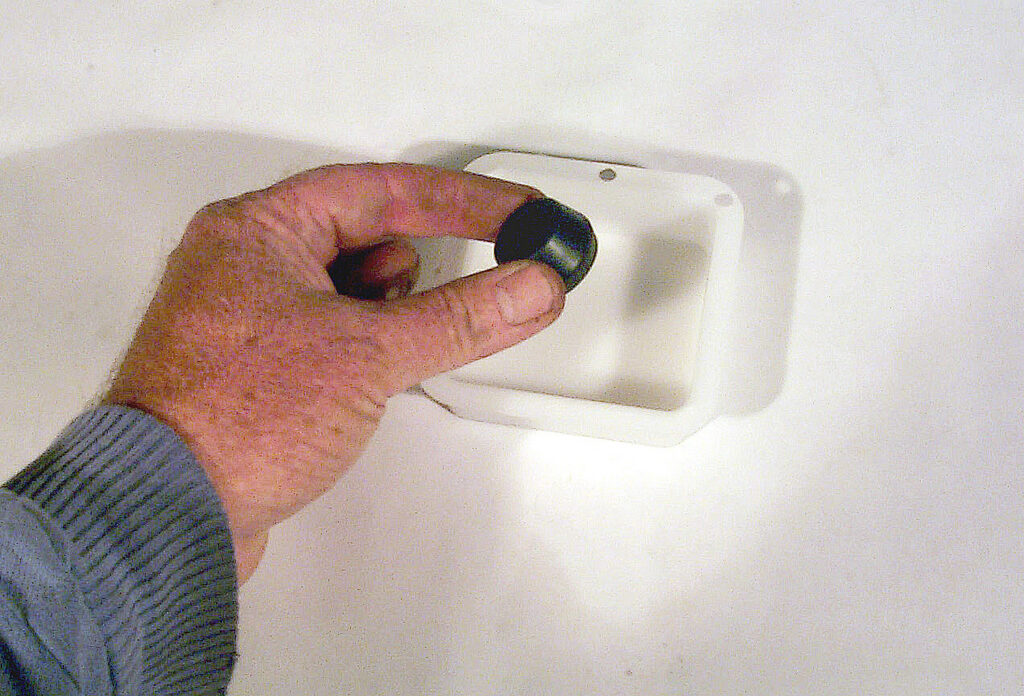
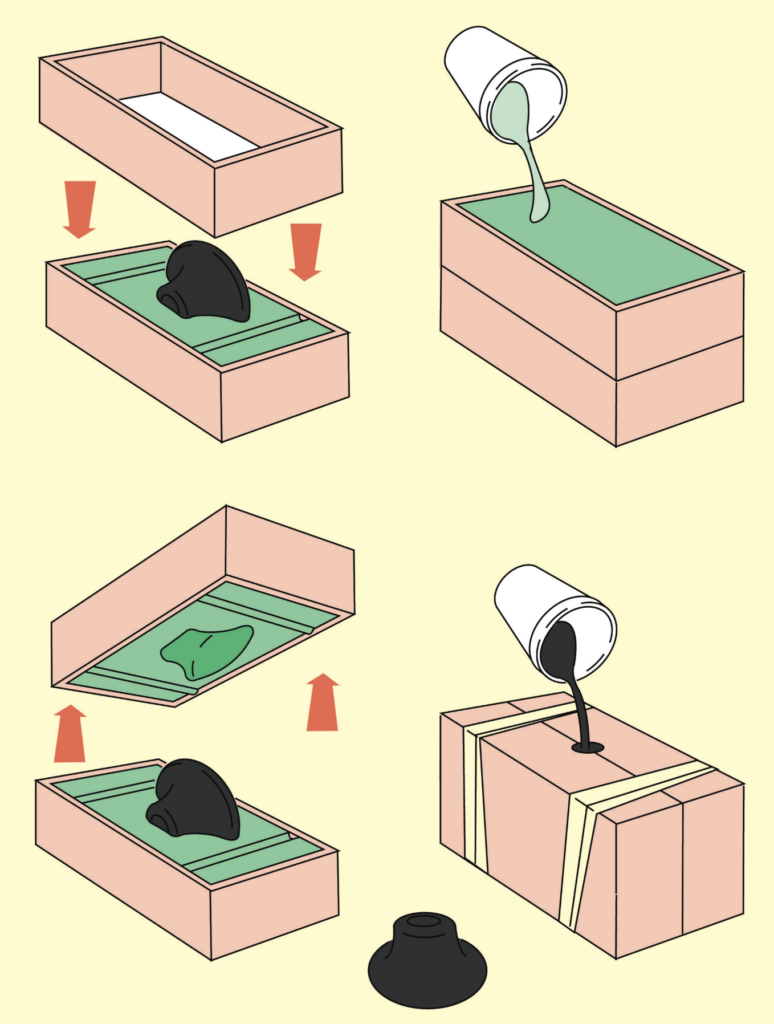
Place the item to be reproduced in the mould dam, making sure you will have adequate space above the item after the mould-making mixture is poured into the dam. Arrange the item so you will have a minimum amount of undercutting as well. Extensive undercutting will mean that your flexible rubber mould will eventually split and become useless because of twisting and flexing.
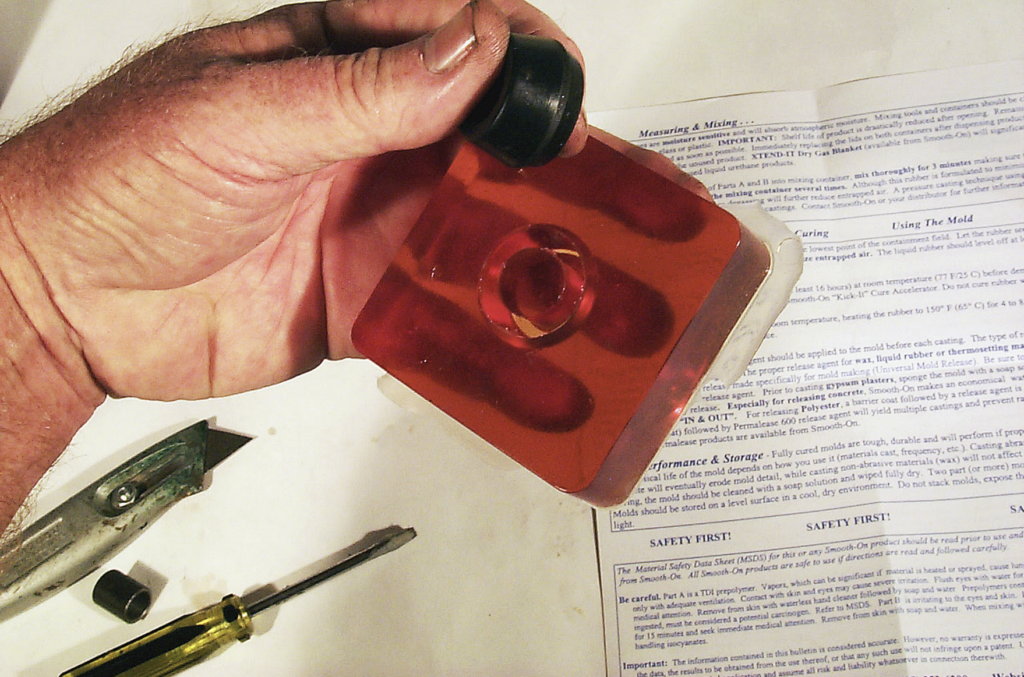
If the prototype requires a great deal of undercutting, you may want to arrange it so you can cut the mould into two pieces using a utility knife in order to extricate it. Insert locator pins such as dowels to register the two halves of your mould before you cut it in half. You may also need to cut a hole from which to pour the casting material, or just insert a plastic soda straw for a ‘sprue’ — that’s the channel allowing material into the mould. It will leave a cast of itself attached to the main casting, which will need to be cut off later.
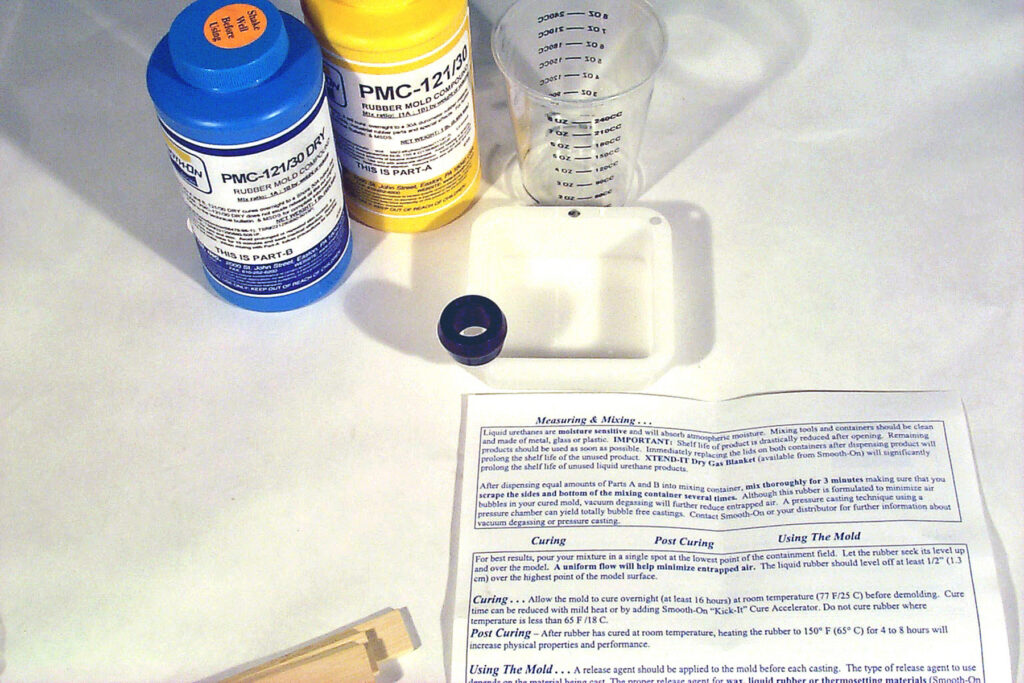
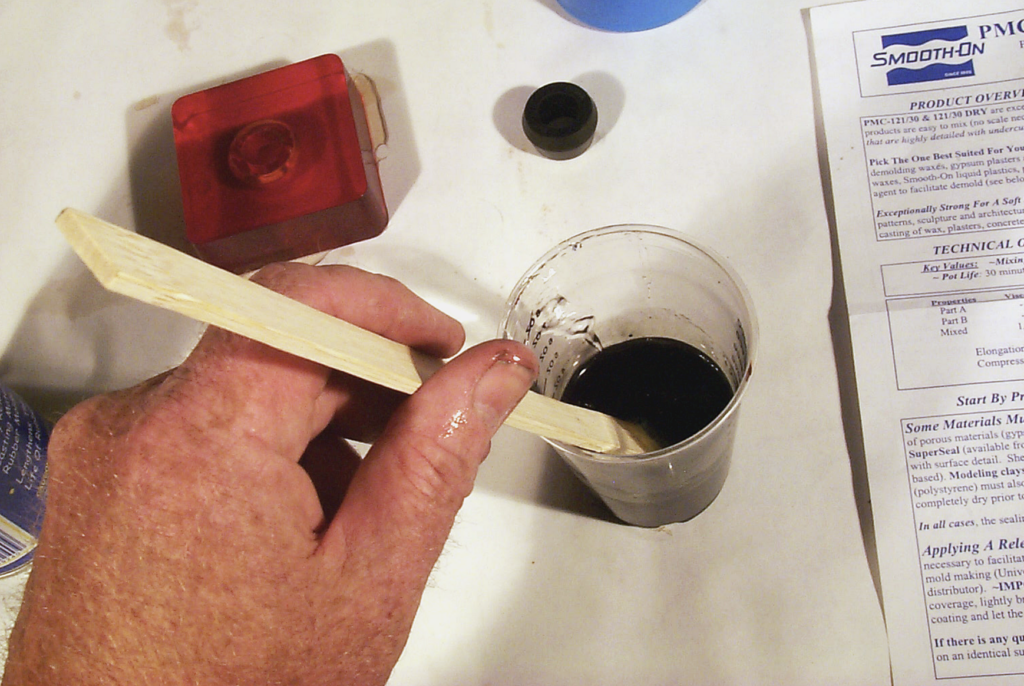
Mix up the rubber mould-making compound. Add Smooth-On PMC-121/30 (a soft, mould-making formula), one part A to one part B, in a measuring cup. I use disposable graduated cups. Don’t get sloppy about the mixture ratio because if you do, your mould may never cure or could become brittle. Stir the mixture slowly for a full three minutes, scraping the bottom and sides of the cup in order to mix it thoroughly.
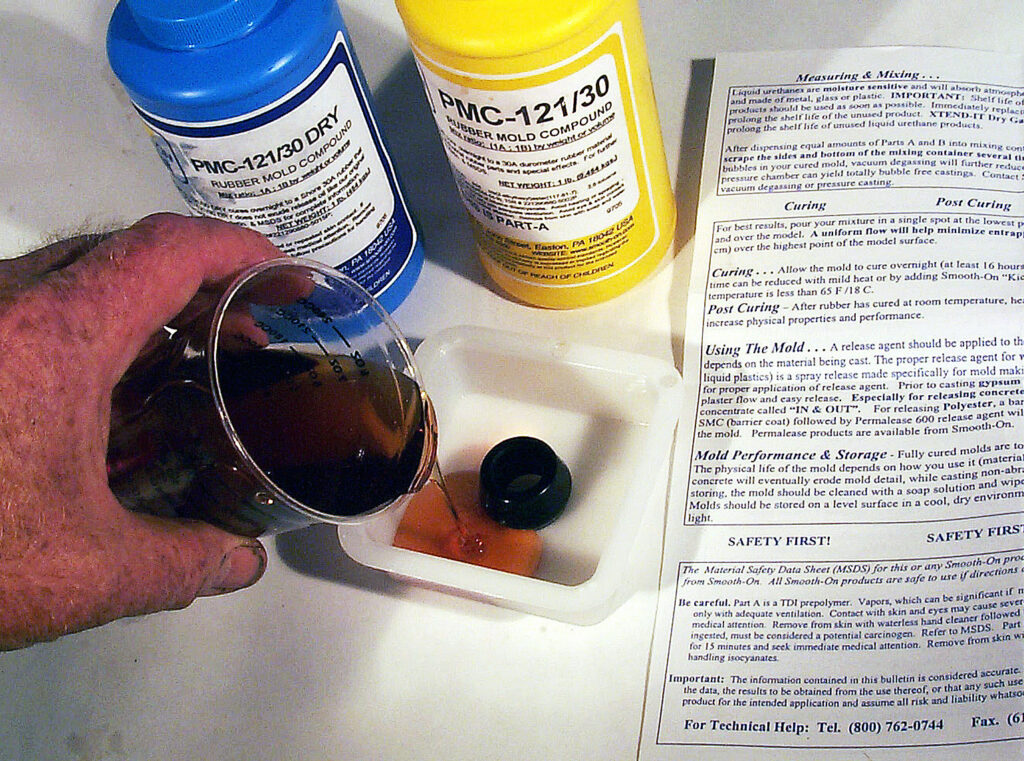
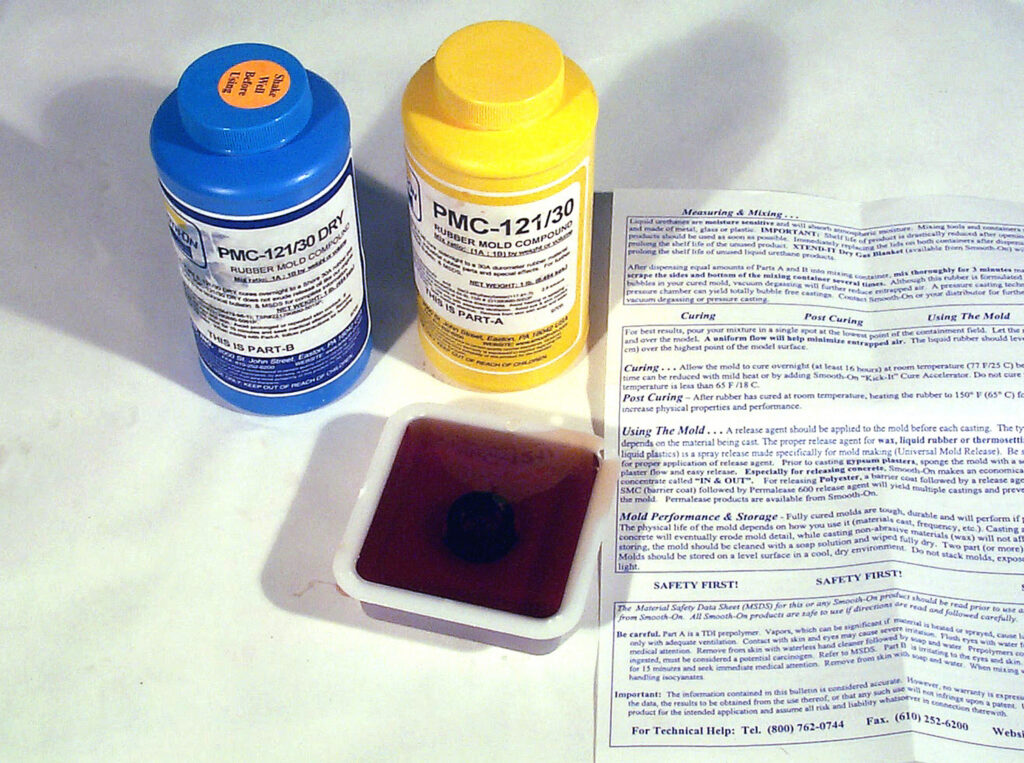
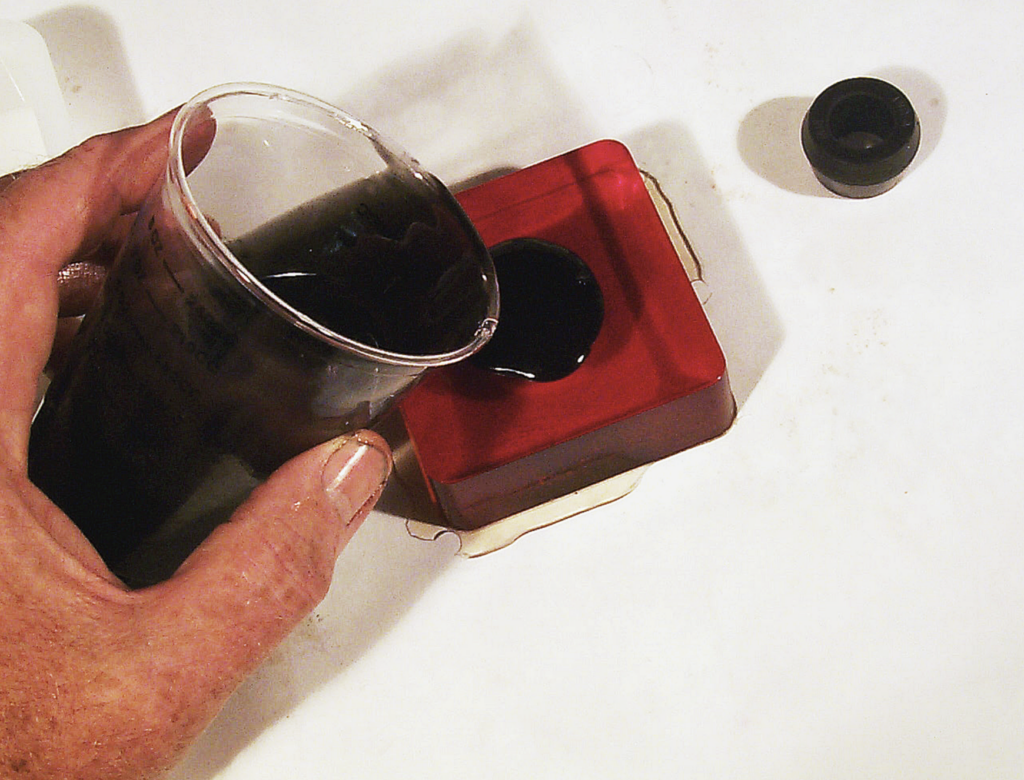
Slowly pour the mixture into your mould, being careful not to trap air bubbles. Let the mould cure for at least 16 hours, and make sure it is kept at room temperature during the process. Moderately higher ambient temperatures will hasten curing time a little, but don’t rush it. Turn your disposable measuring cup upside down on a piece of newspaper when you are through pouring. The residue will cure and pop out, leaving the cup reusable.
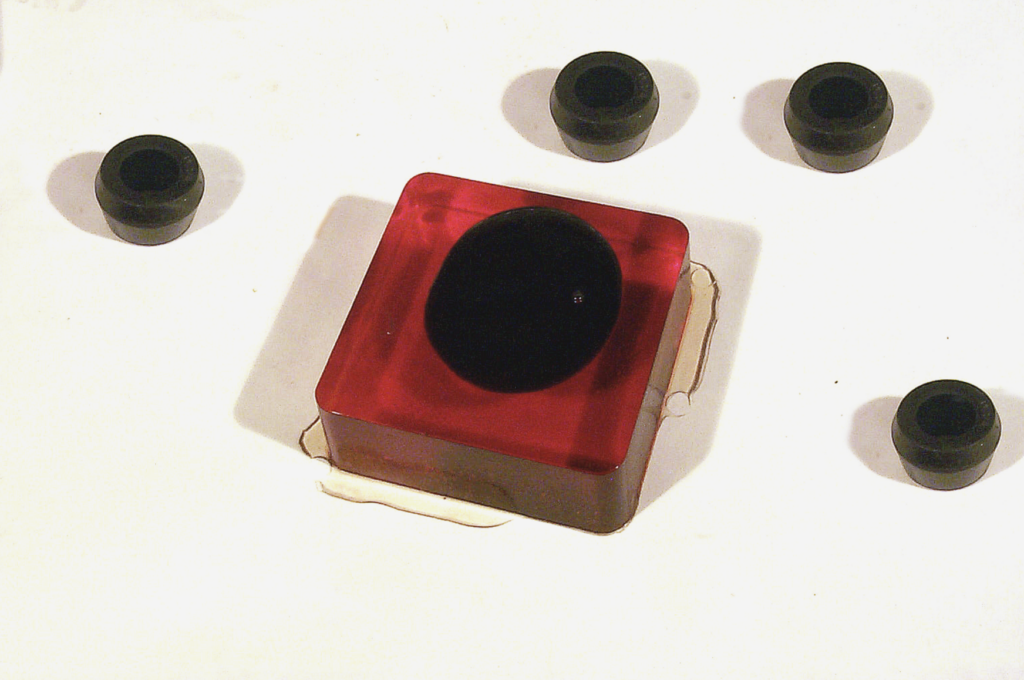
When the mould has completely cured, gently remove the prototype by pushing it out. Your new mould should be a perfect female version of your prototype. Check it for air bubble problems, and then mix the material for the duplicate.
Making a rubber cast
I used a Smooth-On PMC-790 Rubber compound to make the rubber spacer I needed because it is a stiffer, more resilient compound. You need to mix the PMC-790 at a ratio of one part A to two parts B and stir it carefully for at least three minutes. You will also need to add a couple of drops of black pigment to make it look correct.
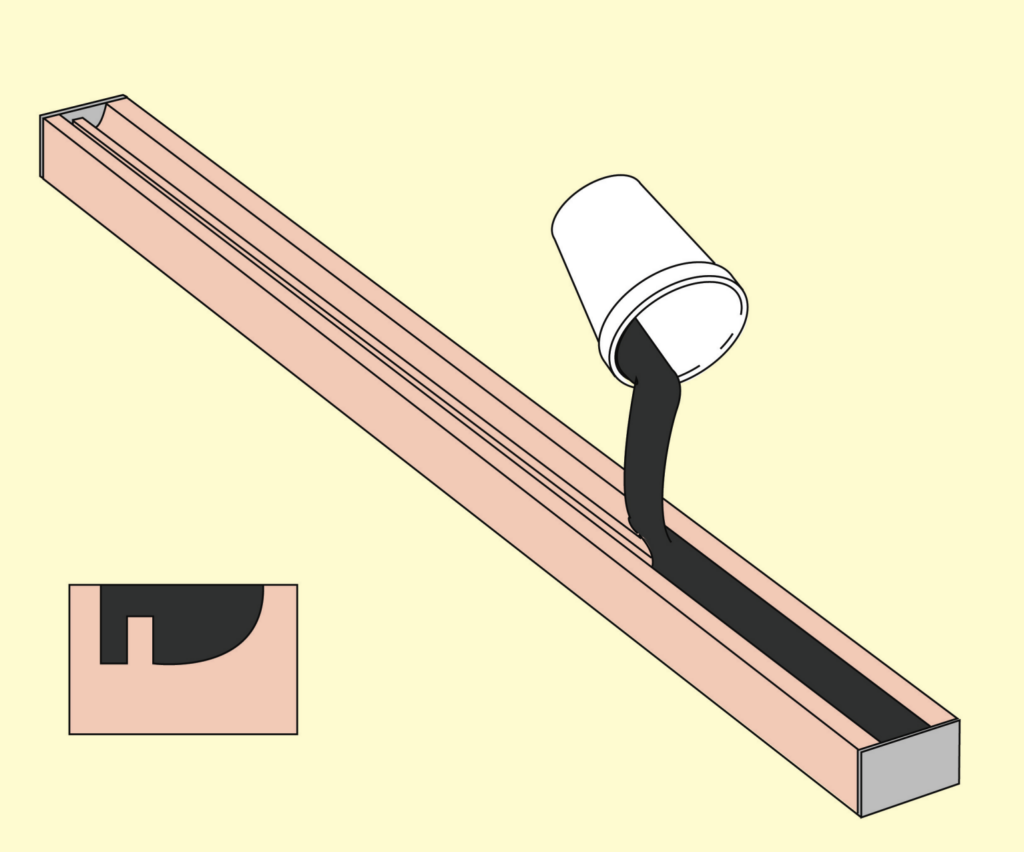
Pour the compound into the mould slowly until it slightly overfills, so as to allow for any shrinkage. Let the part cure for 16 to 24 hours. When you pop it out, you will have a perfect replica. Virtually any rubber part can be made this way with a little imagination. For long weatherstrips, make a mould of wood using a router, then shellac it and shoot it with a little mould release. You can make just about anything you might need with Smooth-On polyurethane rubber compound and a good mould.
Casting plastic
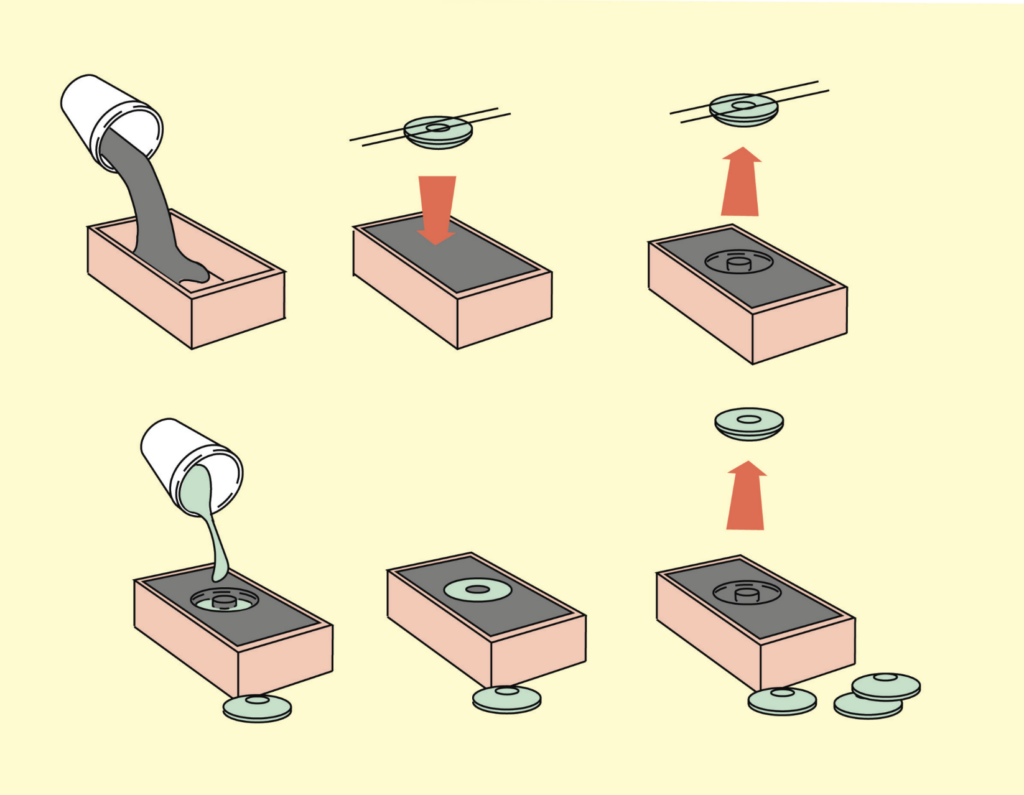
If you can get your hands on a good version of the part you want to make from another car, you can easily make moulds from it out of casting resin. Casting resin is especially good for making replacement knobs, escutcheon plates and horn buttons, but you can also use it for more ambitious projects as well.
Prototypes can be made of wood, metal or even low-temperature-fired modelling clay. A machinist can easily make prototypes for round escutcheon plates and horn buttons out of aluminium. Sculpted panels can be shaped out of soft pine and sanded to shape.
Pouring casting resin requires essentially the same technique as pouring urethane for rubber parts. Just follow the mixing instructions carefully, mix thoroughly, and let the parts cure for the necessary amount of time, as called for in the instructions on the can of casting resin.
Colour matching
Casting resin is clear, yellowish, or amber, and is transparent. Dies can be used to tint plastic, but this seldom gives you the effect you need. To make sure your replicated parts match original items on your dash, take an original to an automotive paint store and have them mix up a quantity of matching enamel.
And while you are there, pick up a little reducer, some flexing agent and a little clear enamel. Prime the parts, and then shoot on a coat of enamel. Let that flash over, then mix some clear into the colour paint and shoot the parts again for a translucent plastic look. Once parts have cured, they can be polished by hand.
To drill holes in your plastic parts, use a drill press if possible, and run the drill at low speed so as not to overheat the plastic. Threads can also be cut into plastic items, but it is a good idea to also use a little super glue to help things such as knobs stay in place.